AI Upscaling and Denoising for Underwater Photography: Topaz Photo AI, Gigapixel and a Practical Recovery Workflow
AI tools recover noisy or too-small underwater photos. Practical guide to Topaz Denoise AI, Gigapixel AI and a step-by-step restoration workflow for dive photographers.
What is the difference between Topaz Denoise AI and Topaz Sharpen AI for underwater photography?
Topaz Denoise AI removes digital noise (visible grain at high ISO or in low-light conditions) by reconstructing textures using a model trained on millions of images. Topaz Sharpen AI recovers sharpness lost to motion blur or focus blur. In underwater practice: Denoise AI first on high-ISO shots, Sharpen AI only if the subject shows a light and recoverable focus blur. Do not apply both aggressively on the same file.
Can Topaz Gigapixel AI genuinely enlarge an underwater photo without quality loss?
Gigapixel AI can multiply resolution by 2x, 4x or even 6x by reconstructing plausible details through guided hallucination. The result is not the physical reality of the scene but a highly realistic interpolation. For prints and web publications, the output is excellent. For strict scientific or documentary use, note that reconstructed details are not raw data from the original capture.
Should I use Topaz Denoise AI before or after Lightroom for underwater images?
Recommended workflow: Lightroom for white balance, exposure and colour correction first, then export to Topaz Denoise AI or Topaz Photo AI for denoising and sharpening. Some photographers prefer the reverse (Topaz first on the raw file) but correcting the blue or green colour cast before denoising often produces better results because the algorithm works on more naturally balanced colour information.
Does Topaz AI invent details in underwater photos?
Technically yes, in the sense that it hallucinates plausible textures in noisy or blurred areas. For creative or commercial photography, this is not a problem. For scientific observation submissions, reconstructed details should not be presented as raw original data. The strength slider allows you to calibrate how aggressively the tool reconstructs.
Does Topaz Photo AI combine Denoise, Sharpen and Gigapixel?
Yes. Topaz Photo AI is the all-in-one product that integrates Denoise AI, Sharpen AI and Gigapixel AI in a single interface with automatic detection of each image's main issue. If you are starting fresh, this is the product to buy. The individual tools remain available for photographers with specialised workflows.
Does AI denoising work on underwater JPEG photos rather than RAW files?
Yes. Topaz Photo AI and Topaz Denoise AI process JPEG, TIFF, PNG and RAW. Results on JPEG are slightly lower than on RAW because JPEG has already applied lossy compression. But even on heavily compressed JPEG files, AI denoising outperforms traditional noise reduction in Lightroom or Photoshop by a significant margin.
AI denoising tools (Topaz Denoise AI) and upscaling tools (Topaz Gigapixel AI) can recover underwater photos you would otherwise delete. An image taken at ISO 3200 in poor visibility or at 20 metres depth, noisy and too small to be usable, can become publishable quality in a few minutes of processing. This guide explains when and how to apply these tools within a real dive photographer's workflow.
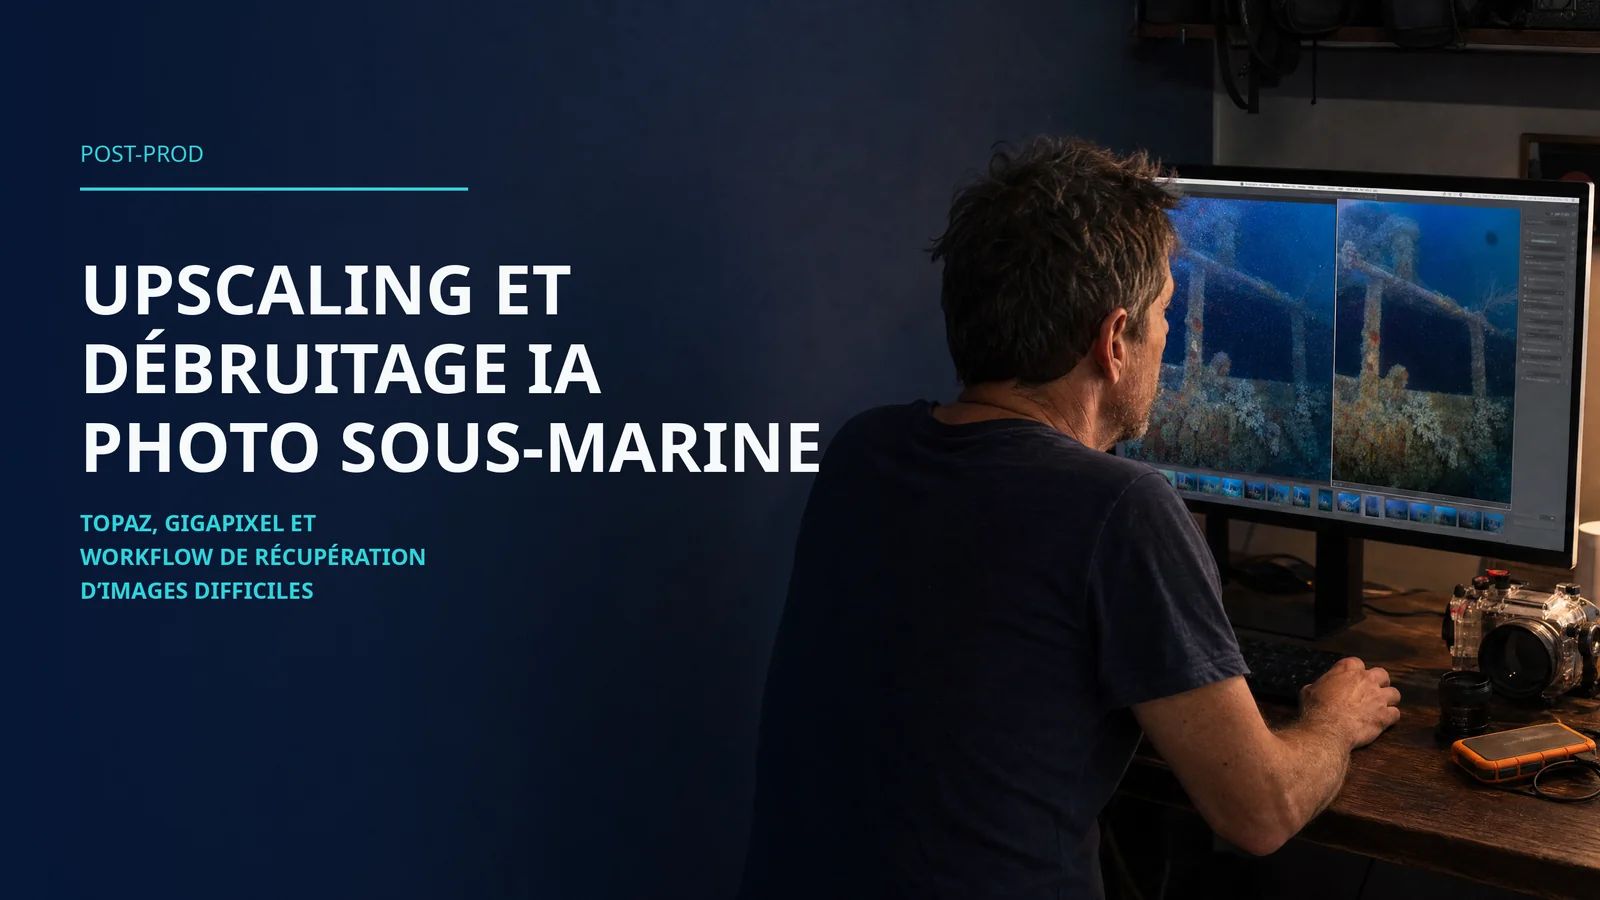
Before-after comparison: noisy underwater photo at ISO 3200 on the left, same image after Topaz Denoise AI on the right, with close-up detail view of a grouper's scale texture
In 2019, in the Maldives, I was diving at 18 metres on a site with poor visibility caused by a phytoplankton bloom. A whale shark passed within 4 metres, an encounter I was not technically prepared for. I pushed the ISO to 1600, then 3200, and fired 40 to 60 frames in burst mode. Focus held on perhaps a third of them.
Coming back to the surface, I had around 15 correctly framed shots. Most were too noisy to present publicly, and all were too small for any decent print because the shark occupied roughly 30 percent of the frame. With the tools available at the time, I recovered two or three usable images.
With today's AI tools, I would have recovered 8 to 10 from that same batch.
The recurring problems in underwater photography that AI handles well:
High-ISO digital noise: unavoidable in dark water, at depth, or in poor visibility
Insufficient resolution: subject too far away, heavy cropping, smartphone sensor limitations
Slight motion blur: subject moving during the moment of capture
Marginal focus blur: autofocus that locked on the water column rather than the subject
Topaz tools for underwater photo recovery
Topaz Photo AI: the all-in-one solution
Topaz Photo AI is the current product that combines Denoise AI, Sharpen AI and Gigapixel AI in a unified interface. It automatically analyses each image and recommends which modules to apply. For most dive photographers, this is the only entry point needed into the Topaz ecosystem.
It is available as a perpetual licence (you keep the version you purchased) with optional annual update plans. Standard pricing is around 200 euros for the initial version.
AquaExposure does not receive any affiliate commission on products mentioned in this article. Recommendations are based on personal testing.
Topaz Denoise AI: selective noise reduction
Denoise AI applies a neural model specifically trained on different types of digital noise (luminance noise, chrominance noise, high-ISO noise). For underwater photography, the "High ISO" model applies to the majority of situations.
Strength slider: a value between 40 and 60 is generally sufficient for photos taken at ISO 800-1600. Above 80, the tool begins to over-smooth natural textures (fish scales, skin, coral surfaces) in a visible way. Always test at 50 before adjusting.
Recover Detail slider: this slider counterbalances the smoothing tendency. Increase it gradually if you notice fine textures disappearing in the processed image.
Topaz Gigapixel AI: intelligent enlargement
Gigapixel AI multiplies image resolution by 2x, 4x or 6x by reconstructing plausible details. The algorithm does not recover truly lost information: it hallucinates coherent textures from contextual information in the image.
In practice for underwater photography:
A shark occupying 30 percent of the frame can become the central subject of a 2x larger image without visible quality loss
A smartphone limited to 12 megapixels can produce files usable for A3 prints
Aggressive crops to fix composition can be partially compensated
The key limitation with Gigapixel: heavily noisy areas must be treated with Denoise AI before enlargement. Upscaling amplifies noise.
Before any processing, sort your images. AI can recover a great deal, but it cannot fix a fundamentally missed shot (wrong framing, absent subject, completely out-of-focus image). Focus your processing time on images with genuine value: the right subject, the right moment, but imperfect technique.
Step 2: Colour correction in Lightroom
Apply the blue or green colour cast correction in Lightroom first (white balance, HSL sliders, red channel recovery for depth). Topaz AI tools work better on colour-corrected files that the algorithm can interpret as natural.
If you need a guide on colour correction by water type, the dedicated colour cast correction article covers Mediterranean, tropical and green water scenarios with concrete examples.
Step 3: Export to Topaz Photo AI
Export from Lightroom as 16-bit TIFF (if your source is a RAW file) or maximum quality JPEG. TIFF preserves more information for the denoising step.
In Topaz Photo AI:
1Let the automatic analysis run on the first image to see what the tool detects
2Check the proposed parameters: it typically activates Denoise and sometimes Sharpen
3Adjust the strength based on visible noise level (start at 50, increase if needed)
4Activate Gigapixel only if you need enlargement or the file is very small
5Process in batch: Topaz Photo AI can queue hundreds of images for overnight processing
Step 4: Return to Lightroom for final adjustments
After Topaz processing, the recovered file returns to Lightroom for final brightness, contrast and export adjustments. Topaz output is not always perfect across an entire batch: some files need a second pass with adjusted strength settings.
Complete four-step workflow diagram: Lightroom triage, colour correction, Topaz Photo AI processing, final export with close-up comparison view
Comparison with DxO PureRAW
DxO PureRAW is the direct competitor to Topaz for the RAW pre-processing stage. The two tools have different strengths.
DxO PureRAW excels on RAW files from supported cameras (a list that includes major Sony, Canon, Nikon, Fuji and Olympus bodies). Its DeepPRIME XD module often outperforms Topaz on pure RAW files from these supported devices. However, DxO only processes native RAW files, not JPEG, PNG or already-edited files.
Topaz Photo AI is more versatile: it processes all formats, including JPEG from waterproof compact cameras and still frames exported from video footage.
For an underwater photographer working primarily with a dedicated mirrorless camera, DxO PureRAW may be the better choice. For someone mixing smartphone, action camera and dedicated camera output, Topaz Photo AI covers all scenarios.
AI hallucinates. Textures reconstructed by Gigapixel or denoised zones by Denoise do not correspond exactly to what the original scene contained. For artistic or commercial photography, this is not a problem. For submitting an image to a species identification scientific database, unprocessed original files are preferred over AI-reconstructed images.
Processing time. Topaz Photo AI requires a dedicated graphics card to run at reasonable speed. On a laptop without a dedicated GPU, processing one image can take 2 to 5 minutes. On a desktop or gaming laptop with a capable GPU, a few seconds per image.
The learning curve. The first batch of photos requires time to calibrate the right strength levels. After two or three sessions, you develop a quick intuition for parameters based on the type of shot and conditions.
What AI does not replace
AI denoising and upscaling improve technically imperfect images. They do not compensate for poor framing, bad light or a missed subject. To extract maximum value from AI post-processing, you first need to progress technically in the water.
Underwater composition technique and managing natural light underwater remain the foundations. AI processing is a safety net, not a substitute for field technique.
Concrete before-and-after examples showing the potential and the limits of underwater post-production (not just AI) are in the dedicated before-after editing article.
Final result after complete workflow: manta ray photo recovered from a high-ISO smartphone shot, before and after Topaz Photo AI processing and Lightroom colour correction
Who benefits most from these tools
Photographers with existing archives. If you have years of dives with images you have never used because they were too noisy or too small, Topaz Photo AI can recover a portion of that dormant value.
Smartphone photographers. Smartphone sensors have physical limitations that structurally produce noise in low light. AI denoising compensates for this limitation significantly.
Photographers in dark water environments. Mediterranean from November through March, temperate waters, wrecks at 30 metres: conditions that force high-ISO shooting are frequent. Having a reliable recovery workflow changes the way you approach both diving and photography.
If you are starting out in underwater photography and want to understand how to improve your images from capture to sharing, the AquaExposure underwater photography course covers this complete path, including post-processing adapted to underwater conditions.