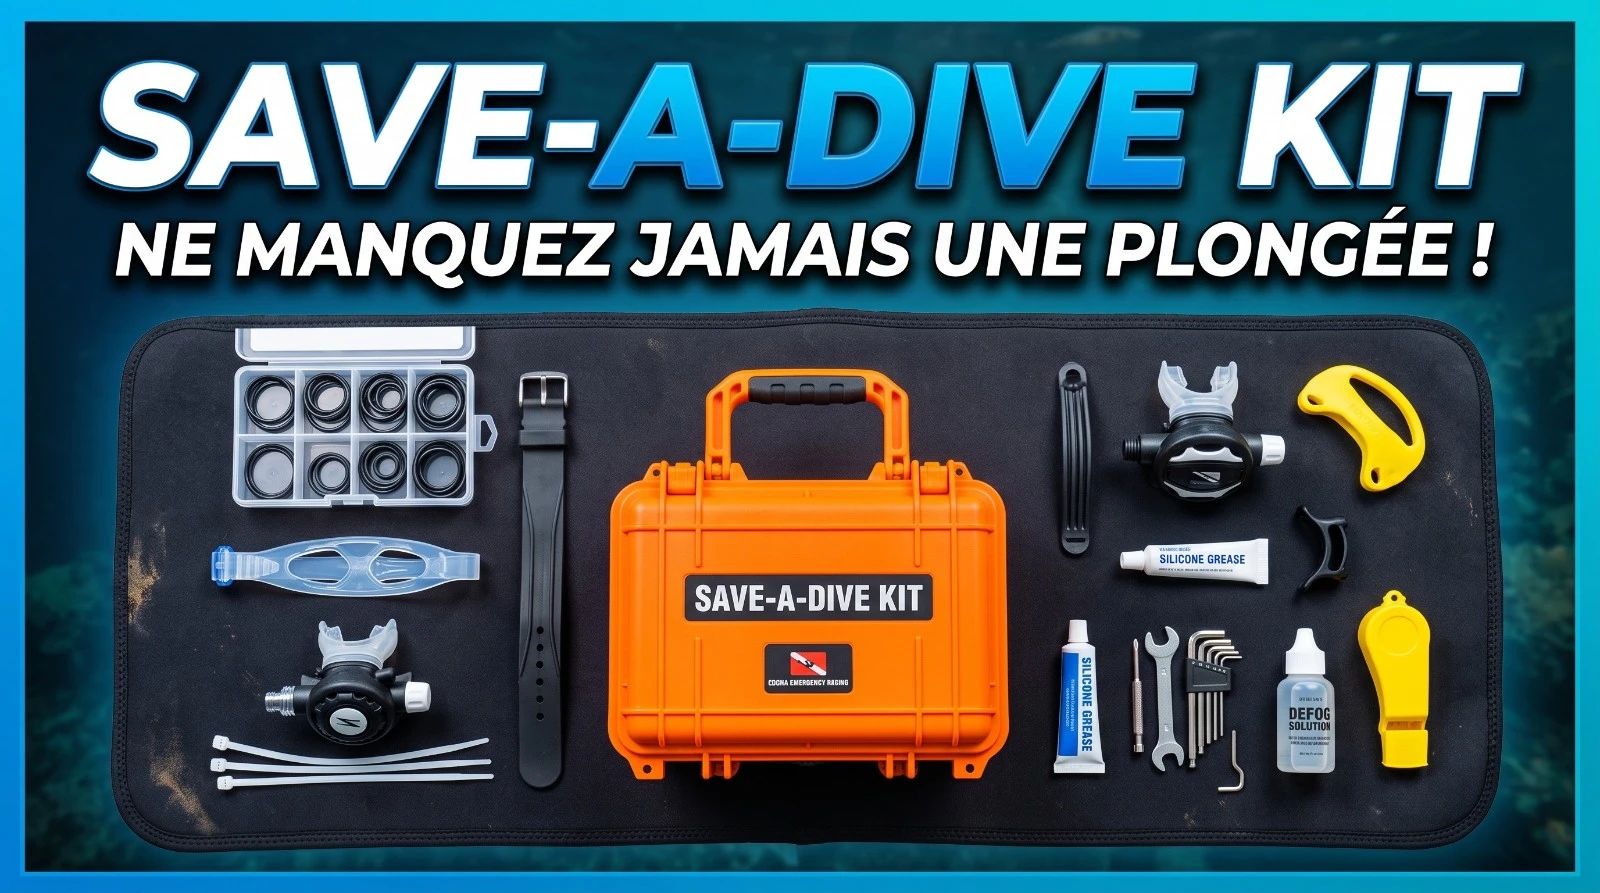
A save-a-dive kit is a set of spare parts and tools that lets you fix common minor failures on location. The goal is simple: not missing a dive because of a part that costs 2 euros and weighs 3 grams.
Are commercial save-a-dive kits enough for photographers?
They cover the diving basics (regulator O-rings, fin straps). For a photographer, they are incomplete. You need to add housing-specific parts: housing O-rings, photo-grade silicone grease, anti-fog wipes, housing screwdriver.
Which O-rings should I bring for my housing?
Check your housing manual for exact references. As a minimum, bring two main door O-rings and one shutter button O-ring. Keep the references in your travel notes.
How do I know if an O-ring needs replacing?
Inspect it before every dive under good light. An O-ring showing deformation, a pinch mark, dryness or any sign of cracking must be replaced. Never dive with a doubtful O-ring.
Can you make DIY anti-fog wipes?
Yes. A few drops of baby shampoo diluted in 100 ml of water works as a DIY anti-fog solution. Apply to the inner port, wait 30 seconds, wipe gently. But commercial wipes (Sea Gold, McNett) are more convenient when traveling.
Where do you store the save-a-dive kit during the dive?
In a waterproof pouch or small rigid box, left on the boat. Not in the housing, not in the BCD. It must be accessible in 30 seconds if you need to swap an O-ring between dives.
Should the save-a-dive kit go in cabin or hold?
In the hold, in your main suitcase. Small tools (screwdrivers, pliers) can cause problems at cabin security. Liquids (silicone grease, anti-fog product) must respect the 100 ml limit if carried in cabin.
Pour apprendre à tirer le meilleur parti de votre équipement sous l'eau, découvrez la formation AquaExposure.
One O-ring. Three grams. Two euros. In Komodo in 2021, I missed a dive at the Raja Ampat site because the main door O-ring of my housing had kinked during transit. Housing locked shut, no spare O-ring. The dive left without me. Since that day, the photographer's save-a-dive kit is as automatic in my bag as the wetsuit.
A save-a-dive kit for an underwater photographer is different from a standard diving kit. A diver without a housing needs regulator O-rings and a fin strap. A photographer needs all of that plus the parts specific to optical equipment. Two kits to prepare, or one extended kit.
Why a photographer's save-a-dive kit is different
Equipment failures in underwater photography hit two distinct systems. On one side, classic diving equipment (regulator, BCD, fins, mask). On the other, photo equipment (housing, lens, shutter release, port).
Commercial save-a-dive kits cover the first system well. They typically include O-rings for first and second stage regulators, fin straps, mask straps, sometimes a backup purge valve.
They almost always overlook the second system. And this is exactly what compromises a photographer's trip specifically. Arriving at the destination with a housing that cannot seal properly means arriving for nothing.
The 10 parts of the photographer's save-a-dive kit
1. Main door O-rings for the housing
This is the most critical part. The main door O-ring is what guarantees the watertightness of your entire system. Bring two (never just one: one may kink, the other stands ready). Write down the exact reference in your phone notes or on a label inside the kit.
2. Silicone grease for O-rings (photo grade)
Standard diving grease and photo-grade silicone grease are not interchangeable. Standard grease may contain solvents that attack certain housing O-rings over time. Bring the grease recommended by your housing manufacturer (Nauticam, Ikelite, Aquatica each have specific recommendations). A 5 ml tube covers a week of diving.
3. Anti-fog wipes for the port
Condensation inside the housing builds up on the port and blurs your photos. Anti-fog wipes (Sea Gold, McNett Anti-Fog) prevent this issue across successive dives. Two to three wipes per week is enough. If unavailable, diluted baby shampoo on a cotton swab works.
4. Housing screwdriver
Each housing has its specifics. Some arms or trays require a particular Phillips screwdriver, others an Allen key. Check what tools your housing requires and pack them. Also useful for tightening a light arm that works loose between dives.
5. Spare memory card
Not a mechanical part, but an equally disabling failure. A card failing mid-trip or a full card at the wrong dive happens. Bring a spare card in the kit, formatted and ready to use.
6. Spare battery for the camera
Same logic. Two batteries rotating: one in the camera, one charging. If the main battery dies at sea, the spare takes over immediately. Check that the spare is compatible with your exact camera version.
7. Replacement wrist or arm strap
Straps wear out, unclip, get lost. A replacement strap in the kit avoids diving with no safety leash or holding the housing by hand throughout the dive. Choose a universal model that fits your mounting system.
8. Control button O-rings (if your housing has them)
Modern housings have O-rings on each control button (focus, shutter, mode selector). These are smaller and more fragile than the main O-ring. Check what references your housing uses before leaving. Some manufacturers sell complete kits.
9. Sensor cleaning kit (for longer trips)
On a week or longer trip, salt residue or dust that accumulates inside the housing can reach the sensor during a lens change. A sensor cleaning kit (blower, appropriate sensor swabs) lets you handle the issue on location.
10. Emergency waterproof phone pouch
As a last resort, if your housing fails, an IP68 waterproof pouch for a smartphone allows you to keep shooting at the surface or snorkeling while you resolve the main problem. Light, small, takes no space, and has often saved a session.
Where to store the save-a-dive kit
The save-a-dive kit does not travel with you underwater. It stays on the boat, in a waterproof pouch or small hermetic rigid box. The aim is to access it between dives, not underwater.
On a dive boat, keep it in your deck bag next to the housing, not in the hold. During transfers, it goes in the hold suitcase (small tools are a problem at cabin security).
Label each part inside the kit. When you are looking for a specific O-ring at 7 AM before the entry, you do not want to dig through an unlabeled pouch.
Before every trip, verify: - O-ring condition (pliability, no deformation) - Silicone grease level (no empty tube) - Anti-fog wipe expiry date - Spare battery charge level - Available space on the spare memory card
After every trip, restock what was used. The kit is useless if you open it the evening before departure and find it empty.
The AquaExposure underwater photography course includes a practical session on housing preparation and gear management while traveling. This is often where participants discover the O-rings they had never inspected.
AquaExposure earns no affiliate commission on any gear mentioned in this article. All recommendations are based on Benjamin Coste's field experience.
Save-a-dive kit: 10 essential parts for underwater photographers | AquaExposure