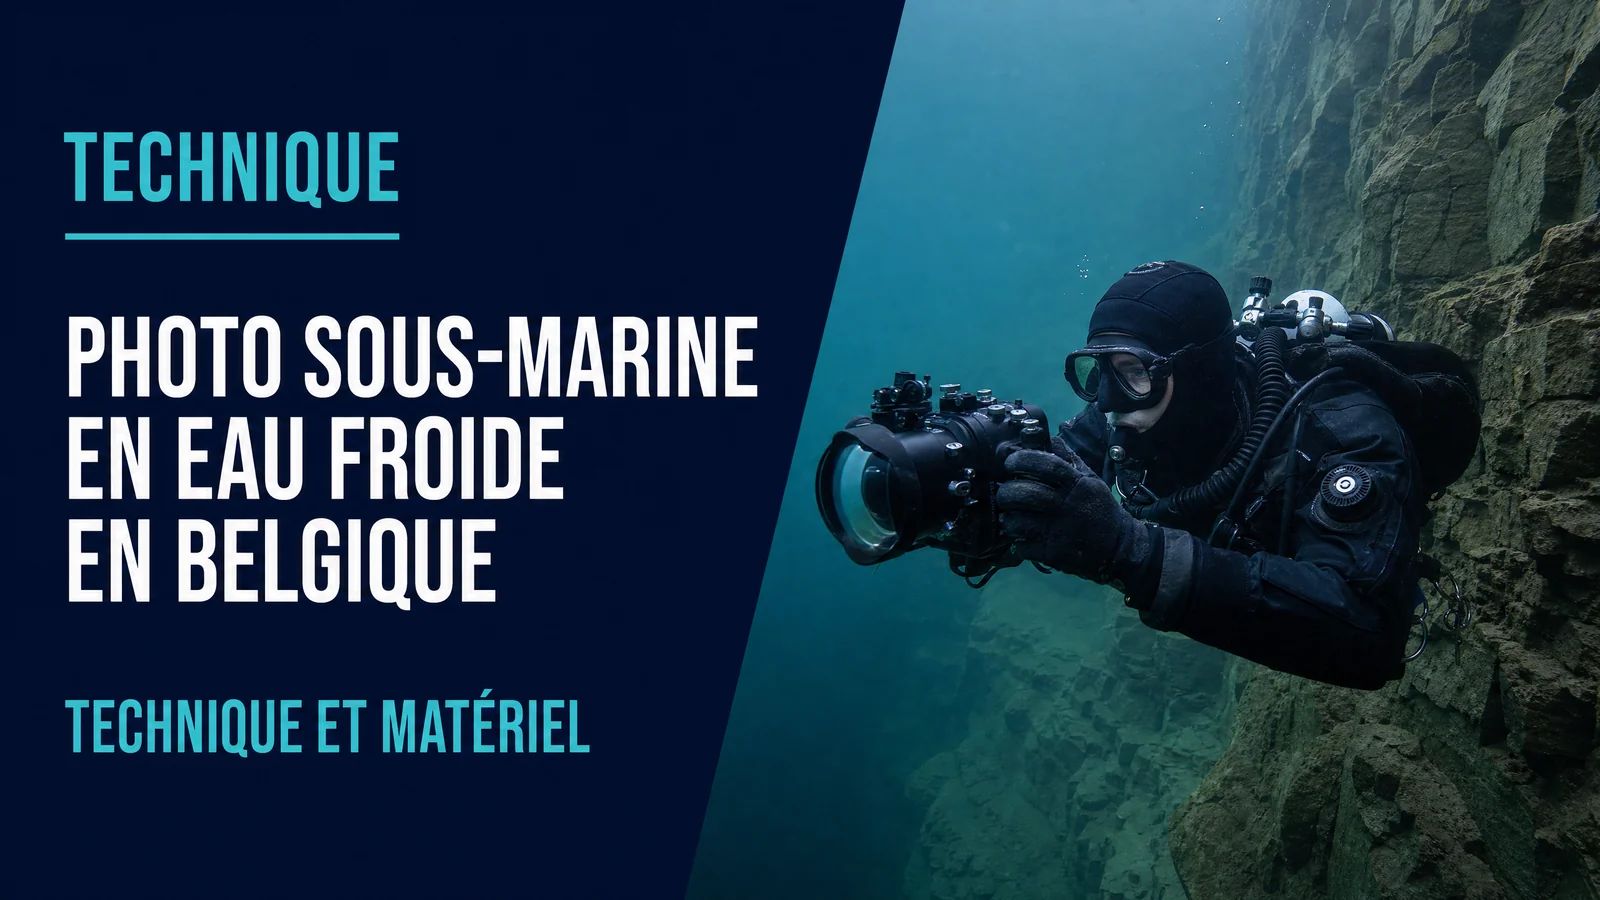
Cold Water Underwater Photography in Belgium: Technique and Gear
Cold water, reduced visibility, green tint: how to adapt your technique and gear for underwater photography in Belgian lakes and quarries. Instructor guide.
Can you take good underwater photos in Belgian lakes?
Yes, as long as you accept cold-water constraints: visibility sometimes limited to 3-8 metres, a green or grey-brown tint, and less ambient light. These conditions actually train you to be a more precise photographer than crystal-clear water ever would.
What camera gear works best for cold water in Belgium?
A waterproof compact like the Olympus TG-7 or a smartphone in a Divevolk housing both work well. Cold temperatures have no impact on electronics at recreational diving depths. The key is checking O-rings and anti-fog inserts before every dive.
How do you set white balance in a Belgian lake?
Freshwater in Belgium tends toward green or grey-brown. Use a custom white balance preset instead of auto mode. If shooting RAW, correct in Lightroom or Snapseed by shifting the Tint slider toward magenta to counteract the green cast.
Do gloves make it hard to operate a camera underwater?
With a 7mm wetsuit or drysuit, finger dexterity is reduced. Choose gear with large, accessible buttons. Practice operating your camera with gloves on dry land before getting in the water.
Is there any wildlife to photograph in Belgian waters?
More than most people expect: perch, bream, carp, pike, crayfish, dragonfly larvae for macro work. The quarries at Floreffe and Rochefontaine hide some genuinely surprising species. The appeal is not tropical colour but quality of observation.
What is the best time of day to dive in a Belgian lake?
In summer, natural light is best between 10am and 2pm when the sun is highest. In winter, light is weaker but more evenly diffused. Avoid windy days that stir up suspended particles and cut visibility.
To learn how to get the most out of your gear underwater, discover the AquaExposure training.
Cold Water Underwater Photography in Belgium: Technique and Gear
There is a belief I hear often in my Brussels workshops: underwater photography is for the Maldives. Meaning, not for us.
Last October, I took a group of four divers to Floreffe for a field session. Five metres of visibility. Water at 11°C. Flat white light, overcast sky. At the end of the dive, one participant showed me a photo of a large perch, tight frame, dark background, eye contact with the subject. One of the best images of the course. Taken with an iPhone in a 220-euro housing.
Cold water in Belgium is not an obstacle to underwater photography. It is a demanding training ground that makes you a better photographer, provided you understand its rules.
Why Cold Water Changes Everything
The first difference is colour. In the Mediterranean, water absorbs red first, then orange. In cold Belgian lakes, the tint shifts toward green, sometimes toward grey-brown, depending on suspended particles and the substrate. Post-processing corrections work differently, and white balance needs more deliberate attention.
The second difference is visibility. It varies significantly by site and season. Nemo 33 in Brussels offers exceptional visibility (20 metres constantly, filtered water). Natural quarries like Floreffe or the Eau d'Heure reservoir oscillate between 3 and 10 metres depending on the time of year. Framing at 5 metres is very different from framing at 20 metres. You are forced to get closer, to seek the detail.
The third difference is light. Belgian winter sun sits low. It penetrates less deeply, and diffusion becomes more even. Counterintuitively, this is interesting for photography: harsh shadows disappear, and detail stays visible across the entire frame. You lose the dramatic shafts of tropical light, but you gain consistency.
The fourth difference is you. In a thick wetsuit or drysuit, your fingers have less sensitivity. Buoyancy is different. Air consumption increases slightly. Air management during photography dives requires a bit more awareness than it does in warm water.
Gear: What Changes and What Doesn't
The good news is that cold water has no negative impact on your camera gear, as long as you observe a few basic precautions.
What doesn't change. Your camera, housing or waterproof compact performs exactly the same at 6°C as it does at 28°C. Batteries actually handle cold better than heat. Recreational underwater electronics are built for temperatures well below anything you encounter in Belgium.
What does change. O-rings stiffen slightly in cold water. Before any cold-water dive, check the condition of your housing's O-rings and apply a thin film of silicone grease if needed. Anti-fog inserts matter more in cold water: the temperature difference between a warm changing room and cold lake water creates condensation on the front port. Use a fresh anti-fog sachet for every dive. The guide on anti-fog for masks and camera housings covers the practical steps.
For the gear itself, I recommend in cold Belgian water what I recommend in general: a waterproof compact like the Olympus TG-7 or a smartphone in a quality housing. Both work well with a thick wetsuit's reduced dexterity, because the buttons are accessible and the interface stays simple. If you are still deciding what to buy, the article on underwater photography budget covers the most practical configurations by level and budget.
Camera Settings: Adapting to the Green Cast
The main adjustment in cold Belgian water concerns white balance and exposure.
White balance. Auto mode handles the green cast of Belgian lakes poorly. It often reads the scene as artificial lighting and pushes the image toward yellow, making it even harder to correct in post. If your gear allows it, set a custom white balance by placing a white surface in front of the lens at your planned working depth. Otherwise, shoot in RAW and correct afterwards.
Exposure. In cold, dim water, the temptation is to push ISO. Be careful: many entry-level cameras produce visible noise above ISO 800 underwater. Prefer a slight underexposure (-1/3 stop) that you recover in post over a blown-highlight image you cannot fix.
Distance to subject. This is the primary rule in underwater photography in poor visibility conditions: stay close. Under 50 cm, water turbidity has no significant impact on sharpness. The best images from Belgian lakes are often extremely tight shots, almost macro.
Composition. Cold water forces different framing instincts. With less background room available, you look for the detail rather than the wide shot. It is a formative exercise. Applying underwater photography composition rules under these constraints often produces more compelling images than the same rules in crystal-clear water.
Belgian Sites: What You'll Find and What You'll Learn
Each site has its own photographic character. Here are the ones I know well from training sessions.
Nemo 33 (Brussels). Perfect visibility, filtered water, constant temperature. The ideal site for working on pure technique without visibility or temperature constraints. No wildlife, but ideal for composition exercises, camera adjustment and gear handling. This is where AquaExposure sessions start. The article on Belgian diving sites for underwater photography covers the full range of available spots.
Eau d'Heure reservoir (Namur province). Natural site with richer wildlife. Carp, pike, wels catfish in the deeper zones. Variable visibility (3-8 metres by season). The feel is more authentic than a pool. This is where you start tracking subjects, anticipating fish behaviour.
Floreffe and Rochefontaine quarries. My favourites for macro and detail photography. Aquatic vegetation, invertebrates, dragonfly larvae, American crayfish. There is interesting subject matter for anyone willing to look. Running through the pre-dive photography checklist is especially important at these sites where access can be slippery.
Spontin and La Gombe. Excellent for first steps in natural-environment photography. Accessible wildlife, moderate depth, calm atmosphere.
Having a dive buddy who understands your photography pace changes everything. A buddy who anticipates your pauses, angles and subject approaches is a real asset. The article on diving as a photography buddy covers the positions and hand signals to use.
Post-Processing: Correcting Belgian Water's Colour Cast
Post-processing is unavoidable after a Belgian lake session. Here is the workflow I use consistently.
Fix white balance. In RAW, open Lightroom Mobile or Snapseed. Use the white balance eyedropper on a neutral area (a light sandy bottom, a uniform patch of green algae). If no neutral area is available, manually shift the Tint slider toward magenta to counteract the green cast.
Add clarity. Turbid water reduces micro-contrast. A light clarity boost (10-20%) restores presence to fine details.
Target the green tones. In the HSL (Hue/Saturation/Luminance) panel, reduce green saturation slightly if the image is pulling too hard in that direction. The goal is to keep natural green on vegetation while neutralising the water tint. The full workflow for underwater colour correction by water type covers the parameters for Mediterranean and tropical water. For cold freshwater, the principles are identical but the correction values are inverted.
Belgian conditions look nothing like a dream dive destination. That is precisely why they train you.
A photographer who knows how to work at 8°C with 4 metres of visibility, in a thick wetsuit, with discrete wildlife, knows how to work anywhere. When they arrive in the Maldives or the Mediterranean for the first time, the fundamentals are already internalised. They can focus on the image, not on the technique.
This is the philosophy behind AquaExposure training sessions. Start in the most demanding conditions, so that arriving somewhere beautiful becomes effortless. If you want to build these skills in a structured environment, AquaExposure underwater photography training offers a programme that starts from the very first pool session and builds toward open-water dives.
AquaExposure receives no affiliate commission on any gear mentioned in this article. All recommendations are based on field use only.
Cold Water Underwater Photography in Belgium: Technique and Gear | AquaExposure