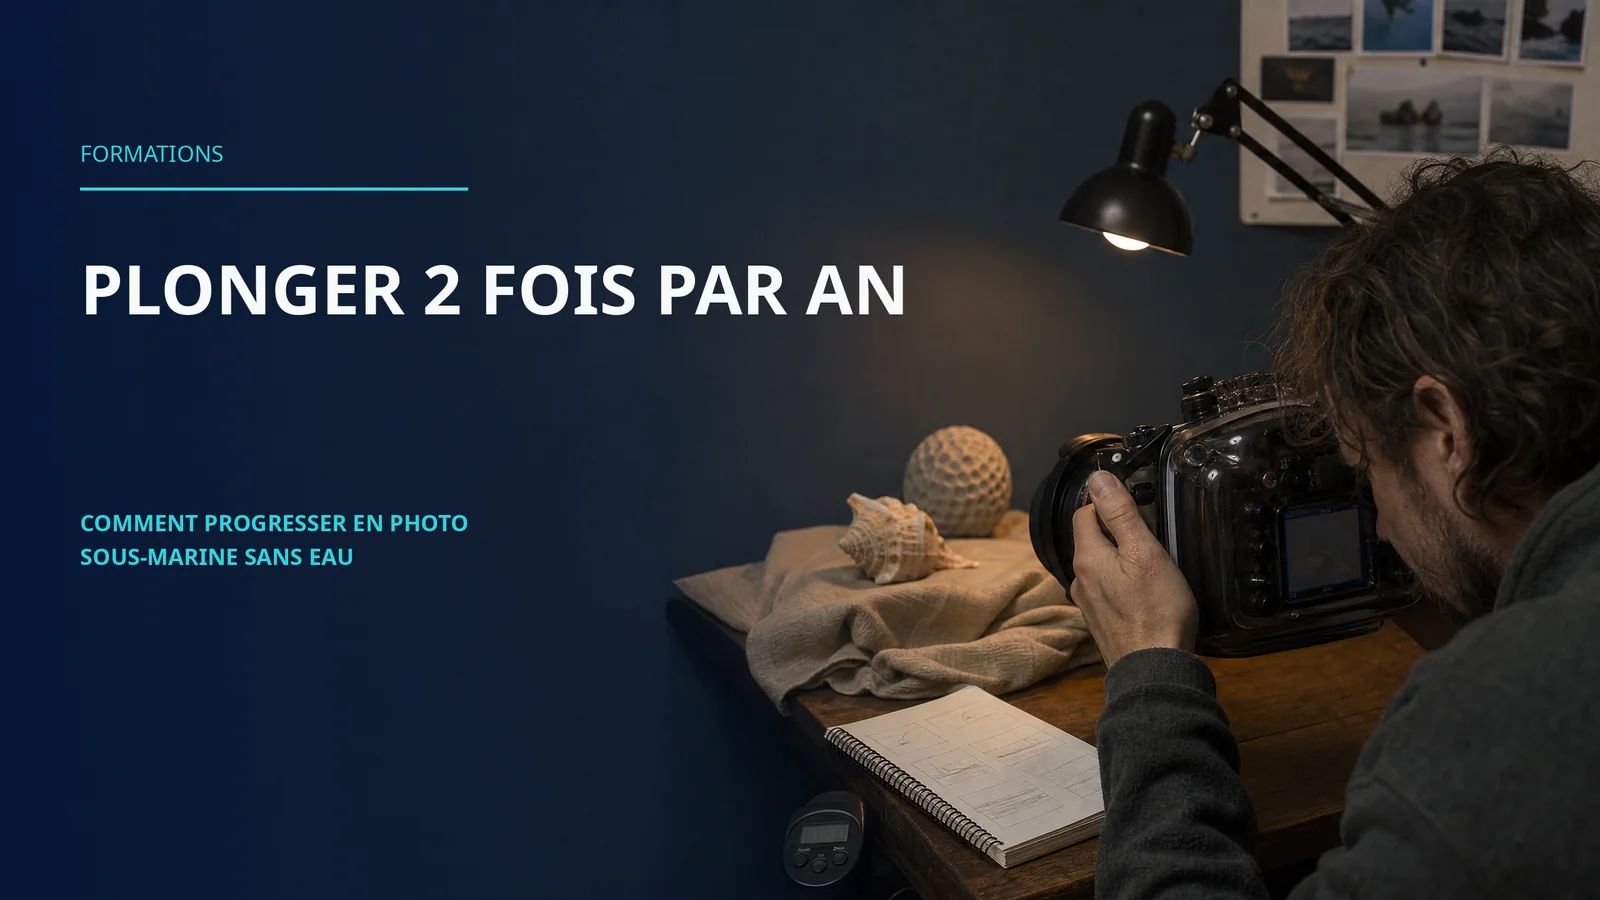
Diving twice a year: How to progress in underwater photography when you don't have access to the water
Are you a beginner diver who wants to improve their underwater photography skills? The complete method: practical training on land, theory, and exercises on dry land.
If I only dive once a year, is it really worth practising photography in between?
More than ever, yes. Someone who dives once a year needs to make the most of that single window. Without preparation, you will spend half your trip getting back into the groove. With preparation, you are operational from the first dive and capitalise on every image.
What is the minimum weekly time to maintain my progress?
Three to five hours per week is a good target. Split, for example, into 30 minutes per day of land practice, plus 1 to 2 hours weekly of theory study or gear handling. Below 2 cumulative hours per week, you barely maintain. Above 6 hours, returns diminish if the practice is not varied.
Do land exercises really work for underwater photography?
Yes, and it is documented empirically by every underwater photographer who has taken this path. Photography's technical skills are largely universal. What changes underwater is the context, not the fundamentals. A photographer trained on land has essentially one thing left to learn in the water: stability with buoyancy.
My main problem is buoyancy, not photography. How do I improve outside the water?
Pure buoyancy cannot be learned out of water, but many of its prerequisites can. Postural endurance, breath control, and body awareness can be worked on through yoga, static apnea, and core training. That is also why freediving and snorkelling are excellent stepping stones.
How many years to reach a good level if I dive twice a year?
With serious practice between seasons: 3 to 4 years for a competent underwater photographer level, capable of producing quality images in standard conditions. Without practice between seasons: 8 to 12 years, with likely stagnation in the middle. The multiplier effect of out-of-water practice is roughly three.
Do exotic trips really accelerate progress?
They accelerate the number of images you bring home, but not necessarily the skills acquired. A week in the Maldives without preparation produces beautiful images thanks to the wildlife, but little lasting progress. A well-prepared week in the Mediterranean produces fewer spectacular images but more transferable learning. Ideally, alternate both.
What is the main trap for the motivated occasional diver?
Over-investing in gear to compensate for lack of practice. A 5000- euro body used twice a year produces fewer good images than a 700- euro smartphone used with method. The rule is simple: as long as you are not limited by your current gear, do not buy more.
Does an online course really accelerate off-water progress?
Yes, provided the course is structured by skill rather than by subject. A course that teaches you composition for six weeks then natural light for six weeks is more useful than one organised by topic. Linear progression by skill is what makes the difference between a course that transforms you and one that distracts you.
Diving twice a year: how to progress in underwater photography when you don't have access to the water
To improve underwater photography when diving infrequently, four key elements can be activated outside of the water: practicing regular terrestrial photography, manipulating your dry and pool setup, studying theory independently, and preparing each dive as a production session. Most casual divers stagnate because they confuse the number of dives with photographic progress. These are two different variables.
A well-prepared dive once is worth ten dives without preparation. This is what this article demonstrates, with evidence to support the claim.
Why spending more time underwater isn't the solution
The common belief is that to become a good underwater photographer, you need to accumulate dives. This is partially false. Diving frequently helps, of course, but only if the practice is accompanied by consistent work on land.
Without preparation, each dive unfolds in a similar way: you manage your buoyancy, you follow the group, you photograph what passes by, you ascend, and you view your images, hoping that this time it will be better. Six months later, out of 50 dives, you may have progressed by 10%.
Conversely, a diver who dives twice a year but dedicates three hours per week between seasons to practicing terrestrial photography, handling their dry box, studying underwater light, and preparing for each dive, progresses faster. Measurably faster. This is counterintuitive, but it is what on-site observation confirms year after year.
The reason is neurological. Photographic skills are built through repetition of a gesture with immediate correction of the error. Underwater, these conditions are rarely met: immediate correction is complicated, visual feedback is limited, and time is a factor. On land, these conditions are trivial to meet. One hour of targeted practice on land is therefore worth much more than one hour of unprepared practice underwater.
The four levers that can be activated out of the water
Here are the four levers, in order of decreasing effectiveness. Work on them in this order if you are starting from scratch.
Lever 1 - Terrestrial Photography Practice
This is the most powerful and often overlooked lever. Photographing on land, regularly, with any device, builds the reflexes that can be fully transferred underwater: composition, framing, understanding of light, anticipation of movement, and depth of field management.
Thirty minutes a day with your smartphone is enough. Photograph what you have at hand: flowers, pets, street scenes, backlit kitchen scenes, macro of textures. Vary the subjects, vary the hours, vary the lighting conditions.
Your dive gear should become an extension of your hand before your next dive, not during. Thirty minutes of dry exercises per week and three one-hour pool sessions will radically transform your underwater fluidity.
The goal is not the photo itself, but the automation of commands. When your fingers know where to go without your brain having to think about it, you free up a huge amount of mental bandwidth that can then be dedicated to composition and observing the subject.
This is the most accessible and most underestimated lever. Understanding the physics of light underwater, the principles of composition, the behavior of marine species, and reading dive conditions – all of this can be learned from a chair.
One hour per week of reading, watching videos, or online courses, accumulated over 6 months, represents 25 hours of theoretical training. This is equivalent to an intensive accelerated training course. And each concept learned becomes usable on your next dive.
Some key topics to explore: the loss of wavelengths with depth (to understand why your photos are blue and how to address this), the principles of photographic composition applied to underwater photography, the behavior of the species you will encounter in your diving area, and the techniques for ethical animal interaction. The article Mastering Natural Underwater Light covers this topic in detail.
Lever 4 - The pre-dive preparation
Each upcoming dive should be prepared as a production session. This means: knowing in advance the site, the conditions, the likely species, the ideal time to dive according to the light, your target settings, and the angles you want to test.
The difference between a prepared dive and a spontaneous dive is enormous. On a prepared dive, you know what to look for, where to find it, and how to photograph it. On a spontaneous dive, you discover everything at the same time and you photograph in reaction, not with intention.
This preparation takes approximately 30 minutes per dive. It is worth several hours of unprepared diving.
The typical program for a diver who dives 2 times per year
Here is a concrete program, calibrated for a diver who plans two annual diving trips of one week each. Total: 10 to 14 dives per year.
Phase 1 - The 4 months after your last dive
This is the consolidation phase. You have just finished diving, you have fresh images, and you have identified specific gaps. This is the ideal time to structure the next steps.
Week 1: Critical review of all your images from the last dive. Identify the three recurring errors (composition, exposure, distance, etc.). These will become your top priority goals for the following months.
Weeks 2 to 16: Daily on-land practice (30 minutes) with a monthly focus on one of the identified weaknesses. Weekly theoretical study (1 hour). Dry practice with the camera three times a week (15 minutes).
At the end of this phase, you will have consolidated approximately 80% of the basic techniques.
Phase 2 - The 6 weeks before your next trip
This is the activation phase. You increase the intensity and prepare for production.
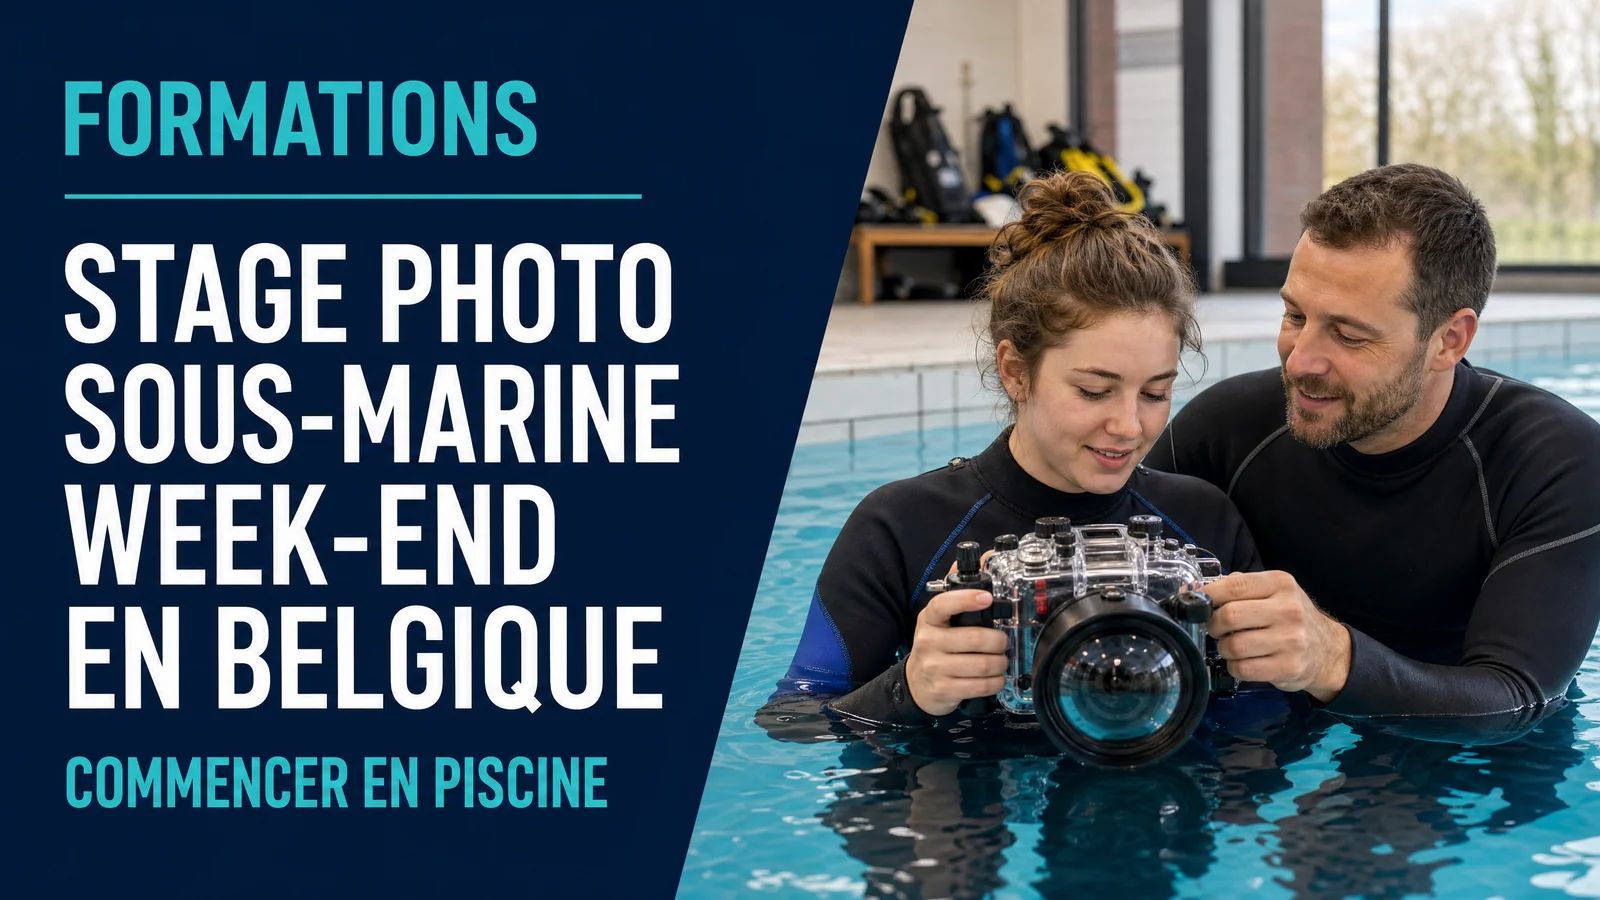
Pool sessions: three one-hour sessions spread over 6 weeks. You validate the functionality of the housing in an aquatic environment and test all your settings.
Search the site: carefully study the area where you will dive. Predictable species, seasonal conditions, typical depths, and hours of best light. Create a mental library of target images to try.
Material preparation: check each part of the setup, each battery, each memory card. Re-seal the housing. Check the seal with a test in the pool. The worst thing that can happen is to discover a problem with the equipment on site.
Phase 3 - The Week-Long Stay
This is the production phase. Everything you have prepared is now being put into action.
Before each dive: 15 minutes to review your daily photographic goals and settings. During the dive: focus on one technical objective at a time, not ten. After each dive: 30 minutes to review the images, identify what worked and what didn't, and adjust for the next dive.
It is this dive-review-adjustment loop that transforms a week of diving into real progress. Without it, ten consecutive dives are hardly worth more than three.
Phase 4 - The weeks after the trip
This is the phase of culling. You have brought back 200 to 1000 images. The real progress begins now.
Cruel rule: select the 5 to 10 best images, the 5 to 10 worst images, and forget the rest. For the best, understand what worked. For the worst, understand what didn't work. Note these learnings in a notebook.
The photo log is not a detail. It is the thread that connects your sessions together over time. Without it, you will forget what you learned while diving in six months.
Three Myths That Hold Back Casual Divers
Three common misconceptions discourage divers who don't dive often. They deserve to be debunked.
Myth 1: "I don't dive enough to buy photography equipment."
False for most cases. On the contrary, an occasional diver has all the reasons to buy modest equipment that he can take and use on every dive, rather than renting or hesitating because he thinks he needs to reach a certain level. A smartphone in a 100-200 euro case, or a used waterproof compact camera, become profitable from the second dive. The real question is not "how often I dive" but "what will I do with it between dives". The details of the equipment choice are in the complete guide to the best underwater camera for beginners.
Myth 2: "I'm too rusty to take good photos after six months without diving."
Partially true if you haven't done anything between the two seasons. Completely false if you have practiced outside of the water. Divers who train on land regain their photographic level in one to two dives. Those who have done nothing need four to five dives just to get back into the habit, thus losing half of their trip.
Myth 3: "It's pointless to practice on land, it's so different underwater."
False. Composition, framing, light management, anticipating movement, shooter stability – all these skills translate completely. What changes underwater is the context (buoyancy, filtered light, three-dimensional subjects), but the core skills remain the same. A photographer who photographs birds in flight will have no trouble photographing fish. A photographer who photographs macro flowers will have no trouble photographing nudibranchs.
The trap of all-inclusive diving trips
Many casual divers focus their dives on two to three expensive annual trips. This model has an obvious advantage (intensity) but also an often overlooked drawback.
The trap is the illusion of progress linked to the quality of the website. In the Maldives, at Raja Ampat, in the Red Sea, you inevitably bring back impressive images because the fauna is extraordinary. You believe you are progressing. In reality, it is the website that produces the images, not you.
The proof is simple: reproduce these images in the Mediterranean or the North Sea, without the same level of fauna, and you will discover your true level. It is often humbling. It is also beneficial. It is the mirror that shows you where you really are.
If possible, alternate between exotic trips and modest local dives. Brussels residents, dive in Zeeland. People from Lyon, dive in the Mediterranean. Swiss residents, dive in the Alpine lakes. The modest conditions of local diving reveal and develop your true skills. Spectacular trips expose them to full light.
For a diver who doesn't dive often, the question of the equipment investment threshold is a recurring one. Here are the recommendations I make.
With less than 30 cumulative photo dives, stick to modest equipment: smartphone in a housing, entry-level waterproof compact camera, used GoPro. You haven't yet identified your true needs, and you risk overpaying for features that you won't use.
Between 30 and 50 photo dives, start analyzing what is really limiting you. Is it a lack of image quality in low light? A lack of autofocus responsiveness? A lack of manual controls? This analysis should be documented dive by dive. Otherwise, you will buy equipment based on impressions, not needs.
Beyond 50 photo dives with the same setup, you'll know exactly what you're missing. It's only at this stage that a more significant investment (a dedicated enclosure, specialized lenses, continuous lighting) begins to make sense.
For a diver who dives 10 times per year, these thresholds correspond to 3 years, 5 years, and beyond. That's a long time. But that's also why so many occasional divers buy high-end equipment prematurely and use it poorly. They confuse equipment progression with photographic progression.
My experience with divers who dive infrequently
In the Maldives, I had many students who only dived during their annual stay. One week of intensive underwater photography, then nothing for eleven months. The reason I observed is as follows.
Those who engaged in activities between seasons (land-based practice, theoretical study, exercises on dry land) arrived well-prepared to make the most of each dive. Their progress curve was clear from year to year. After three or four stays, they produced images worthy of a regular photographer.
Those who did nothing between seasons returned almost to the same level each year. They regained their reflexes after three days, they took two or three good photos by chance, and they left without having made any lasting progress. Year after year, they stagnated.
The variable that made the difference was never talent or equipment. It was practice between seasons. One hour per week, multiplied by 50 weeks, is 50 hours of annual practice. No one dives 50 hours per year. This asymmetry is the opportunity.
This is precisely around this observation that the AquaExposure training is structured. It gives you what to do between dives, not just during them.
AquaExposure does not receive any affiliate commissions on the equipment mentioned in this article. Our recommendations remain independent.
Frequently Asked Questions
If I only dive once a year, is it really worth practicing photography in between?
More than ever, yes. Someone who dives once a year needs to make the most of this single window. Without preparation, you will spend half of your trip getting back into the habit. With preparation, you are ready for the first dive and you maximize your results with each shot.
How much minimum time per week should I spend to maintain my progress?
Three to five hours per week is a good goal. For example, distribute them as 30 minutes of practice per day, plus 1 to 2 hours of theoretical study or equipment handling per week. Less than 2 hours per week cumulatively, you barely maintain. Beyond 6 hours, the return decreases if the practice is not varied.
Do land-based exercises really work for underwater photography?
Yes, and this is empirically documented by all underwater photographers who have followed this path. The technical skills of photography are largely universal. What changes underwater is the context, not the fundamentals. A photographer trained on land has almost only one thing to learn underwater: stability with buoyancy. Everything else is already acquired.
My main problem is buoyancy, not the photography itself. How can I improve on this point off the water?
Pure buoyancy cannot be learned outside of the water, but many of its prerequisites can. Postural endurance, breath control, body awareness - all of these can be developed through yoga, static apnea, and core strengthening. Regular practice of these disciplines will make it easier for you to achieve buoyancy when you return to diving. That's why apnea and snorkeling are excellent intermediate activities.
How many years to reach a good level if I dive 2 times per year?
With serious practice between seasons: 3 to 4 years to achieve a competent level of underwater photographer, capable of producing quality images in standard conditions. Without practice between seasons: 8 to 12 years, with a likely plateau in the middle of the journey. The multiplier factor for off-season practice is approximately three.
Do exotic trips really accelerate progress?
They accelerate the number of images captured, but not necessarily the skills acquired. One week in the Maldives without preparation will produce beautiful images thanks to the wildlife, but with little lasting progress. One week in the Mediterranean, well-prepared, will produce fewer spectacular images but more transferable learning. Ideally, alternate between the two.
What is the main trap for the occasional diver who is motivated?
Don't overspend on equipment to compensate for a lack of practice. A 5000 euro camera used twice a year produces fewer good images than a 700 euro smartphone used methodically. The rule is simple: as long as you are not limited by your current equipment, don't buy more. You will know when you are limited, it is explicit, not a vague impression.
Does taking an online course really speed up off-camera progress?
Yes, provided the course is structured by skill and not by subject. A course that teaches you "macro" or "pelagic photography" is less useful than a course that teaches you "how to work on composition for six weeks" then "how to master natural light for six weeks". Linear progression by skill is what makes the difference between a course that transforms you and a course that distracts you.
The underwater world is full of incredible light and color. This makes it a perfect subject for underwater photography. One of the most important things to remember is to use a wide-angle lens. This will help you to capture as much of the scene as possible. You should also pay attention to the light.
Do you want a handy summary to take on your next dive? The free AquaExposure guide "The 7 Essential Settings for Underwater Photography" is available as a PDF. White balance, exposure, focus, distance, angles, pre-dive checklist, and natural light: the basics applicable immediately on your next outing, without purchasing equipment. Download the guide for free
The underwater world is a magical place, full of hidden wonders and incredible creatures. With the right equipment and techniques, you can capture these wonders and share them with the world.
One of the most important things to remember when underwater photography is to be patient. The best shots often come when you are waiting for the right moment.
Another important tip is to use a good buoyancy control. This will help you stay in the right position and avoid disturbing the marine life.
Finally, be sure to have a backup plan in case of equipment failure. This could include bringing an extra camera, a spare battery, or a waterproof bag.
With a little preparation and practice, you can take amazing underwater photos that will last a lifetime.