How long does it take for underwater framing to become automatic?
With 15 minutes of daily practice and two photo dives per month, count on four to six months for semi-automatic framing (you choose your angle before releasing the shutter in 60 to 70% of cases). Complete automaticity usually takes a whole season of targeted practice.
Is composition in underwater photography different from classical rules?
The basic rules are the same (rule of thirds, background management, leading lines). But some principles become more important underwater: a dark background to isolate the subject, an upward angle for dynamic perspectives, and managing the foreground which often disappears underwater.
Why do all my underwater photos look the same?
This is a symptom of mechanical framing: you shoot from your natural position, without looking for an alternative angle. The solution: before each shot, ask yourself if you can find an angle 20 degrees different from your current position. Often, going slightly lower and aiming upwards transforms a mundane image into an interesting one.
Is composition less important if I use a wide-angle lens?
No, on the contrary. A wide-angle lens captures more environment, which makes background management even more critical. An approximate composition with a wide-angle lens produces an image with many distracting elements on the periphery. Compositional rigour is more important, not less, with a wide-angle lens underwater.
Is it mandatory to practice in a pool, or is an aquarium enough?
Both serve different functions. The aquarium trains composition and reaction speed on moving subjects. The pool trains framing in your actual housing, with the management of your position in the water. If you had to choose, the pool with your actual housing prepares you better for the exact conditions of the dive.
I dive very little. Which exercise should I start with as a priority?
With the 2-second composition exercise, on land, with your phone. It simulates the time pressure of diving without requiring specific equipment. After four weeks of this daily practice, your framing will already be significantly faster on your next dive.
Does my current camera prevent me from progressing in framing?
Framing is independent of the gear. With any device (smartphone, compact, GoPro) you can work on the same compositional reflexes. Equipment may limit your technical options, but it doesn't limit your development as a composer.
Framing Underwater is Different: Why It's Difficult and How to Practice
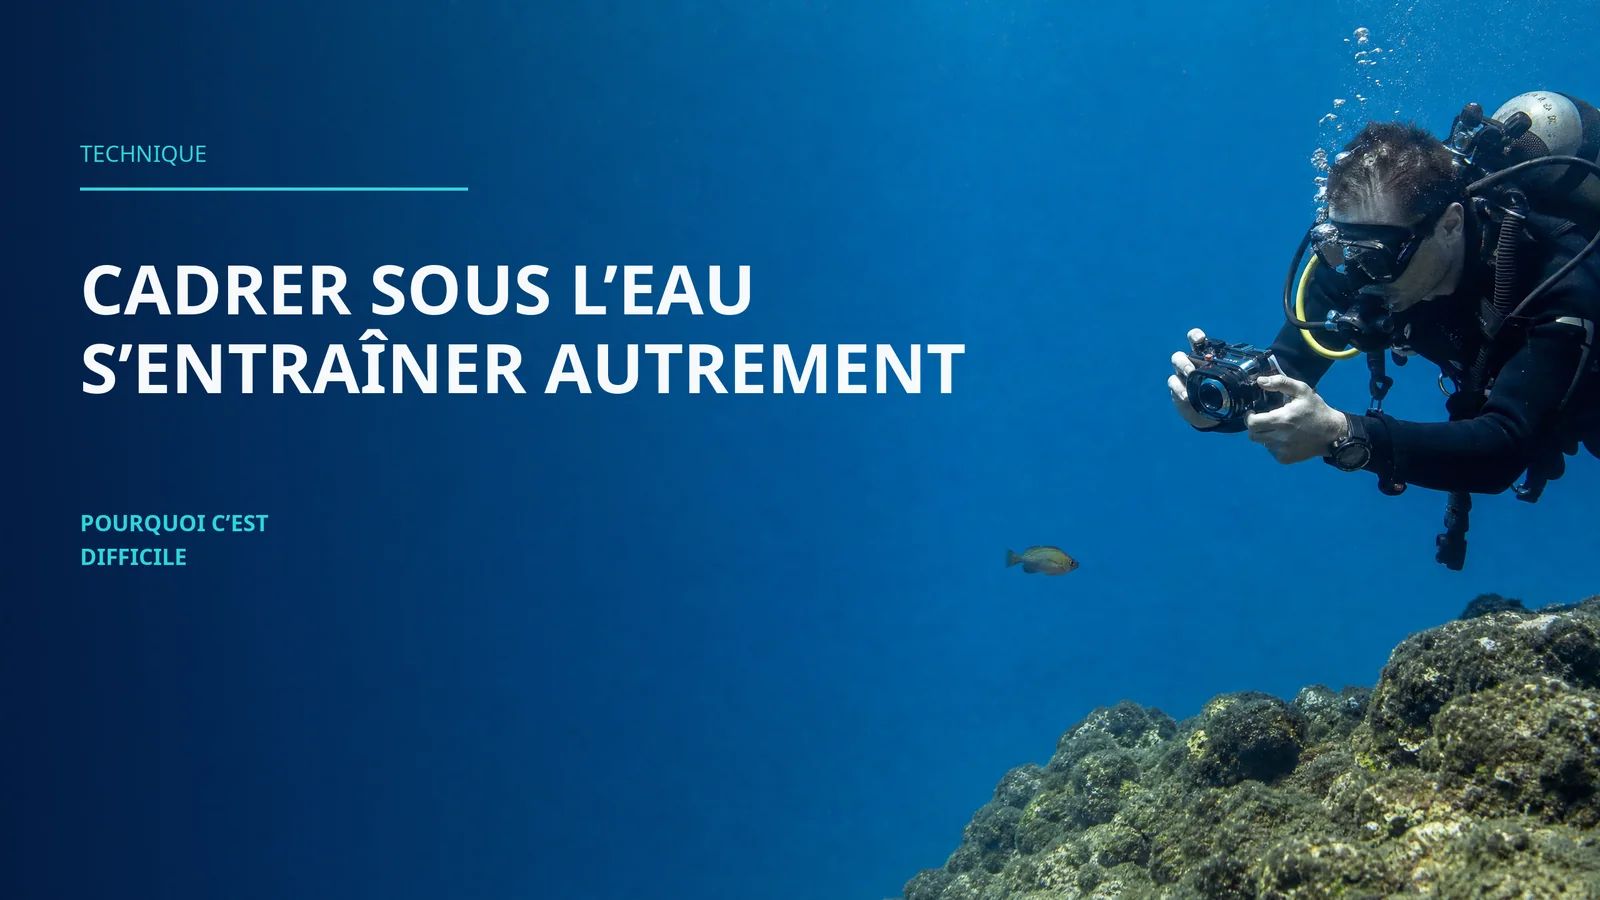
Framing underwater is difficult because the environment imposes six simultaneous constraints that are absent on land: you move in a three-dimensional space, your subject is in motion, your time is limited, your brain is in cognitive overload, your posture is unstable, and the screen is difficult to read. These constraints must be addressed separately, with targeted exercises, before actually going down. It is not a matter of talent. It is a matter of specific training.
The good news: each of these obstacles can be prepared for outside the water. The bad news: most divers do not spend a single hour doing so.
Why Land Composition Does Not Directy Transfer
On land, framing is a relatively comfortable act. You move freely around your subject, you take your time to find the right angle, you look at your screen or your viewfinder at your own pace, and if the image is not good, you start over. The margin for error is wide.
Underwater, this margin disappears almost completely.
A diver who knows how to frame on land often arrives at their first photo dive with a reasonable conviction: their composition reflexes will apply naturally. This is partially true: the rule of thirds remains the rule of thirds, a clean background remains preferable to a cluttered one. But the technical execution of these principles in an aquatic environment requires a rewiring of several reflexes.
This rewiring is the subject of this article.
The Six Specific Constraints of Underwater Framing
1. You Are in a Three-Dimensional Space
On land, you move mainly in a horizontal plane. You move forward, backward, right or left. Height is a variable that you choose to modify (you can sit, kneel, use a ladder) but it remains under control.
Underwater, the third dimension is omnipresent and constant. You drift slightly up or down depending on your buoyancy, the swell oscillates you, and your posture changes according to your fins. Your subject, meanwhile, moves in all three axes at the same time.
This three-dimensional nature has a direct impact on framing: your relationship to the shooting angle changes completely. Upward framing (very common in underwater photography, because it places your subject against a blue background and creates clean images) requires you to position yourself below your subject. This implies going down, stabilizing slightly below, and aiming upwards. A movement you have never had to make reflexively on the surface.
2. Time with Your Subject is Measured in Seconds
In land photography of nature or street, you can observe a scene for several minutes. You wait for the right moment, you adjust your composition, and you recreate the image.
Underwater, the window is brutally short.
A curious grouper that approaches will generally leave in ten to fifteen seconds if you make a sudden movement. A passing ray will be out of frame before you have had time to reposition yourself. A nudibranch, which is more cooperative, will let you work, but the slightest disturbance of the bottom by your fins stirs up the water and degrades the image quality.
This time pressure is one of the reasons why composition cannot be a conscious process underwater. It must be a reflex. If you need three seconds to decide where to position your subject in the frame, you will miss the image.
This is one of the central reasons why the 1000 land photos method is so effective: it builds this automaticity in an environment where time is not counted.
3. Your Cognitive Load is at Its Peak
In diving, you manage simultaneously your buoyancy, your air consumption, your depth, the position of your fins relative to the bottom, the approach of your subject, and your settings. This is five to six tasks in parallel before you have even thought about composition.
Our working memory is limited. When it is saturated by the imperatives of diving, there is almost nothing left to consciously choose a framing. The result: you trigger the camera from where you are, in the axis you are looking, without really choosing.
The solution is not to concentrate more. It is to reduce cognitive load through automation. When your buoyancy is a reflex, when handling your housing is a reflex, and when framing is a reflex, your brain regains space to really observe your subject.
The best framing in the world produces nothing if your body moves during the exposure. Underwater, achieving perfect immobility requires buoyancy calibrated to the gram, a skill that takes dozens of dives to build.
While waiting for this mastery, your framing suffers from a mechanical problem: you frame what you see in your viewfinder or on your screen, you trigger, and the image shows something slightly different because you moved between the two.
Specific training for framing under unstable conditions is practiced in the pool: photographing a fixed subject (such as a tile on the bottom, a weighted toy) from a suspended position in open water, without touching the bottom, by adjusting your buoyancy through breathing. The constraint is uncomfortable, but it builds exactly the connection between body position and framing quality.
5. Horizontal Orientation is Counter-Intuitive
In land photography, both portrait (vertical) and landscape (horizontal) format are natural depending on the subject. Underwater, almost all beginners start by filming in landscape mode, housing horizontal, and almost never change orientation.
This reflex produces images that all look alike: subject in the middle, blue background to the right and left, and too much empty space. Portrait framing (housing rotated 90 degrees) is underused, whereas it often produces much more dynamic compositions on vertical subjects such as seahorses, crinoids, and moray eels in their holes.
Rotating your housing 90 degrees underwater seems trivial. It is not. Your screen changes axis, your visuelle reference points shift, and your buttons may no longer be in the same relative position with respect to your hand. This is a transition that is prepared on land, in the lab, before being tested while diving.
6. The Screen is Difficult to Read
The diffraction of water, reflections on shallow surfaces, the possibility of internal condensation, and the reduced light at depth make the screen of your housing significantly less readable than on land. You sometimes have the impression that your image is correctly exposed and framed, and you get out of the water with disappointing photos.
The answer to this problem is not a larger screen. It is to develop the ability to compose without relying entirely on the screen. With a precise knowledge of the field of view of your lens at each focus distance, you can preview what your camera will capture before you even look at the screen. This is a skill that is built progressively, and it begins with repeated practice at a constant distance on the same subject.
Concrete Exercises to Practice Underwater Framing
Exercise 1 - The 2-Second Composition
This land exercise simulates the time pressure of diving. You have 2 seconds to photograph a given subject. No more.
Hold your phone or your camera in your hand. Ask someone to name a subject in your immediate environment: "the cat", "the cup", "the corner of the piece of furniture". You have 2 seconds to lift the camera, frame, and trigger.
Do 30 to 50 repetitions per session. Look at the result. In the first sessions, your images will often be poorly framed, the horizon tilted, the subject on the edge or cut off. After several weeks of this exercise, your framing reflexes will become fast enough to anticipate the composition within the 2-second window.
This speed is precisely what diving requires.
Exercise 2 - The Upward Angle in the Pool
This exercise works on the reflex of framing from below, the most common angle in underwater photography, and the least natural in land photography.
In a pool, slightly weight a colored object and place it on the bottom (5 to 15 cm of water is enough if you do not have access to a pool). Equip your housing. Position yourself standing above the subject, then bend your knees to lower your camera below the level of the subject and aim upwards.
The goal of the exercise is not to make a beautiful photo. It is to get used to the physical sensation of upward framing: your back slightly arched, your arms carrying the housing down and forward, and your gaze on the screen which is now almost below you. This positioning gradually becomes natural.
Do 3 pool sessions of 30 minutes each, focusing solely on this angle. The quality of the images will matter on the third session. Not before.
Exercise 3 - The Clean Background or Dark Background
In underwater photography, the background behind your subject is often what separates an ordinary image from a strong one. A dark background isolates your subject. A clean background (without distracting elements) guides the eye. A cluttered background drowns your subject.
On land, managing the background is a skill that you can train in a very direct way. Choose a fixed subject (a plant, an object, your cat). Take 20 photos of this subject with 20 different backgrounds, moving only your angle of view, not your subject. Note the difference in legibility between the backgrounds.
Transposed underwater: before triggering on a nudibranch, take half a second to look for the angle that places the animal against the cleanest or darkest background available. This half-second of searching is activated by the habit built during land practice.
Exercise 4 - Training at the Aquarium
The aquarium is the training environment for underwater framing that is closest to real conditions, and the most underused. You have moving subjects, a distance constrained by glass, variable artificial light, and a physical impossibility of moving freely around the subject.
Spend two hours in an aquarium with only your phone, without a housing, without any special equipment. The goal: take 200 photos of moving fish while specifically working on composition. Vary the angles, look for clean backgrounds, try to frame the subjects at different thirds of the image.
Look at your 200 images at the end. Sort out the 10 best. This selection criterion teaches you more about your composition reflexes than any theoretical article.
Exercise 5 - The Rule of Thirds in Unstable Mode
This exercise simulates the postural instability of diving. Standing on one leg, or in an unstable squatting position, photograph small subjects less than 30 cm away. Your goal: keep the subject in the left or right third of the frame despite the instability.
The exercise is deliberately uncomfortable. That is the goal. Your brain learns to maintain a framing intention even when your body oscillates, exactly what it will have to do underwater.
The Realistic Progression Scheme
A diver who starts without any targeted practice of underwater framing will go through three recognizable phases.
Phase 1 - The Mechanical Trigger. You trigger when you see something interesting, without really choosing your angle. Your images show your subject in the middle, often slightly blurry because you approached too quickly, with a cluttered background. This is where 90% of underwater photographers start.
Phase 2 - Composition Awareness. You begin to see composition problems in your images after the dive. You understand that the background was too cluttered, that you should have gone lower to aim from below. But this awareness arrives after the shot, not before.
Phase 3 - Anticipation. Before triggering, you choose your angle. You take half a second to mentally see the image you are going to make. The background, the position of the subject in the frame, the light. This is the phase where composition becomes a reflex, not a reflection.
The transition from Phase 2 to Phase 3 is the most difficult and decisive step. The exercises described here aim precisely to accelerate this transition. Without targeted practice, this leap can take years. With it, it takes a few months.
For divers who only dive two or three times a year, the question of moving from one phase to another is all the more acute. If each dive brings you back to Phase 1 because you have not maintained your level between seasons, you stagnate indefinitely. The solution is in diving twice a year: how to progress in underwater photography when you don't dive much, an article that develops the four levers that can be activated outside the water.
What I Have Understood by Observing My Students
When I organize underwater photo outings, I see two profiles clearly distinguish themselves.
First profile: divers who are very comfortable in the water, good buoyancy, but who have no land photography practice. They manage their position in the water perfectly. But when a subject presents itself, they are late. They see the possible image after the window has closed. The framing arrives too slowly.
Second profile: divers who are less experienced technically, but who practice photography on land regularly. Their buoyancy is less precise, but as soon as a subject presents itself, something happens differently. They take position. They search for their angle. The trigger is more intentional.
The images of the second profile are often better, despite inferior diving skills.
The reason is simple: composition is the result of a decision. And a conscious decision takes time that diving does not give. Only a decision transformed into a reflex is fast enough to work in this environment.
None of these exercises require a half-day. Here is a realistic structure for someone who works and dives two to four times a year:
Every day (15 minutes). Photograph something, anything, with your phone, imposing a framing constraint on yourself. One week: subject always in the left third. The next: background always dark. The next: angle always from below the subject. Constraint is more productive than total freedom.
Once a week (30 minutes). 2-second composition exercise. 30 to 50 quick triggers on various subjects. Review your images, identify the dominant error pattern of the week.
Once a month (2 hours). Aquarium session. 200 photos, analysis of the 10 best, identification of your preferred angles and those you avoid.
Before each diving season (3 sessions of 1 hour). Pool training with your housing, focusing on upward framing and portrait rotation. As explained in the article on the camera as an extension of the hand, these sessions are worth several sea dives in terms of progression.
This rhythm (modest, regular, targeted) builds durable reflexes. It is not the intensity of a session that counts. It is the regularity over several months.
If you want a structured approach from A to Z, the AquaExposure training integrates these framing exercises into a progressive curriculum, with pool exercises, land exercises, and follow-up between dives.
Frequently Asked Questions
How long does it take for underwater framing to become automatic?
Variable depending on your pace of land practice and your diving frequency. With 15 minutes of daily practice and two photo dives per month, count on four to six months for semi-automatic framing, meaning that you choose your angle before triggering in 60 to 70% of cases. Complete automaticity (Phase 3) generally takes a full season of targeted practice.
Is composition in underwater photography different from classical rules?
The basic rules are the same: rule of thirds, background management, leading lines. But some principles take on more importance underwater: a dark background to isolate the subject (the infinite blue background can be as problematic as a cluttered background), an upward angle for dynamic perspectives, and managing the foreground which often disappears underwater whereas it is common on land.
Why do all my underwater photos look the same?
This is a symptom of Phase 1 framing: you trigger from your natural position, without looking for an alternative angle. The solution is to impose a simple rule on yourself during your next dive: before each image, ask yourself if you can find an angle 20 degrees different from your current position. Often, moving your axis 20 degrees down transforms a mundane image into an interesting one.
Is composition less important if I use a wide-angle lens?
No, on the contrary. A wide-angle lens captures more environment, which makes background management even more critical. An approximate composition with a wide-angle lens produces an image with many distracting elements on the periphery. Compositional rigour is more important, not less, with a wide-angle lens underwater. If you are wondering about the right setup to progress, the best underwater camera for beginners: the honest answer details the relevant criteria.
Is it mandatory to practice in a pool, or is an aquarium enough?
Both serve different functions. The aquarium trains composition and reaction speed on moving subjects, behind glass. The pool trains framing in your actual housing, with the management of your position in the water. If you had to choose just one of the two, the pool with your actual housing prepares you better for the exact conditions of the dive.
Does my current camera prevent me from progressing in framing?
Framing is independent of the gear. With any device (smartphone, compact, GoPro, hybrid in housing) you can work on the same compositional reflexes. Equipment may limit your technical options (focus distance, field of view), but it does not limit your progression in composition.