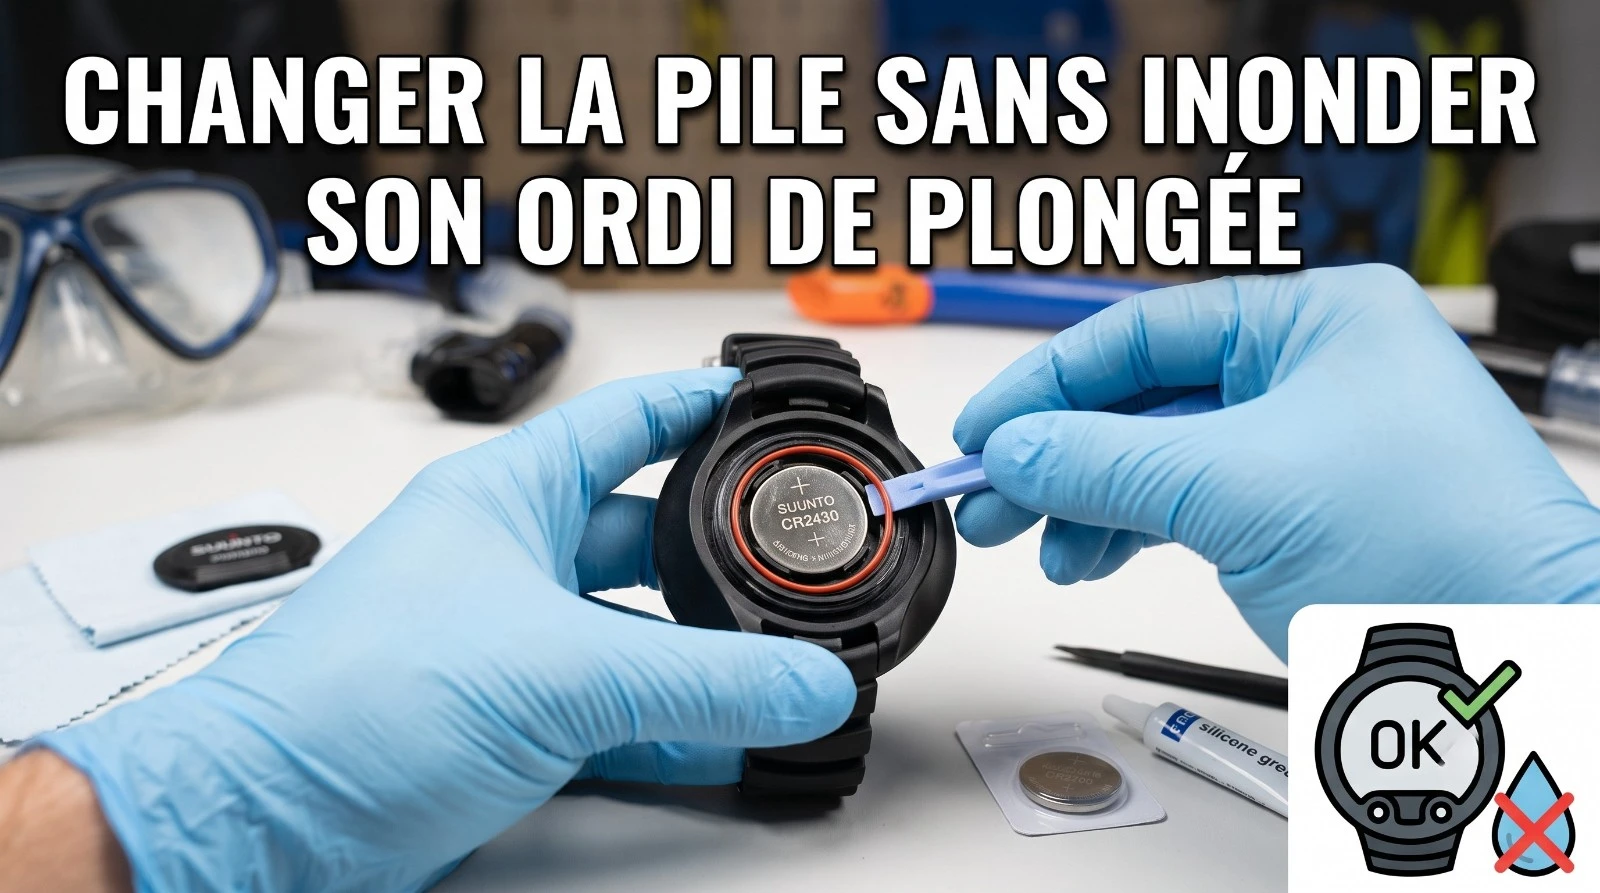
Step-by-step tutorial for replacing the battery in your dive computer. Cleaning tips, O-ring lubrication, and leak testing procedures.
To learn how to get the most out of your gear underwater, discover the AquaExposure Training.
1. Introduction
Within the confined space of a diving boat cabin or on the clean surface of a workshop table, opening a waterproof instrument is akin to a surgical procedure.
It was the water pressure that taught me, over the years and through the numerous instances of equipment failures caused by my trainees, that changing the battery is the most critical moment in the life of our equipment.
A simple handling error, a poorly positioned seal, or an invisible grain of sand, and your precious device will be flooded on the very first submersion.
To avoid this common mishap, here is the rigorous procedure to follow step by step. The order of these steps is crucial to ensure a proper seal.
2. The step-by-step procedure
1. Environment Setup
Set up on a clean, dry, and well-lit surface. Absolutely avoid dusty or sandy areas, such as the deck of a moving boat.
Wash and thoroughly dry your hands. Prepare your materials: a new battery, a new O-ring, silicone grease, a lint-free cloth, and the appropriate opening tool.
2. Preliminary Cleaning of the Computer
Never open an instrument that is covered in salt or sand. If the computer has recently been submerged, rinse it with lukewarm fresh water.
Carefully dry it with a clean towel before unscrewing anything. No water droplets should seep in during the opening process.
3. Opening the compartment
Carefully unscrew the cover. If you are using a coin, choose one that fits perfectly into the slot, such as a fifty-cent piece.
This precaution prevents damage to the plastic screw thread. Then, carefully remove the protective cover and the used battery.
4. Removing the old gasket.
Never use a sharp metal tool like a knife or screwdriver. The old gasket is either located on the cover or inside the housing.
Remove it by gently pinching it with your fingers. If you scratch the plastic throat, the watertight seal will never be guaranteed again underwater.
5. Throat Clearing
Use a clean, lint-free cloth or cotton swab to wipe out any old grease from inside the gasket groove.
Track down even the smallest speck of sand, hair, or crystal of salt residue. The surface must be perfectly clean before applying the new gasket.
6. Lubrication of the new seal.
The goal is to lubricate the seal so that it slides freely, not to smother it under a thick layer.
Apply a microscopic amount of silicone grease to your fingertips, about the size of a pinhead, and massage it into the joint between your thumb and index finger.
The lubricant should simply be shiny and slippery. If you observe white clumps of grease, wipe off the excess immediately, as it would attract dust.
!Careful cleaning of the hatch and lubrication of the new O-ring.jpg) (Visual instructions: Close-up view of clean hands handling a small black O-ring with silicone grease. In the background, an open dive computer rests on a clean microfiber work mat.)
7. Setup and Shutdown
Insert the new battery, carefully observing the polarity, with the positive terminal usually oriented towards the cover.
Place the lubricated gasket in its groove without stretching or twisting it. Close the cover by screwing it tightly, but without excessive force.
The gasket will naturally compress under the pressure of the lid to ensure a perfect seal.
8. Dry Leak Test
Turn on the computer to verify that the new battery is properly powering the device. Before taking it to great depths, perform a simple immersion test.
Submerge the computer in a bucket of water or a sink filled with water for a few minutes. Observe the appearance of continuous air bubbles coming out of the port.
!Waterproof test of the dive computer in a container of fresh water.jpg) (Visual guidelines: A Mares or Suunto dive computer submerged at the bottom of a large, transparent glass container filled with clear water. No bubbles are escaping from the battery compartment.)
3. The Importance of Systematic Replacement
Some diving manuals indicate that you can clean and reuse the existing seal. This is an extremely risky choice.
A new O-ring costs less than three euros, while a water-damaged computer represents a loss of several hundred euros.
For each replacement, purchase a complete kit including the battery and its dedicated sealing gasket. To identify the battery model suitable for your device, please consult our comprehensive guide on batteries for dive computers.
4. Get trained so you can dive with peace of mind.
Mastering the technical aspects of your equipment is essential for diving safely. Simple actions can save computers and dives.
To improve your underwater photography skills and understand the theory of desaturation, explore our interactive modules on the AquaExposure Training.
© 2026 AquaExposure. All rights reserved. Reproduction prohibited without authorization.
Share
Table of Contents
- 011. Introduction
- 022. The step-by-step procedure
- 031. Environment Setup
- 042. Preliminary Cleaning of the Computer
- 053. Opening the compartment
- 064. Removing the old gasket.
- 075. Throat Clearing
- 086. Lubrication of the new seal.
- 097. Setup and Shutdown
- 108. Dry Leak Test
- 113. The Importance of Systematic Replacement
- 124. Get trained so you can dive with peace of mind.
Questions about the Journal
Can I use the photographs from this journal?
All images are protected by copyright. For any commercial or editorial use, please contact us via our form.
How can I be notified of new articles?
Follow us on social media or join the Sentinels Circle to receive our immersion stories before anyone else.
Do you offer hands-on workshops?
Yes, we organize masterclasses and field expeditions for members of our school. Check the Training page for details.


