No. Honestly, no. An Olympus TG-7 plus dome port plus good external lighting equals decent results for under 2000 euros. After that, you can upscale with AI.
Can I move a nudibranch for a better photographic position?
Please, no. Even gently. Even for just a second. Nudibranchs are stressed by contact. Wait instead for the animal to move naturally.
What are the best settings for macro in general?
f/8 to f/11, ISO 1600-3200, 1/100th to 1/125th in natural light between 5-15 metres. But honestly, settings account for 30% of success. Stability and patience account for 70%.
I'm going to tell you a story. The story of my first day doing macro photography underwater, in Tulamben, Bali. A story of humility, failures, and burning lessons.
The Tulamben Incident: When Macro Photography Put Me in My Place
It was 2019. I'd just invested in new macro gear: two powerful strobes, a Nauticam 60mm lens. I felt invincible. Invincible, can you imagine? Arrogant, yes, that's the word.
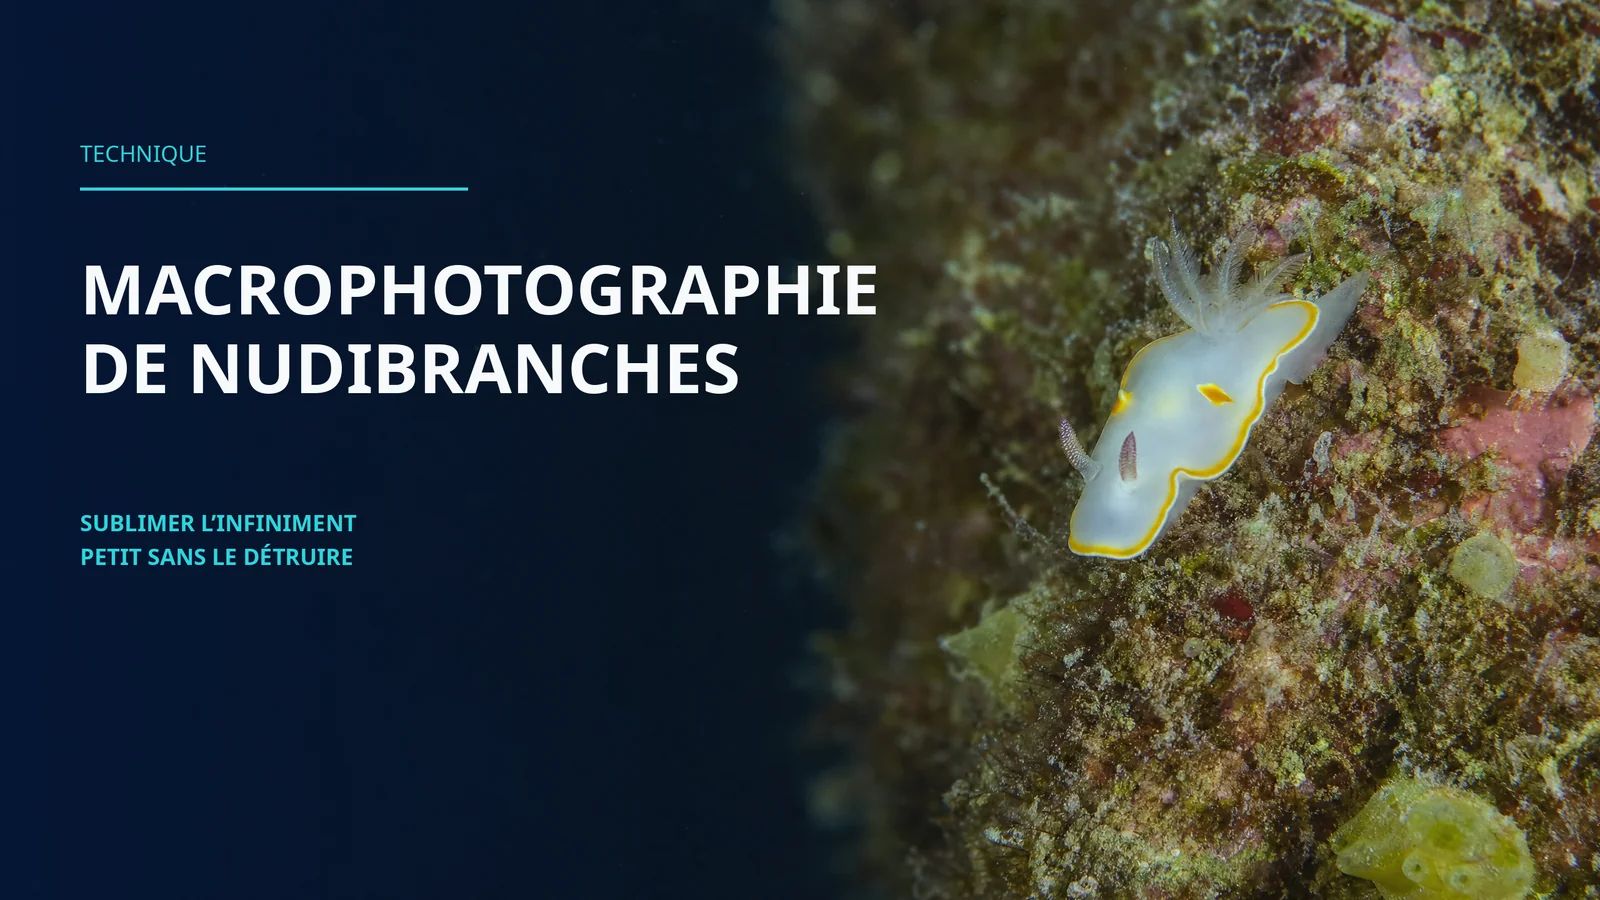
I descend onto the reef. I find my first Chromodoris, a magnificent orange and white nudibranch. I position myself. or rather, I approach haphazardly, strobe in hand, holding my breath, agitated like a panicking diver.
I literally destroyed the magic moment. Not only was my photo blurry (stability problem), but I'd also stressed the nudibranch to the point where it had completely retracted into itself. Its rhinophores had disappeared. The animal was closed off. Visually dead.
I kept shooting. Maybe fifty photos. All bad.
Climbing back up, I realised something: I was looking, but I wasn't seeing. I was photographing, but I wasn't understanding. And above all, I wasn't respecting my subject.
That day is when I began to understand true macro photography.
The Philosophy: Zero Contact, Maximum Respect
Before talking technique, let's talk ethics. Because real underwater macro photography isn't a competition with nature. It's a conversation with it.
The golden rule: never touch, never disturb.
Nudibranchs are fragile. They're animals without a skeleton, without defences, without speed. Their only protection? The chemical toxicity they accumulate by eating their prey. When you stress them, they close their gills, retract their rhinophores, and literally disappear before your eyes.
You then have two choices: you can go back to the surface with mediocre photos. Or you can wait, breathe, let the animal relax, and then try again.
I always choose to wait.
Laurent Ballesta, one of the finest marine photographers of our time, says: "Patience isn't a virtue in macro photography. It's an obligation." I couldn't agree more.
Stability: The Foundation of Everything
Back to Tulamben. Why were my photos blurry? Not because my gear was bad. It was because I was floating around like a beach ball in the waves.
Stability is enemy number one in macro photography.
In macro (at 1:1 or beyond), even 1mm of movement translates to 100 pixels of blur in the image. You're photographing an animal that's 5cm long? At 1:1, that animal fills your entire frame. One micro-movement of my hand, and it's all ruined.
Here's what I've learned (and what beginners often overlook):
Breathing
Before taking your shot, exhale to 50% lung capacity. Not completely (you'd look ridiculous on the surface), but enough to be neutrally buoyant. Most divers doing macro hold too much air. You drift upward, you fight the buoyancy. It's a losing battle.
I recommend my clients keep macro dives short. 20-30 minutes, maximum. Why? Because after 30 minutes, your buoyancy changes. Your suit compresses. You breathe differently. Stability vanishes.
Body Position
You don't photograph a nudibranch in the horizontal position you'd use during a normal dive. You go almost vertical, sometimes even head-down (yes, it's uncomfortable, but that's how it works).
Why? Because to get an acceptable depth of field in macro, you need to close your diaphragm to f/16 or f/18. That means you have to hold your camera steady for a full fraction of a second. If you move during that time, you get a blurry ghost.
The only way to avoid that? Be as stable as a rock. And to be that stable, you need to find rocks, brace yourself gently against the coral (carefully, respectfully), and use your gear as a stabiliser.
Stability Equipment
David Doubilet, a living legend of underwater macro, uses techniques I'd never seen before studying his work. He uses fibres and cables to stabilise his lenses. No unnecessary movements.
Personally, I now recommend my clients follow this approach: use your fins to stabilise yourself against the bottom, use your hands only to direct the camera, and keep your body completely still.
Lighting in Macro: 100% Natural Light
Ah, those powerful strobes from Tulamben. You know what happened? I'd created a wall of light. The photo was overexposed, flat, with no depth. A genuine photographic disaster. And above all, I'd stressed every animal I'd encountered.
That day is when I changed everything.
At AquaExposure, we use only natural light for macro. No artificial lamps, no torches. Instead of a burst of light that stresses the animal and creates a wall of backscatter, you work at shallow depth where sunlight penetrates, you raise the ISO to capture detail, and you position yourself so that natural light sculpts the subject.
Why Natural Light Works Better in Macro
When you shoot macro, you're very close to your subject. Water particles (the infamous "backscatter") become visible. With a flash, you illuminate every particle between you and the nudibranch. It's like photographing in fog.
Working at the right depth with natural sunlight positioned laterally? You sculpt the light around the subject. Background particles stay dark. You create depth, dimension, natural shadows without any burst of light.
And above all: the animal doesn't flinch. Its rhinophores stay relaxed and unfurled. Its behaviour stays natural. You're photographing life, not panic.
The Technique in Practice
Position yourself so that natural light comes from the side and creates relief. Work at a depth where the sun still reaches well (5-15 metres). Raise your ISO (modern sensors handle 1600-3200 well in macro) to compensate for the low light levels and get a fast shutter speed. And shoot macro video in 4K: instead of firing 50 photos hoping for a good one, you film 30 seconds of the animal going about its business and extract the perfect frame.
Result? A natural, respectful image, with a relaxed animal. True ethical macro.
The Angle: Always at Eye Level
I won't belabour this point. David Doubilet has said it, Alex Mustard has repeated it, Laurent Ballesta lives it every day.
To photograph an animal, you get down to its eye level. Always.
Why? Because it's the natural, authentic, honest angle. You show the animal as it sees itself in its own world. No bizarre human perspective, no "I'm big and you're small," just equality.
For a nudibranch, that means positioning yourself laterally, facing the head (the rhinophores), slightly below its position. That's the angle where you capture natural behaviour, expression, life.
Rhinophores: The Eyes of the Sea
Nudibranchs don't have eyes in the way we understand them (or only very rudimentary ones). But they have rhinophores, those two small sensory antennae on their heads.
Rhinophores are the nudibranch's life. They detect chemicals, mating partners, threats. They're the seat of all sensory interaction.
When a nudibranch is stressed, the rhinophores disappear first. They retract completely. If you see that in your photos, you've failed. You've stressed the animal. Start over.
My best nudibranch photos are the ones where the rhinophores are fully relaxed, unfurled, exposed. That's the sign that the animal is confident, exploring, living.
Technical Parameters: When and How
I know you're waiting for the magic numbers. Here they are, based on years of underwater macro photography.
Depth of Field
In 1:1 macro, you're working with a depth of field of 2-4mm at f/4. That's. extremely thin. To get an acceptable depth of field (say 1cm), you need to stop down to f/16 or f/18.
That means less light, so a longer exposure time. To compensate, you raise the ISO (perfectly acceptable in 2026 with modern sensors).
My current solution: I shoot macro video in 4K at f/8 (more light, more depth of field) with natural light as the primary source, and extract the best frames.
ISO
I work at ISO 200-400 in macro. No higher. Water already absorbs red light. If you push ISO too high, you lose the colour nuances you've worked so hard to preserve.
Shutter Speed
With good stability and natural light, 1/125th to 1/200th is the sweet spot. If you're shooting 4K video for frame extraction, 1/100th works perfectly. Video forgives micro-tremors better than a single photograph.
Focal Length
For nudibranch macro, I primarily use a 60mm lens (crop equivalent). It's the sweet spot: enough distance to avoid stressing the animal, enough magnification to fill the frame with detail.
The 100mm offers more working distance, which is comfortable. But you lose optical clarity and need considerably more light. Unless you're photographing truly tiny creatures, I don't recommend it.
Chemical Stability: Trim and Buoyancy
Let's return to something fundamental that many macro photographers overlook: your trim and buoyancy determine your stability.
Trim is your orientation in the water. Buoyancy is your vertical equilibrium.
If your trim is off, you'll constantly rise and sink. If your buoyancy isn't perfect, you drift. Both kill macro photography.
How to Check Your Trim
At the end of a macro dive, you should be able to stop, exhale to 50% lung capacity, and remain completely still. No drifting. No rotation. Nothing.
If you slowly rise or sink, your buoyancy is off. Adjust your BCD, add or remove weight.
If you rotate to one side, your trim is off. Adjust the position of your weights (usually on the sides, not just on the belt).
I recommend my clients do a "trim check" dive before every macro session. 30 minutes, zero photos, just adjustments. It's boring. It's also mandatory.
AI Upscaling and Post-Processing: Modern Tools
Let's talk 2026 reality. Macro lenses are expensive. Specialised equipment is expensive. Many people who'd love to do macro photography can't afford it.
Enter AI.
Today, AI upscaling tools (Topaz Gigapixel, Adobe Super Resolution, even Lightroom's native tools) can take a medium-resolution macro photo and convert it into credible detail.
I'll be honest: it's not the same as true 1:1 macro. But it's remarkably close. And for many use cases (social media, blogs, even some print), it's enough.
My personal recommendation: shoot your photos at 0.5:1 or 0.7:1, then upscale. You get 80% of the quality at 40% of the cost.
The Olympus TG-7: The Gateway
You don't have 5,000 euros for a professional macro system? Welcome to the club.
The Olympus TG-7 is a rugged compact camera, waterproof to 15 metres. It doesn't have true macro in the professional sense (no 1:1), but its macro mode is surprisingly good. Combined with a 10cm dome port, you can get respectable results using only natural light. And above all: shoot in 4K using the TG-7's macro video mode, then extract your best frames. That's how many of my beginner clients get images they'd never have achieved shooting stills one by one.
You'll upscale afterwards, but that's fine. That's how many of my clients get started. And you know what? Some of their photos are stunning.
Nudibranchs: A Quick Biology Primer for Photographers
Before wrapping up, a quick note on the biology of these incredible creatures.
Nudibranchs are marine molluscs (cousins of terrestrial slugs). Around 3,000 species have been described, and probably twice that remain undiscovered. They live only in salt water.
Their colour isn't a defence mechanism (unlike tropical rainforest frogs). It's a chemical announcement: "I'm toxic, don't eat me." Nudibranchs feed on anemones, hydroids, and other nudibranchs. They accumulate toxins and concentrate them in their skin.
Why does this matter for the photographer? Because it means:
1The colours you see are already spectacular in reality. You don't need to saturate or fake anything. Just capture the truth.
1Nudibranchs move slowly. They travel about 1-2cm per minute. If you wait 10 minutes, you have time.
1Some species are rare. Very rare. If you find one, it's a privilege. Treat it with respect.
AquaExposure vs the Classic Approach: Why Our Method Works
I'll be direct. Most underwater macro courses teach stability, lighting, and settings. All of that is true and necessary.
But they miss something: an uncompromising respect for the subject.
At AquaExposure, we teach macro photography with a zero-contact philosophy. Not just because it's ethical (though it is). Because it's more effective.
When you respect the animal, you're more patient. When you're more patient, you wait for the magical moments. When you wait for the magical moments, your photos are better.
It's a virtuous circle.
Most conventional photographers want to "get the shot." They rattle off 200 photos and keep the best ones. At AquaExposure, we teach the video+extraction method: you shoot in 4K, you wait for the magical moment, and you extract the perfect frame. Not 200 shutter clicks that stress the animal. A single moment of attention, captured in a continuous flow. It's more respectful, and paradoxically, it's more effective.
FAQ: The Questions You're Really Asking
1. Do I need an expensive macro lens to get started?
No. Honestly, no. An Olympus TG-7 + dome port = decent results for under 1,000 euros. Shoot in 4K using natural light, extract your best frames, and upscale with AI if needed. If you get serious, then yes, invest in a professional system.
2. Can I move a nudibranch for a better photographic position?
Please, no. Even gently. Even "for just a second." Nudibranchs are stressed by contact. You see a beautiful animal and you think "I'll just move it to a better angle." All you've done is traumatise it. Wait for the animal to reposition itself naturally instead.
3. What are the best settings for macro in general?
f/11 to f/16, ISO 200-800 (modern sensors handle this well), 1/125th to 1/200th with natural light. But honestly, settings account for 30% of success. Stability and patience account for 70%. And if you're shooting 4K for frame extraction, set your video to 60fps for maximum image choice.
4. How do I get a perfect black background in macro?
It's a combination of three things: (a) sufficient depth (at least 8-10 metres where sunlight is directional enough), (b) enough distance between your subject and the background (at least 50cm), (c) a low shooting angle relative to the subject so the deep background stays black. The more the natural light comes from below and to the side, the better for creating that dramatic look.
5. What are the best destinations for photographing nudibranchs?
Tulamben (Bali), Anilao (Philippines), Raja Ampat (Indonesia), Komodo (Indonesia). These places have the biodiversity, the clear water, and guides who understand photography. Nudibranchs exist everywhere, but in these locations they're abundant and you have a real chance of finding them.
6. How do I create dramatic lighting in macro with only natural light?
Directional natural light (low sun, coming from the side): a narrow beam of relief, black background as soon as you go below 10 metres, no backscatter, a dramatic and deep image. The key is depth (work between 8-15 metres) and your positioning (low relative to the subject, so the background stays dark). Use an ISO of 800-1600 to compensate for the apparent reduction in light, and shoot in 4K to extract the best frames. That's true macro mastery.
Conclusion: It's a Conversation, Not a Conquest
I'll end as I began: with a story.
I returned to Tulamben two years after the incident. I went without any photo gear. Just a mask and a snorkel, ready to look and listen.
That's when I truly saw the nudibranchs. Not as photo subjects. As living creatures, solitary, magnificent, in a world that wasn't mine.
When I came back the following year with my gear, I was ready. I took a photo of a Chromodoris magnifica, an orange and blue sea slug, rhinophores fully relaxed, exploring a coral. The background was black. The light was perfect. The animal was serene.
That photo changed my understanding of macro photography.
It wasn't a victory over nature. It was a collaboration with it.
Nudibranch macro photography isn't a competition. It's a conversation. And like any respectful conversation, it starts with listening.
Go. Listen.
Benjamin Coste, founder of AquaExposureUnderwater photography instructor and ocean content creator
*Underwater macro takes time, technique, and a solid understanding of animal behaviour. If you want a structured method to progress on all these fronts, the AquaExposure training is built for exactly that. Module 3 covers the ethical approach to marine subjects, which is key in macro. First module free at aquaexposure.com - Compact TG-7, mirrorless or smartphone: which setup for underwater macro? - Waterproof Housing: Flat Port or Dome? - For macro, the flat port is the reference. Here's why and how to choose. - The Scenography of Disappearance - The approach method that lets you photograph the shyest subjects without disturbing them. - Access the Full AquaExposure Training - Underwater Photography Training in Belgium - Browse Our Articles
Macro Photography of Nudibranchs: The Art of Elevating the Infinitely Small Without Destroying It | AquaExposure