What camera should I use for these 1000 land photos?
Whatever you have on hand. A smartphone is more than enough. The goal is to build framing reflexes and learn to read light, not to acquire gear. If you can practise with the same device you use underwater, that is an advantage, as the gestures will transfer directly.
How much time per week does it require?
Between 30 minutes and 1 hour, three to four times a week. No need to go out specially. Photograph your garden, family, or houseplants. The key is regularity, not session length.
Is the number 1000 precise or symbolic?
It is an order of magnitude. Some people reach the targeted reflexes after 700 photos, others after 1500. What matters is photographing regularly over a period of 8 to 12 weeks, which is the time needed to consolidate a new procedural memory.
Can I just use pool sessions instead of land practice?
No, the two are complementary. The pool trains you to manage your housing in water, your stability, and optical distortions. Land practice builds composition and light-reading reflexes in an environment free of constraints. You need both.
How do I know when I am ready to dive with my camera?
When you can photograph an insect on a flower in sharp focus, at 10-15 centimetres, without looking at your camera menus, and the result is sharp in 3 out of 5 photos. That is the level of physical mastery that corresponds to the basic demands of underwater photography.
My land photos are bad. Is it worth continuing?
Absolutely. Mistakes on land are free and instructive. Every mistake you make on land is one you will not repeat underwater. Review your bad photos, identify what went wrong, and reshoot the same subject differently. This error-correction process is what builds the skill.
Practicing underwater photography on land before diving: the 1000 photos method
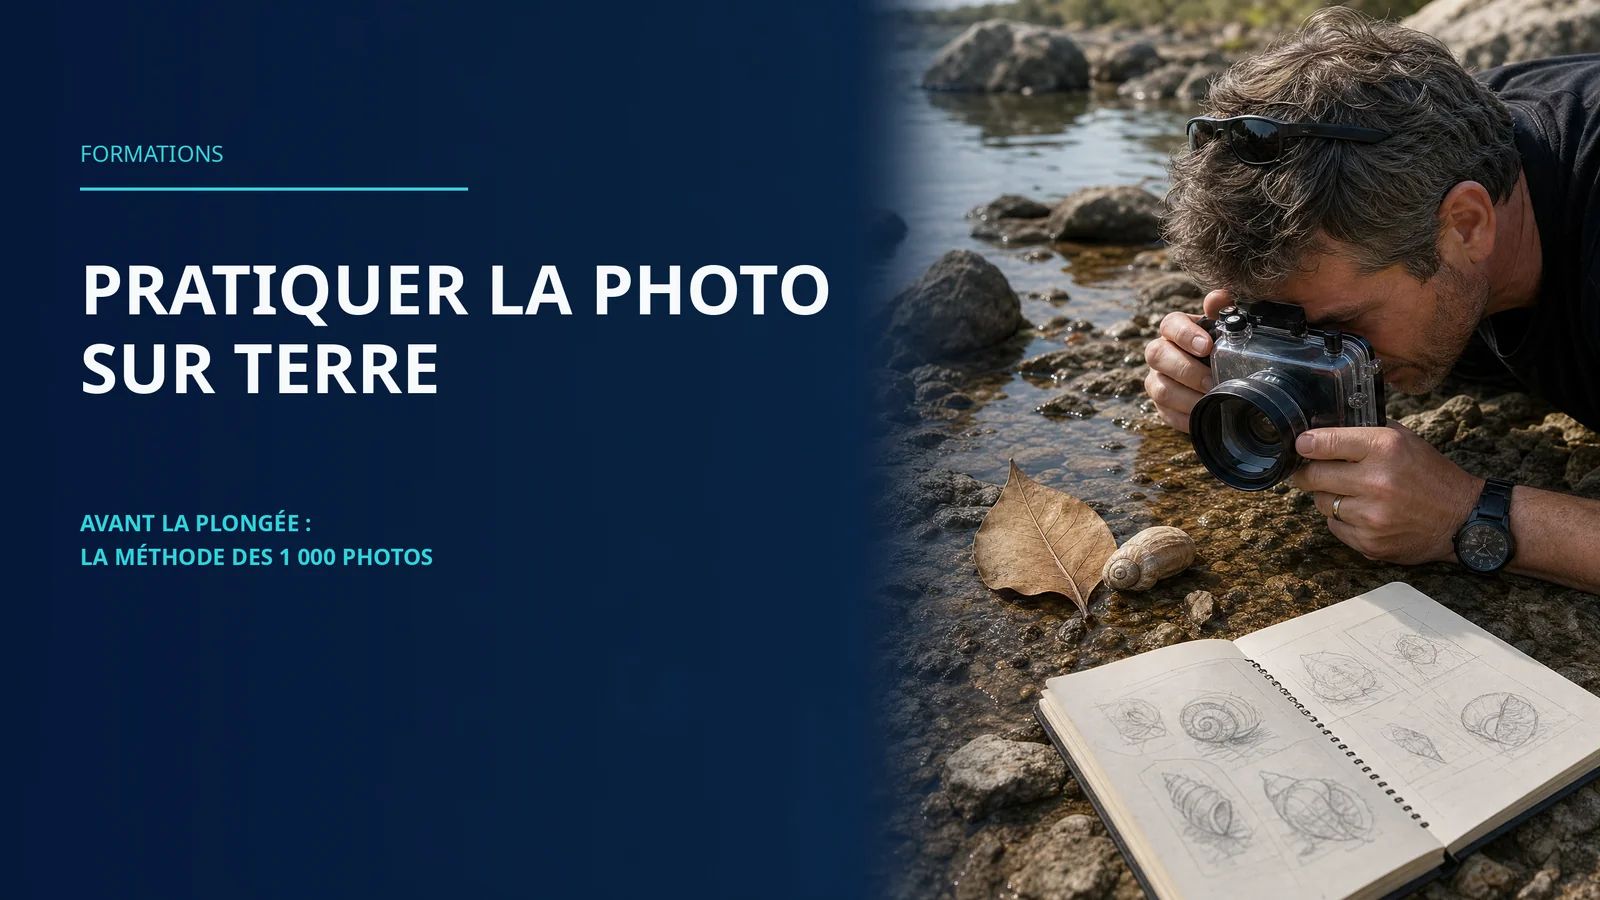
Practice taking 1000 photos on land before diving develops the framing, composition, and exposure reflexes that become automatic underwater. The method involves photographing a different subject each week for three months (flowers, animals, urban scenes) to free your attention while diving and focus on the moment.
This is not a substitution technique. It is a preparation technique. And it is probably the most useful thing you can do between dives.
Why Your Brain Gets Overwhelmed Underwater
Underwater, you're not just taking pictures. You're simultaneously managing your buoyancy, your air consumption, the position of your fins, your distance from the bottom, the approach of your subject, and the settings on your camera.
It's five to six tasks running in parallel, in an environment that doesn't tolerate distractions.
Our working memory has a limited capacity. When it is overloaded by the demands of diving, there is very little left for photography. The trigger becomes mechanical. The framing becomes approximate. The images we bring back do not resemble what we had in mind.
The solution is not to focus more underwater. It is to make sure that some tasks no longer require any concentration at all.
This is exactly what on-land practice achieves: it transforms framing and composition into automatic reflexes, freeing up bandwidth for everything else.
What a thousand terrestrial photos really build
The idea of "1000 photos" is not an arbitrary number. It is an estimate of the repetition required for a movement to progress from conscious awareness to automatic level, which neurosciences call procedural memory.
Composition becomes instinctive
The rule of thirds, managing the seabed, using leading lines, and the angle of the shot – these principles become ingrained through repetition. A photographer who has taken 1000 land-based photos no longer needs to think about where to position their subject in the frame. They do it naturally, without even thinking about it.
Underwater, this automation is worth its weight in gold. When a ray passes within two meters, you don't have thirty seconds to think about your composition. You might only have three seconds. If framing isn't automatic, you'll miss the shot.
Exposure becomes a familiar language
The relationship between aperture, shutter speed, and ISO can be understood intellectually in a few hours. It can be mastered in practice in a few hundred shots.
By making exposure errors on land (the image too dark, the image overexposed, motion blur due to too slow shutter speed), you intuitively calibrate your understanding of light. And when the light changes underwater depending on the depth, the angle of the sun, or the turbidity, you adjust without thinking.
The relationship with the equipment becomes physical
Finding the trigger without looking. Adjusting the zoom with one hand. Knowing the focal length of your lens by heart. These actions seem insignificant on land. Underwater, with gloves, with a drysuit, in a light current, they become critical.
One thousand terrestrial photos create a muscle memory for your camera. You and the camera become one tool.
The goal is not to take 1000 photos at once. It's to photograph regularly, varying the subjects, for three months. Consistency is more important than the number of photos taken per session.
Here is a practical structure, week by week.
Weeks 1-2: Flowers and Plants
Start with the flowers. This is the best subject to start with for several reasons: they don't move (or move very little), they are accessible everywhere, and they offer an infinite variety of colors, textures, and angles.
The goal of these two weeks: to learn how to isolate a subject from its background. Take photos with a wide aperture (f/1.8 or f/2.8 if your lens allows) to get a blurred background. Look for unusual angles: from below, very close-up, in backlight.
Direct underwater transposition: nudibranchs, anemones, sponges. Same focusing challenges, same subject isolation work, same importance of angle.
Weeks 3-4: Terrestrial animals and insects
Pigeons in the city, cats in a garden, seagulls on a harbor, insects on flowers. The goal: to photograph moving subjects, to anticipate their movements, and to learn to trigger the camera at the right moment.
This is the skill that is most directly transferable to underwater photography. A fish doesn't wait. A ray doesn't return. You learn here to read movement and to position your trigger a quarter of a second before the perfect moment.
Weeks 5-6: Urban scenes and architecture
Streets, markets, facades, stairs. The goal: to practice composition, perspective, and managing a complex scene with multiple elements.
Underwater, coral formations, shipwrecks, and schools of fish offer the same type of complex scenes. Learning to prioritize the elements of an image in a dense urban environment prepares you to frame in a dense reef.
Weeks 7-8: Macro in Natural Light
Choose a macro lens or activate the macro mode on your camera. Photograph textiles, leaves, and insects from very close range. The goal: master the extremely shallow depth of field of macro photography, and stabilize your position to get sharp images at 5-10 centimeters.
The connection with underwater photography is obvious. Nudibranchs, cleaning shrimp, small reef fish – all of this can be photographed under identical conditions.
Weeks 9-10: Difficult Light
Photograph in backlight, indoors with low light, at dusk. Learn to expose for highlights, to capture shadows, to work with side lighting.
Underwater, the light comes from above. It creates frequent backlighting situations. Knowing how to expose in these conditions on land prepares you to manage them instinctively underwater. Our guide on natural underwater light develops this logic in depth.
Weeks 11-12: Returning to Favorite Subjects
Return to the subjects that presented you with the most difficulty. Re-shoot photos of flowers, insects, and urban scenes. Observe the progress. This is not nostalgia. This is about measuring progress.
Six training subjects that directly prepare for underwater photography
Beyond the 12-week plan, certain subjects are particularly effective for preparing specific diving situations.
Aquariums are the closest training environment to diving without entering the water. Same focusing challenges through a glass, same management of artificial light, same moving subjects in a three-dimensional space. An afternoon in an aquarium is technically equivalent to two practice dives.
Macro underwater photography directly prepares for macro underwater photography. Same working distance, same reduced depth of field, same importance of stability.
Birds in flight require anticipation and focusing on fast-moving subjects. Fish are not as fast as birds, but the reflexes developed for these challenging subjects can be transferred.
Street photography develops discretion and quick reaction. You learn to compose quickly, to fade into the background, and to avoid altering your subject's behavior with your presence.
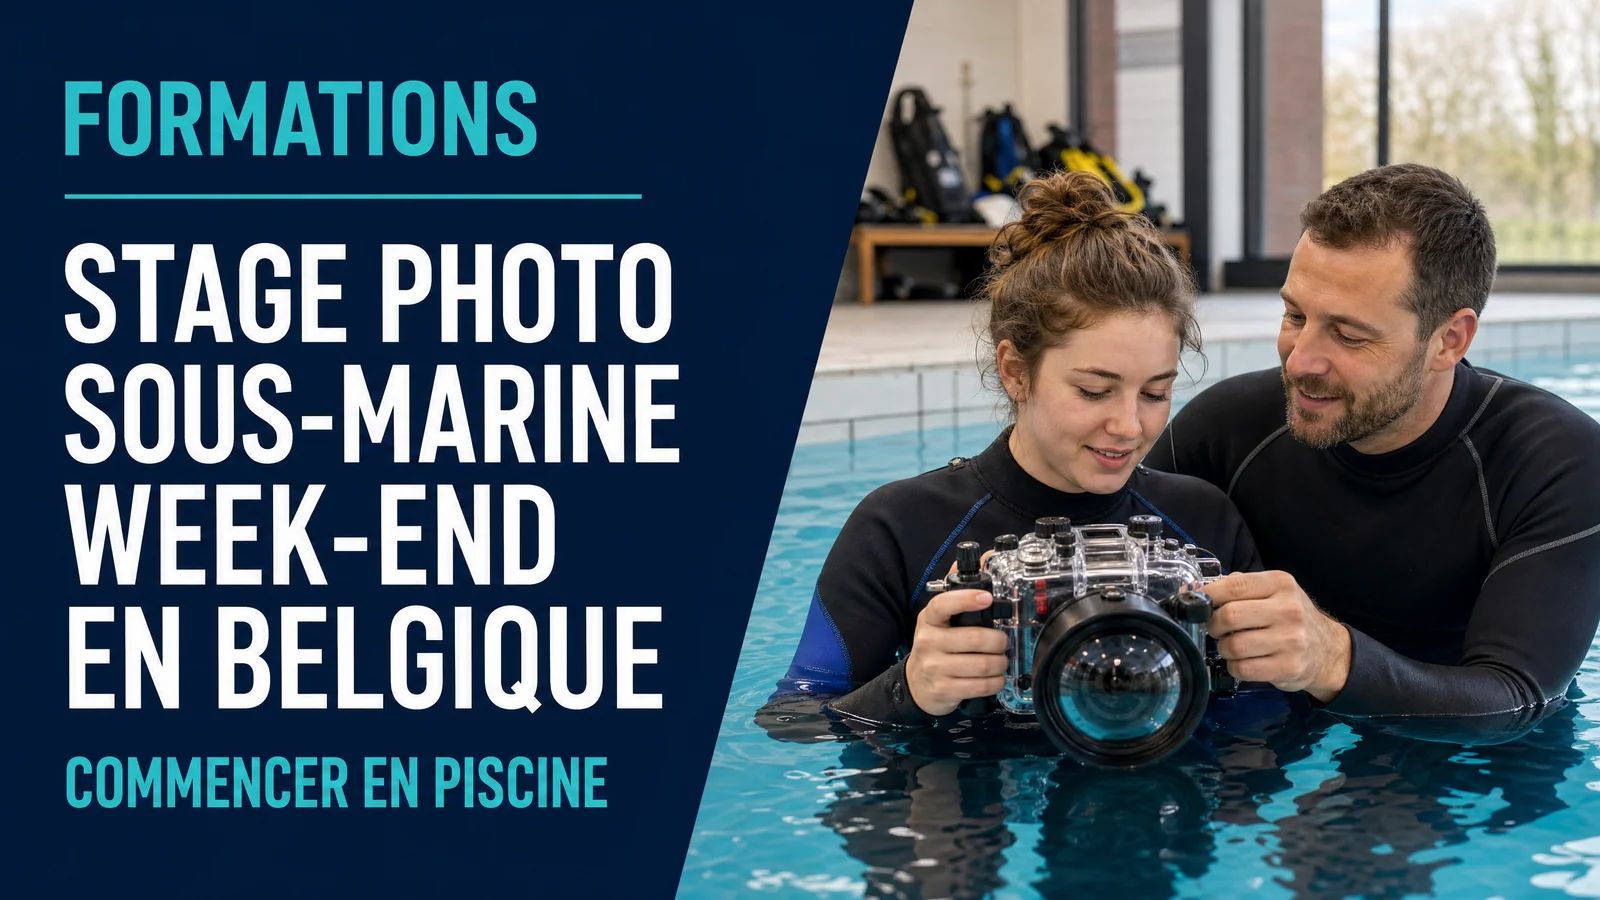
Swimming pools are an ideal intermediate environment: you can photograph swimmers through the water, test your equipment, and get used to the optical distortions of the water. This practice in a swimming pool is the subject of an entire article on how to get used to your equipment in a swimming pool before diving.
Forests and underwater vegetation in filtered light faithfully reproduce the light quality at 5-10 meters underwater in the Mediterranean: diffused light, alternating areas of light and shadow, and subjects that disappear into darker areas. This is an often underestimated environment for learning to read natural light.
How to recognize if the method works
Three signs indicate that on-land practice is starting to produce results.
You compose before looking through the viewfinder. You have an idea of the framing before bringing the camera to your eye, not after. This isn't arrogance, it's anticipation. Underwater, it's this quality that will allow you to capture fleeting moments.
You no longer have to guess your settings. When the light changes, you adjust without looking at the menus. Your hand knows where to go. This automatic gesture becomes crucial underwater, where constantly looking at your screen is both uncomfortable and counterproductive.
You start to see the photos before you take them. You walk down the street and "see" potential images. You are developing what photographers call the "eye of a photographer," the ability to read a scene visually, not just perceptually. Underwater, this skill allows you to anticipate the position of an animal, and choose your angle even before you are in position.
What I learned while building this method
I started to photograph seriously underwater after two years of intensive on-land practice. At the time, I didn't explicitly make the connection, I photographed because I enjoyed it, not as a training exercise.
But when I compared my first underwater photos to those of divers who had the same level of diving experience but less photo practice, the difference was immediately apparent. Not in the quality of the equipment. In the framing choices, in the angle of the shot, in the handling of the background.
Later, in the Maldives, I observed hundreds of underwater photographers. The pattern was remarkably consistent: those who had a regular photography practice on land (even with a smartphone, even as amateurs) produced images of a qualitatively different quality from those who had only photographed underwater.
The sea is a demanding environment. It rewards those who arrive prepared.
AquaExposure does not receive any affiliate commissions on the equipment or applications mentioned in this article. Our recommendations remain independent.
Frequently Asked Questions
What equipment to use to take these 1000 land photos?
With what you have available. A smartphone is more than sufficient. The goal of this method is to develop framing and light reading reflexes, not to acquire equipment. If you can practice with the same device you use underwater, that's an advantage, as the gestures will be directly transferable. But a phone is perfectly suited for this training.
How much time per week does this require?
Between 30 minutes and 1 hour, three to four times per week. No need to go out specifically - photograph your garden, your loved ones, and the plants in your apartment. The key is consistency, not the length of the sessions.
Is the number "1000" precise or symbolic?
It's a matter of scale. Some people will achieve the desired reflexes after 700 photos, while others will achieve them after 1500. What matters is to photograph regularly over a period of 8 to 12 weeks, which is the time needed to consolidate a new procedural memory, according to studies on motor learning.
I've been taking photos on land for years. Do I still need this method?
No, not as initial training. You already have the reflexes. What will be useful to you, however, is a specific adaptation phase: photographing close-up underwater subjects (insects, flowers), working with exposure in low light and filtered conditions, and getting used to your dive gear in a pool before your first photo dive.
My land photos are bad. Is it worth continuing?
Absolutely. Mistakes made on land are free and instructive, they don't cost you anything except a little time. Every mistake you make on land is a mistake you won't make underwater. Look at your bad photos, identify what's wrong, and redo the same subject in a different way. This is exactly the error-correction process that builds skill.
Can I use only pool sessions instead of land practice?
No, they are complementary. The pool helps you to learn how to manage your buoyancy, stability, and optical distortions. On-land practice builds the reflexes for composition and light reading in an unconstrained environment. You need both. Our article on exercises to get used to your buoyancy compensator details the pool practice.
What is the recommended first subject for someone who has never taken underwater photos?
Flowers in natural light, outdoors, late afternoon. The light is soft, the subjects are still, and there is enough variety to stay motivated for two weeks. Focus on one thing: having your subject sharp and your background blurred. That's all you need to start.
How to know if I am ready to dive with my equipment?
When you can photograph an insect on a flower with correct focus, at a distance of 10-15 centimeters, without looking at your camera's menus, and when the result is sharp in 3 out of 5 photos, that's the level of physical mastery that corresponds to the basic requirements of underwater photography.