How long should you practice dry exercises before moving to the pool?
At least two weeks at 30 minutes per day, or the equivalent spread out. You are ready when you can execute the full sequence with your eyes closed in under 15 seconds without error, several days in a row. Before that stage, pool sessions will be less effective because your brain will be juggling the novelty of water with the novelty of the controls.
Can these exercises be done with a smartphone in a housing rather than a compact camera?
Yes, entirely. The logic is even more important with a smartphone because the physical controls on a smartphone housing are fewer and everything goes through the touchscreen. Dry exercises then consist of memorizing the touch zones through the housing and automating the switch between photo and video modes.
Do you need a private pool or is a public pool enough?
A public pool during off-peak hours is more than enough. Ideally, go early in the morning when you can use a slow lane. Let the lifeguards know before entering with a housing. An indoor pool of 1.5 to 2 meters deep is sufficient for 90% of the exercises.
My housing is brand new. Do I really need to test it without a camera first?
Yes, absolutely. Even housings from reputable brands can have a seal defect straight out of the factory. Testing the empty housing in a pool for 20 to 30 minutes at 1 to 2 meters is free insurance against losing a camera. If even a single drop is visible when you open it, do not dive with your camera inside and send the housing back for service.
Can I do these exercises directly in the sea, without a pool?
It is possible but much less effective. The sea adds variables (visibility, current, temperature, other divers) that interfere with learning pure reflexes. The cost of each ocean dive is also much higher than a pool session. The pool is the right pedagogical tool for this phase.
What if I do not have access to a pool for several months?
Focus on dry exercises and aquarium visits. Daily dry exercises are remarkably effective and require no resources. An aquarium partially replaces the pool for reading movement and tracking moving subjects.
After how many dives can you consider the housing fully mastered?
By combining dry exercises, pool sessions, and regular ocean dives, expect around 30 to 50 photo dives to reach total fluidity that no longer requires any conscious thought. This threshold corresponds to the moment when you will know precisely what your setup can do, and therefore the moment when a potential equipment upgrade starts to make sense.
Are there additional exercises for video rather than photo?
Yes. Video requires slow, continuous movements, stabilizing a camera motion, and longer sequences. Specific exercises include constant-speed horizontal tracking shots in a pool, controlled vertical movements, and 30-second static shots without any micro-movement.
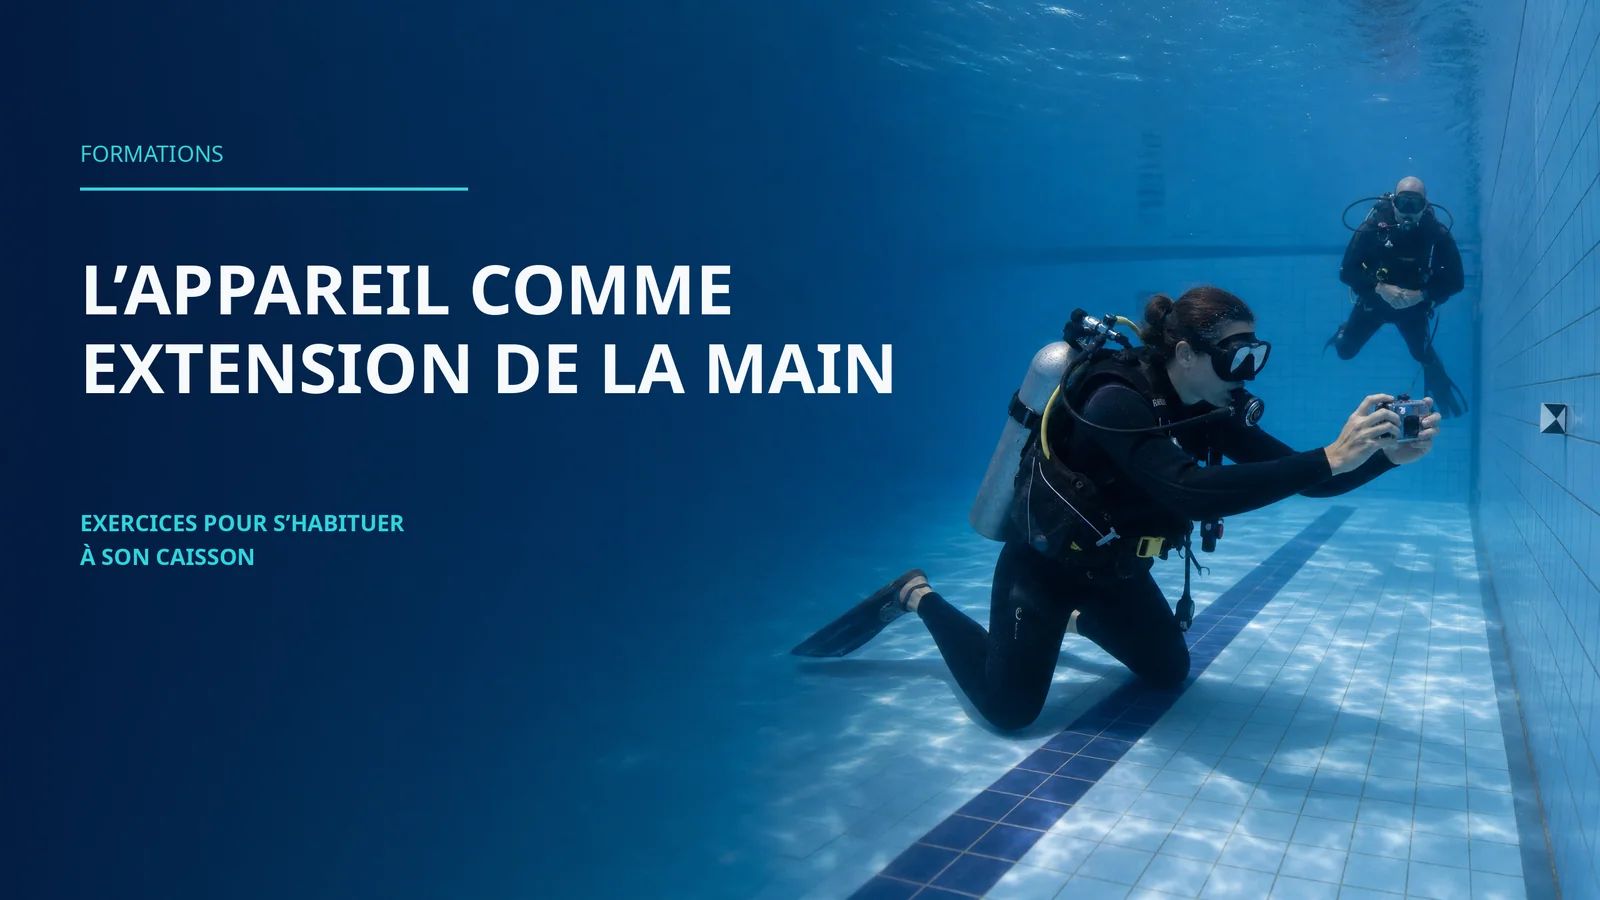
The Camera as an Extension of the Hand: Exercises to Get Used to Your Dive Computer
Getting used to your underwater housing means turning each operation (shutter release, zoom, white balance, screen reading) into an automatic gesture before the first real photo dive. The method consists of three stages of exercises: dry, on a table, in a pool during three one-hour sessions, and then in an intermediate environment such as an aquarium or shallow water.
If you still feel your underwater housing, it is not ready to be used. And neither are you.
Why ergonomics become critical underwater
On land, your camera weighs 200 grams, your fingers can't find the buttons, and you have to adjust the framing continuously. Underwater, everything changes.
Your device suddenly feels heavier or starts to float depending on the buoyancy of the housing. Your movements are slowed down by the resistance of the water. Your fingers may be wearing gloves. The screen is less readable due to diffraction and reflections. Condensation may appear inside the housing at inconvenient times. And above all, you manage your buoyancy, air consumption, depth, and approach to the subject.
If, in this equation, the handling of the underwater environment still represents a conscious cognitive load, you will no longer have enough bandwidth to actually photograph. The triggering will become mechanical, the framing approximate, and you will end up with the same commonplace images as everyone else.
This idea is not new: it is exactly the same logic that applies to buoyancy. A diver who is still thinking about balancing their buoyancy compensator is not a photographic diver, but a diver who is trying to take photos. Photography begins when the equipment disappears.
That's why the equipment doesn't make the underwater photographer: what matters is the level of automation between your brain and the tool. A well-controlled compact outperforms an expensive, poorly-controlled housing, every time.
The "Reach Extension" Concept
When a musician plays the guitar for ten years, they no longer think about the strings. When a cook handles their knife for twenty years, they no longer look at the blade. The tool has become an extension of their neurological hand (in the literal sense, the brain integrates it into their body schema).
The goal of the following exercises is to achieve the same effect with your underwater photo box in a few weeks, rather than several years. Three levers allow you to achieve this: repetitive gestures, spatial memory of controls, and simulating real constraints.
Stage 1: Dry exercises on a table
This is the least neglected and most profitable stage. Thirty minutes per day for two weeks is enough to eliminate 80% of underwater groping.
Exercise 1 - The Command Cheat Sheet
Place your closed chamber on a table, with your device inside, plugged in. Sit down. Close your eyes.
Without looking, identify with your fingers: the shutter button, the zoom button, the mode dial, the menu button, the playback button, the directional pad. Say their position and function out loud. Do this ten times in a row.
Open your eyes and check. The first few times, you will make mistakes. After three days, your hand will know the layout of the diving bell by heart.
This exercise seems ridiculous. It is essential. The submarine amplifies every hesitation: what you solve in two seconds on land will take ten seconds underwater, and during those ten seconds, your subject will be gone.
Exercise 2 - The complete blind sequence
Always with your eyes closed, perform the sequence of a real shot: turn on the device, switch to photo mode, adjust the white balance to the Underwater preset (or to the Kelvin value you use), zoom to half power, take the shot, check the image in playback, return to shooting mode.
Time your shots. Initially, you'll aim for 40 to 60 seconds. The goal after two weeks is 12 to 15 seconds, without any errors.
This gain of 30 seconds per sequence will make a difference when a trumpetfish passes in front of you at two meters and you only have three seconds to react.
Exercise 3 - The gloved simulation
If you are diving in cold water, you will likely wear 3 mm or 5 mm gloves. These gloves dramatically change the feel. Perform the two previous exercises with the gloves that you will use while diving.
You will discover that some commands become almost impossible to distinguish. This is the time to note these weaknesses and either memorize an alternative strategy, or consider using thinner gloves, or identify the commands that you will need to configure before entering the water and avoid touching during the dive.
Exercise 4 - The Photographic Position
Hold the housing in the exact position you will adopt underwater: two hands, elbows close to the body, the screen 30 centimeters from the face. Maintain this position for five minutes while breathing calmly.
You will feel your forearms getting warm. This is normal, you are activating muscles used for posture that are not typically used in terrestrial photography. This postural endurance must be built on land, because underwater, every muscle effort increases your air consumption and your stress.
Stage 2: Pool Exercises
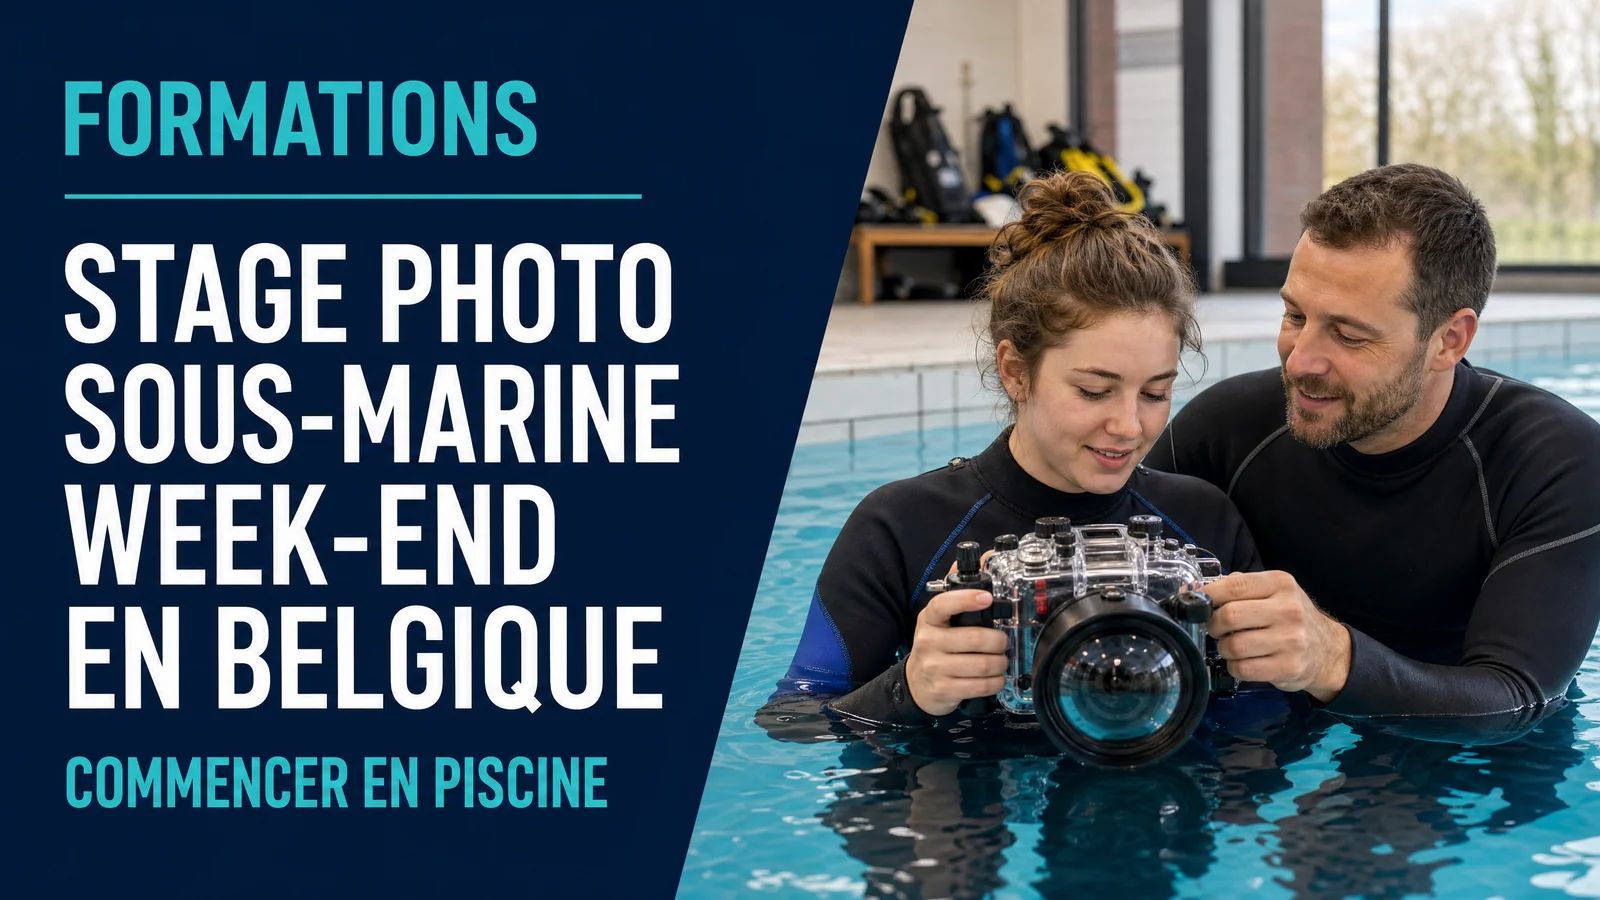
The swimming pool is the ideal laboratory. Calm water, good light, controlled depth, maximum safety. Three one-hour sessions are enough to develop the majority of critical automatisms.
Session 1 - Testing the Dive Computer and Basic Comfort
The goal is not yet to photograph, but to check that your setup holds water and that you are comfortable with it.
Submerge the closed, but unequipped, enclosure between 1 and 2 meters for twenty minutes. If an infiltration occurs, you will not have lost any sensitive equipment. Remove it, check the inside. No traces of water? You can now insert the equipment and dive with it.
Once you are in the pool with your complete setup, do not photograph anything. Swim with the equipment. Feel its buoyancy. Find the stable position. Learn to store it under your arm to free your hands. Fifty minutes of familiarization are worth ten photo dives where you would struggle against your equipment.
Session 2 - Blind Manipulation Confirmed
Practice the exercises dry, but underwater. With your eyes closed at a depth of 1.5 meters, identify the controls, and execute the complete sequence. Then, check the photos taken to see if the sequence worked.
It's almost always there that the real surprises happen. The trigger reacts differently with the water pressure. The dial turns more difficultly because of the seals. The screen switches to energy-saving mode after a few seconds. All these small frictions need to be identified and resolved in the pool, not while diving.
Session 3 - Photographing stationary objects in a pool
Place a brightly colored object at the bottom of the pool (a figurine, a weighted floating toy, your watch). Photograph it from all angles: top, bottom, side, and from below. Vary the distances: 30 cm, 60 cm, 1 meter, 2 meters.
This exercise seems silly. However, it builds three essential skills. The first is mastering stability at different distances: at 30 centimeters, even the slightest micro-movement destabilizes the frame, and you learn to breathe to stabilize rather than squeeze to stiffen. The second is reading the framing through the water-distorted screen: you learn where the actual edges of your image are when the screen appears stretched. The third is the coordination of hand-eye underwater: your brain relearns distances and speeds in an environment where light refracts differently.
Once the pool is mastered, you need an environment that resembles diving without actually being one. Three affordable or free options are worth exploring.
The public aquarium
Spending an afternoon in a large aquarium is technically worth two practice dives. Moving subjects, filtered artificial light, subjects of varying sizes – it's an excellent training ground.
You can't put your camera inside the tank, of course. But you can photograph through the windows with your open-circuit or smartphone. The goal isn't the final image quality, it's the training to follow a moving subject, to anticipate its trajectory, and to trigger at the right fraction of a second.
It's also the perfect place to train your eye to recognize animal behaviors: a fish preparing to turn, a ray lifting off the seabed, a clownfish entering its anemone. This ability to read animal behavior is what makes the difference between a fish photo and a moment in time.
Shallow Water Apnea
If you have access to a cove, a calm lake, or a secure natural environment, freediving at 2-5 meters is an exceptional training environment. You work on stability, silent approach, and breath control, without the complexity of stages and decompression.
Freediving also has a hidden advantage: it forces you to compose quickly. You have 30 to 60 seconds per dive, no more. This time constraint accelerates the learning of photographic decision-making.
More accessible than freediving, snorkeling with a mask, snorkel, and buoyancy compensator is an excellent intermediate activity. You remain at the surface, you photograph what is below you, and you test your equipment without any depth or time constraints.
This is particularly useful for getting used to smartphones in a diving environment. The capacitive touch of an iPhone through a DiveVolk housing has its own logic, and snorkeling allows you to master it without pressure. To further explore this combination, see iPhone + DiveVolk: why I replaced all my equipment.
The ultimate test: the three criteria of "hand as a dive computer"
You know that your exercises have been effective when you confirm these three criteria, in this order.
First criterion: you can maintain a stable framing on a stationary subject for thirty consecutive seconds, while diving at 5 meters, without looking at your camera to adjust the settings. This criterion tests postural stability and confidence in your pre-set settings.
Second criterion: you can photograph a subject that moves slowly (a calm reef fish) by following its movement with a clean framing, without losing the image on the screen. This criterion tests your underwater eye-hand coordination and your framing ability.
Third criterion: you can modify a key setting (switching from photo mode to video mode, changing the white balance, adjusting the exposure) in less than five seconds, without interrupting your subject tracking. This criterion tests the deep automation of the controls.
As long as these three criteria are not met, consider yourself to be in the learning phase, not in a serious photographic production phase. This does not prevent you from diving or photographing. It simply defines the nature of the exercise and your expectations.
Common Mistakes That Delay Automation
Three common pitfalls delay or prevent the conversion of the cylinder into an extension of the hand.
Changing equipment too frequently. Each new housing, each new device resets part of the acquired automatisms. If you change every six months, you never reach the stage of familiarity. The rule is reversed: stay faithful to your setup for at least 100 photo dives, even if it seems limited, because the limitations of the equipment are almost always behind those of the photographer.
Skip Stage 1 (on land). Many divers only do the exercises on land quickly, because they find the practice in the pool "more motivating". This is a mistake. The pool reinforces what has been learned on land. If the on-land practice is absent, the pool itself becomes an exercise of discovery, which is much less effective.
Using the touchscreen underwater for critical functions. A touchscreen through water or through the viewport of a diving bell is unpredictable. Configure everything that can be configured with physical buttons before entering the water, and only use the touchscreen for non-urgent actions (image viewing, navigation in secondary menus).
How long before the wreck becomes invisible
This is the real question that every beginner asks. The answer depends on your consistency, but a realistic range is as follows.
With two 30-minute dry sessions per week and three 1-hour pool sessions, you will achieve the three validation criteria in 6 to 8 weeks. It's as quick as that, provided you don't skip steps.
Without regular practice, relying solely on sea dives, achieving the same result typically takes 30 to 40 photo dives, which could be two to three years for a diver who dives infrequently.
The difference is enormous. And it is entirely controllable from your living room, your municipal pool, or your local aquarium. This is one of the reasons why practicing on land and the dry practice of the dive are at the heart of the AquaExposure method.
What I learned from a season observing others in the Maldives
In the Maldives, I had the opportunity to observe hundreds of underwater photographers for two years. All levels, all equipment, all budgets.
The criterion that best predicted the final image quality was neither the price of the equipment, nor the number of dives, nor even innate talent. It was the degree of fluidity in handling the housing. Divers who seemed not to see their equipment, who manipulated it as a natural extension of their arm, consistently produced better images than those who seemed to still be struggling with their equipment.
The most striking thing: this fluidity had no correlation with general photography experience. Some experienced terrestrial photographers seemed awkward underwater because they hadn't taken the time to specifically learn how to use their underwater housing. Conversely, some intermediate divers who had spent hours practicing on land seemed comfortable from their first underwater photo shoot.
This observation convinced me that mastering the wreck should be taught as a separate skill, not as a byproduct of accumulated experience.
If you want to integrate this method into a structured progression (combined with on-land practice, equipment selection, and the fundamentals of underwater composition), then this is exactly what the AquaExposure training builds step by step.
AquaExposure does not receive any affiliate commissions on the equipment mentioned in this article. Our recommendations remain independent.
Frequently Asked Questions
How much time should be dedicated to dry exercises before moving to the pool?
At a minimum, two weeks with 30 minutes per day, or the equivalent spread out over time. You know you're ready when you can execute the entire sequence with your eyes closed in less than 15 seconds, several days in a row. Before this stage, the pool will be less effective because your brain will be overwhelmed by the novelty of both the underwater environment and the controls.
Can these exercises be done with a smartphone inside a tank instead of a compact camera?
Yes, completely. The logic is even more important with a smartphone because the physical controls of a smartphone housing are less numerous, and everything passes through the touchscreen. The dry exercises consist of memorizing the touch zones through the housing, practicing the accuracy of the trigger through the membrane, and automating the switching between photo and video modes. For details on the smartphone setup, see smartphone underwater: good or bad idea.
Should you go to a private pool or is a public pool sufficient?
A public pool during off-peak hours is more than sufficient. The ideal time is early in the morning, when you can occupy a slow lane. Inform the lifeguards before entering with a tank, they are usually cooperative if you explain the purpose. A swimming pool with a depth of 1.5 to 2 meters is sufficient for 90% of exercises.
My new dive computer, should I really test it without a camera first?
Yes, absolutely. Even high-quality brand dry suits can have a factory-installed seal defect. Testing the dry suit empty in a pool for 20-30 minutes at 1-2 meters is a free insurance against losing a device. Then open it dry, wipe the inside with a dry cloth, and check every corner. If even a single drop is visible, do not dive with your device and send the dry suit to the manufacturer for repair.
Can I do these exercises in the sea directly, without a pool?
It is possible, but much less effective. The sea introduces variables (visibility, current, temperature, other divers) that interfere with the learning of pure automatisms. And the cost of each sea dive is much higher than that of a pool session. The pool is the ideal training tool for this phase, just like a training ground before a match.
What to do if I don't have access to a pool for several months?
Focus on the 1st floor (dry) and the 3rd floor in its aquarium version. The daily dry exercises are remarkably effective and require no resources. The aquarium partially replaces the pool for reading movement and tracking subjects. On your first open water dive, you will be less fluid than with a pool transition, but significantly more operational than without any preparation.
From how many dives can we consider the wreck as completely explored?
By combining dry exercises, pool sessions, and regular dives, aim for approximately 30 to 50 photo dives to achieve complete fluency that no longer requires conscious thought. This threshold also corresponds to the point where you will precisely know what your setup can and cannot do, and therefore the point where any potential hardware upgrade starts to make sense. Before this stage, as I explain in the complete guide to choosing equipment for beginners, upgrading is almost always premature.
Are there any additional exercises for video rather than photography?
Yes, and they are distinct. Video requires slow and continuous movement, camera stabilization, and managing longer sequences. Specific video exercises include constant horizontal travel in a pool, controlled vertical movements (from the surface to the bottom), and static shots of at least 30 seconds without any micro-movement. Discover the AquaExposure course
The logic of approaching the wreck remains the same, it's the type of movement that changes.
Do you want a handy summary to take on your next dive? The free AquaExposure guide "The 7 Essential Settings for Underwater Photography" is available for download in PDF format. White balance, exposure, focus, distance, angles, checklist before entering the water, and natural light: the basics applicable immediately on your next dive, without purchasing equipment. Download the guide for free
Benjamin Coste introduces you to the world of underwater photography. He shares his knowledge and experience with you. Learn how to take stunning underwater photos. Discover the secrets of underwater photography. Enjoy the beauty of the underwater world.