Can a LUT replace good settings at the time of capture?
No. A LUT corrects what the sensor recorded. It cannot invent what was never captured. An overexposed or underexposed file will remain problematic even with the best LUT.
Do I need a different LUT for each depth?
Ideally, yes. Light changes drastically between 5 and 20 metres. A LUT calibrated for 5 metres will overcompensate the reds at 15 metres. Choose a LUT that matches your main depth range.
Are free LUTs as good as paid ones?
Some free LUTs are excellent if they were created for a specific colour profile and specific conditions. Price does not guarantee quality. What matters is the match between the LUT and your shooting conditions.
How can I tell if my LUT is faking or restoring?
Compare the LUT image with your memories of the dive. If the colours seem more saturated than what you actually saw underwater, the LUT is inventing. True restoration produces natural, believable tones.
A few years ago, I discovered underwater LUTs by accident, while trying to speed things up on a shoot in Egypt where I'd accumulated three hours of rushes to correct by the next morning. A photographer on the boat had given me a pack of LUTs "made for diving," and I applied the first one to a sequence shot at five metres depth in the clear water of the Red Sea. The result was. magical. Colours restored, pleasant contrast, surgeonfish that had regained their yellow. I was pleased with myself.
Then I applied the same LUT to a sequence shot at twenty metres, in slightly murky water, under overcast skies. The result was frankly dishonest: an artificial orange on the corals, divers' skin turning coppery, and that uncomfortable feeling that the image was "lying" about what the water really looked like that day.
That's when I understood that LUTs are powerful tools, and that power without understanding produces fakes, not beauty.
What a LUT Actually Does to Your Image (in Plain Language)
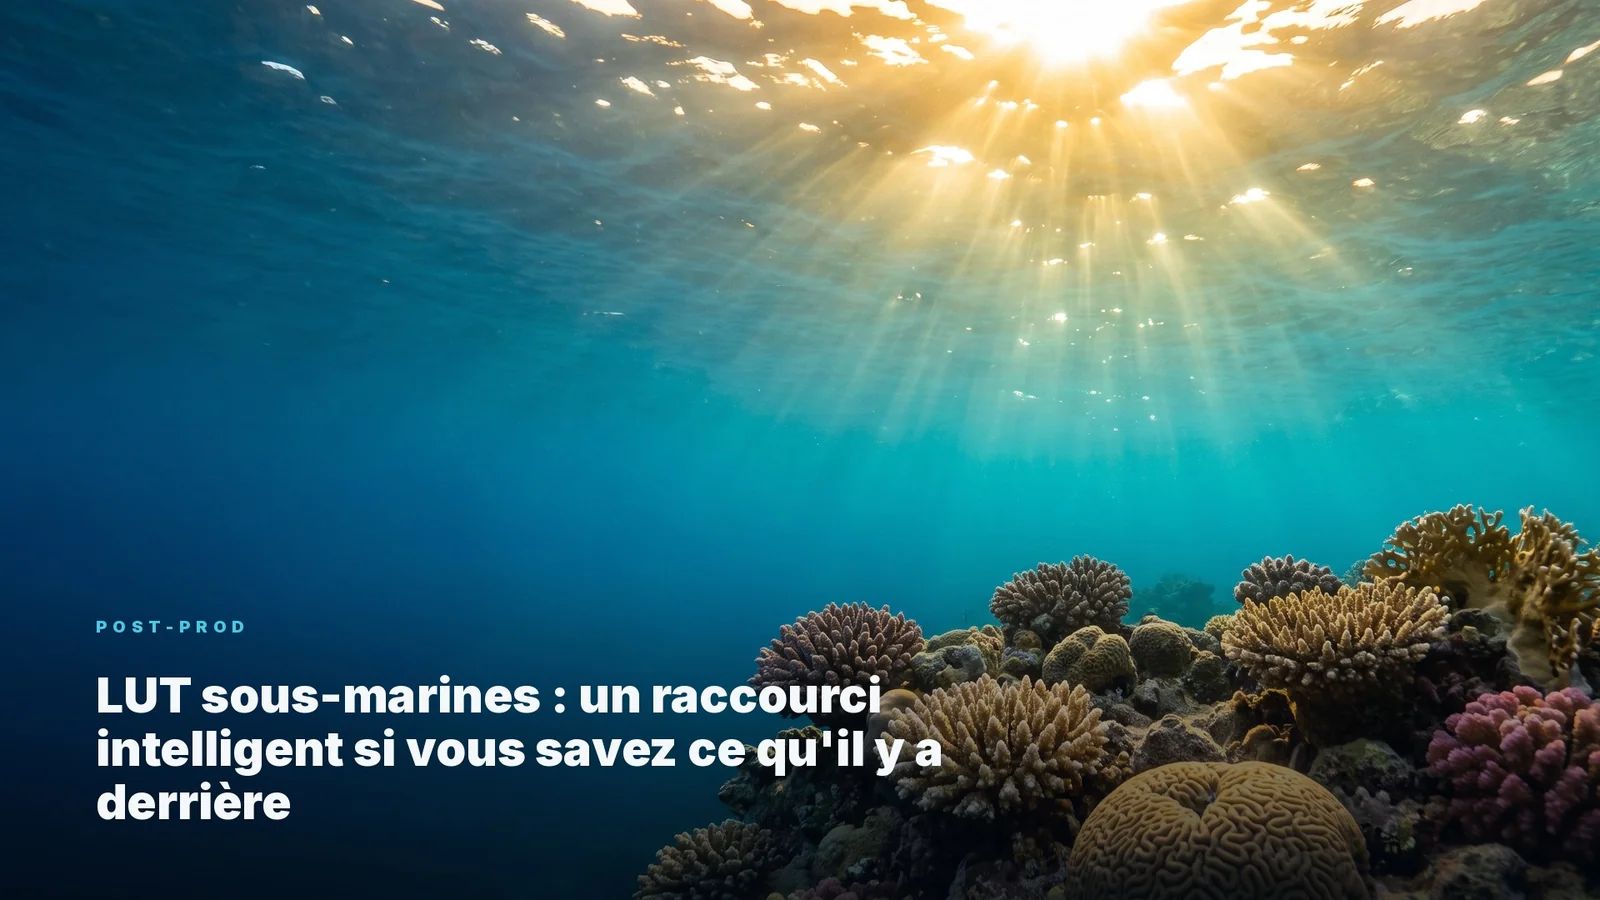
A LUT (Look-Up Table) is a three-dimensional grid that maps every Red-Green-Blue input value combination to a different output value. In concrete terms: you feed in a blue-green pixel of 128/180/200, and the LUT gives you back a pixel of 165/155/140. It has simultaneously modified the white balance, tonal curves, and saturation of every hue, in a fraction of a second, without you touching a single slider.
What sets a good underwater LUT apart from an Instagram filter is the quality of its construction. A serious LUT has been calibrated from real images shot at a specific depth and turbidity, comparing the result with what the eye actually perceived on location. It "knows" that red disappears first, that green holds out longer, and that midday surface light in tropical water behaves differently from diffused light in the Mediterranean at 15 metres.
An Instagram filter just applies an aesthetic. It doesn't restore anything. It decorates.
The distinction is fundamental, and it's at the heart of the AquaExposure doctrine: editing reveals beauty, it doesn't create it.
Why a LUT Works on Some Photos and Not Others
This is the question everyone asks after the second disappointing application.
The answer fits in one sentence: a LUT was built for a specific light condition, and it only works correctly if your image matches that condition.
The variables that change everything:
Depth. At five metres in clear water, there's still some natural red light left. The "5m tropical water" LUT will do subtle, almost invisible work. Apply that same LUT to an image from 25 metres, and it will overcorrect violently because the missing red is far more significant. It invents red rather than restoring it.
Water turbidity. Water loaded with particles scatters light differently and absorbs wavelengths in a non-linear way. A LUT calibrated for the crystal-clear waters of the Maldives will be catastrophic in the North Sea in autumn. It doesn't understand that the blue-green haze you see comes from suspended matter, not from depth.
Cloud cover. Overcast skies versus direct sun radically change the spectrum of underwater light. An overcast day flattens contrasts and cools the tones even further. A LUT calibrated in fair weather will produce colours that are too warm on your bad-weather images.
Camera profile. A LUT built from a Sony S-Log3 LOG file won't produce anything good on a standard H.264 file or a Canon RAW. The input data is radically different.
How to Choose a LUT Suited to Your Depth and Water Type
The first rule: read the LUT pack documentation before buying. A serious creator documents the calibration conditions: depth, water type, camera profile, approximate geographic latitude.
If the documentation just says "underwater LUT pack, 10 LUTs" with no further detail, move on. Those are aesthetic filters disguised as technical tools.
For a realistic workflow, here's how to organise your selection:
First identify your source file profile (LOG, standard, RAW). Then estimate the average depth of the sequence (0-5m, 5-15m, 15-25m, beyond 25m). Finally, qualify the water (clear tropical, turbid temperate, green open water, dark cave water). These three parameters determine the "type" of LUT you need.
In practice, a good underwater LUT pack offers you at least six entries: two depth ranges multiplied by three water types. If you find only two or three with no documentation, they don't genuinely cover the real-world uses of an active diver-photographer.
The Workflow: LUT as Starting Point, Manual Adjustments as the Finish
This is the key that turns a risky tool into a professional one.
Never apply a LUT at the end of the chain and call the job done. Use a LUT as your first move, then correct what it couldn't anticipate.
Step 1: Prepare the source file. If you're working in LOG (S-Log, C-Log, V-Log), make sure to apply your normalisation LUT first (the "technical LUT" that brings the LOG back to a standard REC.709 space). The creative LUT comes after, never before.
Step 2: Apply the creative LUT. In DaVinci Resolve, use the "LUT" node at the beginning of the pipeline, not the end. In Lightroom, import your LUT as a development profile (File > Import Profiles). Set the LUT intensity between 70% and 90%: rarely 100%, never below 60%.
Step 3: Correct residual white balance. The LUT has done the heavy lifting, but it doesn't know your exact conditions. Check visually: are the areas that should be neutral (white sand, black wetsuit) actually neutral? A small temperature adjustment of 200 to 400 Kelvin is often enough to finalise.
Step 4: Work the luminosity curves. The LUT has modified the colours, but it hasn't necessarily handled your highlights or shadows well depending on the exposure of your source file. Check the histogram: no zone should be clipped at either extreme.
Step 5: Selective saturation. This is where the ethics of editing come into play. Increase overall saturation with caution (rarely more than +15 in Lightroom). If certain hues (the oranges of corals, the blues of the water column) still look dull, work them individually in the hue/saturation/luminance selector. But stay in the register of "revealing": if you don't remember seeing that colour on the dive site, don't invent it.
Creating Your Own Reference LUT in Lightroom or DaVinci
This is the step nobody takes, yet it's the most useful if you dive regularly in the same conditions.
The idea: manually correct a representative image from your favourite spot, taking all the time you need, then export those settings as a starting LUT for all future dives in the same context.
In Lightroom:
1Select your reference image and perform a full correction starting from the native Colour profile (avoid "Adobe Color" profiles that pre-process the hues).
2Once satisfied, go to the Calibration panel and look for the "Create New DNG Profile" button.
3Give it a precise name: "LUT-Corsica-15m-summer" for example.
4This profile will now be available in all your future Lightroom developments.
In DaVinci Resolve:
1Correct your reference sequence using standard colour nodes (white balance, curves, saturation).
2Right-click the corrector node and select "Generate LUT."
3Choose the .cube format (33 points), name it precisely, save to a dedicated folder.
4This .cube file will be reusable in any compatible software: Resolve, Premiere, Final Cut, Lightroom, Capture One.
The beauty of this approach: your homemade LUT encodes your real conditions, not the ideal conditions imagined by a preset creator who may have never dived in your water.
The Ethical Limits: When a LUT "Invents" Instead of "Restores"
This is the sticking point I rarely address publicly because it touches on something personal in photographic work, but it deserves to be said clearly.
Some popular "underwater" LUTs have been built to produce beautiful images, not to deliver faithful ones. They over-saturate corals. They warm up skin tones. They brighten shadows to the point where underwater caves seem bathed in artificial light. The result is aesthetically seductive and biologically false.
The concrete problem: if your images show a reef with vivid orange corals at 20 metres depth in temperate water, you're lying about the actual state of that reef. You're showing something that nobody would ever see without artificial lighting at that depth. It's a soft form of disinformation about underwater environments.
The verification rule I apply: if, by switching the LUT off and looking at the raw image (even the grey, flat LOG file), I can't mentally "see" the colours the LUT has produced, then the LUT has invented. If I recognise those colours as what I saw during the dive (mentally re-weighting for the water's absorption), then the LUT has revealed.
The difference between revealing and inventing isn't technical. It's ethical. And it shows, for those who know how to look.
Can a LUT replace good settings at the time of shooting?
No. A LUT works on existing data: if your shadows are clipped at capture, the LUT won't recover them. If your focus is soft, the LUT won't sharpen it. The fundamental principle remains: expose correctly, set white balance as precisely as possible at the time of shooting (5000K as a starting point in temperate water, 5500K in tropical water), and shoot in the flattest profile available (LOG or at minimum a neutral profile). The LUT takes that solid foundation and builds on it. It doesn't rebuild a mediocre one.
Do I need a different LUT for every depth?
Ideally yes, or at least for each depth range. In practice, a single LUT can cover 5-15 metres in clear water with reasonable manual adjustments. Beyond 15 metres, conditions change enough that the residual corrections become significant. If you regularly dive between 20 and 30 metres, create or buy a LUT calibrated for that depth. The classic mistake is using a "shallow water" LUT on deep dive images: you'll overcorrect the red and produce orange-coppery images that never existed in reality at that site.
Are free LUTs as good as paid ones?
The correlation between price and quality is weak in this space. Some free packs shared by experienced underwater photographers are excellent because they were carefully calibrated from documented conditions. Some paid packs at 40 euros are aesthetic filters with no technical basis whatsoever. The selection criterion isn't the price: it's the documentation (calibration conditions, target camera profile, depth, water type) and the creator's reputation within the community of active diver-photographers. A creator who dives and documents their sources is worth ten times a preset creator who "loves the ocean aesthetic."
How do I know if my LUT is "cheating" or "restoring"?
Two simple tests. First test: apply your LUT to an untreated surface (above-water) image. If the image turns orange or overly warm, your LUT is overcompensating for red, meaning it invents red even when none is missing. A good warning sign. Second test: reduce the LUT intensity to 50% and compare with the original at 0%. If at 50% you see a credible restoration (the colours progress towards what you saw), the LUT is working in the right direction. If at 50% you already see implausible hues for the condition, don't go to 100%.
Going Further
LUTs are an effective gateway into the underwater colour correction workflow, as long as you never forget that they were built for specific conditions, not yours.
Understanding what's behind a click: that's exactly what AquaExposure aims to pass on in every training module, from capture settings through to ethical post-production.
The best LUT in the world applied to an overexposed file or one shot in a standard profile produces something mediocre. The same LUT applied to a well-exposed LOG file produces something remarkable. It's not the LUT that makes the difference. It's what you decided to capture before going down.