Underwater photogrammetry is no longer just for labs. Method, gear and mindset to document a reef in 3D as a diving photographer.
On June 3rd, a piece of news travelled through the whole little world of diving. On the Great Barrier Reef, a mother and her daughter, two citizen scientists, had just identified and mapped the largest coral colony ever documented. One hundred and eleven metres. Not a lab with a submarine and an oceanographic campaign budget. Two people, some water, some photos, and a method.
It is that last part that made me smile. Because the method is exactly what I have been trying to pass on from day one.
What really happened on the Great Barrier Reef
Jan Pope and her daughter Sophie Kalkowski-Pope did not get beginner's luck. The colony was confirmed by in-water measurements, by surface photogrammetry, then by 3D modelling done with a university robotics centre. The expedition brought together scientists, divers, and Gunggandji Traditional Owner Frederick Lefoe. Western science and cultural science in the same water.
This coral shelters a whole ecosystem: feather stars, crabs, shrimp, clownfish. It sits in an area among the least exposed to cyclones, which probably explains how it lasted so long.
But hold on to this above all: the starting point is a series of photos. Not some exotic instrument. Photos taken with rigour.
!Wide view of a large coral colony on a tropical reef in natural light
Visual direction: wide shot of a coral massif, slightly side-lit morning light, clear water, a diver in the background for scale. No frontal flash.
Photogrammetry, explained without jargon
Photogrammetry means rebuilding an object or a scene in three dimensions from many photos taken at different angles. The software spots the common points between overlapping images, works out the camera position for each shot, and reconstructs the volume.
You already do half the work without knowing it when you photograph the same subject from several angles. The difference is coverage and regularity. Where the photographer looks for the single great image, the photogrammetrist looks for all the images, methodically, so no gap is left.
And that is exactly where the line between the two worlds blurs. A diver who can hold a clean trajectory, keep a stable distance and expose correctly already has the basic moves. The rest is a matter of discipline.
My take: photogrammetry is democratised, so use it
For a long time, underwater 3D modelling was framed as a researcher's business. Expensive gear, sharp skills, heavy means. That picture has become false.
Today, a camera that produces sharp and regular images, a bit of method and accessible software are enough to rebuild a coral patch, a wreck, a sunken statue. The June 3rd discovery is the clearest proof: citizen scientists did the field work.
I often tell my divers: technology has stopped being the brake. The real brake is shooting rigour. A sloppy series gives a holed model, whatever the price of the camera. A clean series, shot with a modest camera, gives a usable model.
The shooting method that makes the difference
This is the heart of the matter, and it is the part nobody can guess without having put their head underwater.
Overlap above all
Rule number one: each photo must broadly overlap the previous one. Aim for 60 to 80 percent overlap. The software needs to find the same points from one image to the next to compute the volume. Too little overlap and the model tears apart.
In practice, you move slowly, you trigger often, you resist the urge to rush. Haste is the enemy of photogrammetry as much as it is of macro, as I explain in my account of macro photography of nudibranchs.
Parallel strips
You do not photograph a reef at random. You cover it in parallel strips, like mowing a lawn. One strip, turn around, the next strip overlapping the previous one on the side. Then, if the subject deserves it, a second pass on a diagonal or at another height to capture the volumes.
This clean trajectory is a diver's skill before it is a photographer's skill. Good buoyancy and controlled finning are worth more here than any camera body.
A constant distance
Keep a stable distance from the bottom. If you keep rising and dropping, the scale changes with every image and the calculation gets harder. A steady height gives even coverage and a clean model.
!Diver moving at a constant height above a reef for methodical photo coverage
Visual direction: diver seen from the side, horizontal, at a regular distance from the reef, trajectory visible. Show the steadiness of the move.
Light, again and always
You know where I stand on this. At AquaExposure, we work with natural light, and photogrammetry is no exception, quite the opposite.
To rebuild a scene, the software needs light that is as even as possible. A frontal flash creates a hot spot in the centre and dark edges, different in every image. Those harsh variations disturb the reconstruction. Natural light, well read, at a depth where the sun still reaches, gives even coverage and colours that stay consistent from one photo to the next.
It is the same logic I detail in my article on colour loss with depth and correction in post: understanding how water eats the light makes you better, in classic photography as in 3D. And since consistency comes first, you avoid tricks that change the rendering unevenly from one shot to the next.
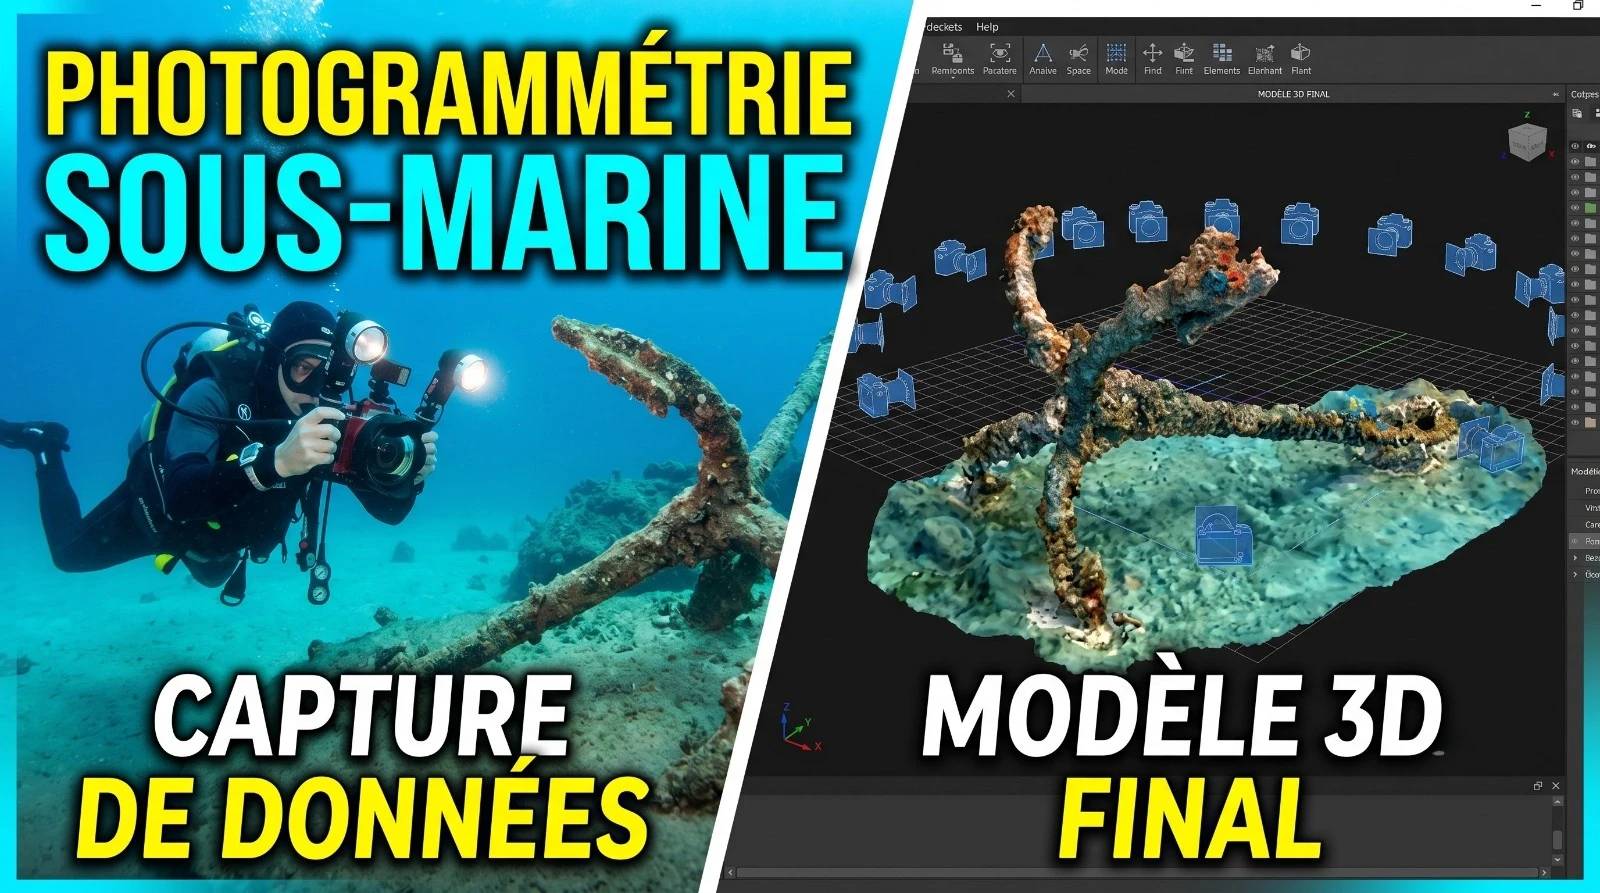
From the field to the model: the software step
Once your series is back home, the photogrammetry software aligns the images, builds a point cloud, then a textured surface. Several solutions exist, from the most accessible to the most advanced. The principle does not change: the quality of the model depends first on the quality of your series.
AI is joining this chain too, to clean noise or improve textures. That is a whole topic of its own, which I started covering in my overview of AI tools for underwater photography in 2026. The rule stays the same as everywhere in this house: a tool reveals what you managed to capture, it does not save a sloppy series.
Why this matters for you, the diving photographer
Photogrammetry is not a researcher's gadget. It is a natural extension of underwater photography, and it is a wonderful gateway into citizen science. Documenting the state of a reef year after year, tracking a wreck, contributing to a mapping project: all of this is now within reach of a serious diver.
And there is a hidden benefit. Training in photogrammetry forces you to become a better diver. Clean trajectory, constant distance, regular triggering, reading the light. These are exactly the fundamentals I work on with my students, because they serve everywhere, from a nudibranch portrait to a wide wreck shot, as in my beginner guide to underwater video.
The June 3rd discovery reminds us of one simple thing: it is not the means that are missing, it is the method that makes the difference. And method can be learned.
If you want to build solid shooting foundations, the ones that serve both the beautiful image and 3D documentation, that is the whole point of the AquaExposure technical modules.
Share
Table of Contents
- 01What really happened on the Great Barrier Reef
- 02Photogrammetry, explained without jargon
- 03My take: photogrammetry is democratised, so use it
- 04The shooting method that makes the difference
- 05Overlap above all
- 06Parallel strips
- 07A constant distance
- 08Light, again and always
- 09From the field to the model: the software step
- 10Why this matters for you, the diving photographer
Questions about the Journal
Can I use the photographs from this journal?
All images are protected by copyright. For any commercial or editorial use, please contact us via our form.
How can I be notified of new articles?
Follow us on social media or join the Sentinels Circle to receive our immersion stories before anyone else.
Do you offer hands-on workshops?
Yes, we organize masterclasses and field expeditions for members of our school. Check the Training page for details.


