Yes, the rule of thirds works underwater exactly as it does on land. The principle is universal. What changes is the speed of execution: you must place your subject on a third by reflex, not by deliberation, because the time with a moving subject is counted in seconds.
How to create negative space in underwater photography?
Position yourself lower than your subject and aim upward. The background then becomes the blue water column above, creating a uniform and clean backdrop. The steeper your angle toward the surface, the more the blue negative space dominates the image.
Should you always apply the rule of thirds underwater?
No. The rule of thirds is a starting point, not an absolute law. Some images work perfectly with a centered subject (symmetry of a fish facing the camera, mandala of a jellyfish seen from below). What matters is that the choice is conscious, not accidental.
What is the best shooting angle underwater?
The low angle (shooting upward) is the most universally effective in underwater photography. It places the subject against a blue background, creates natural negative space, and gives an impression of grandeur to the subject. But the ideal angle depends on what you want to convey.
How to guide the viewer's eye in an underwater photo?
Use the natural vanishing lines of the reef, gorgonians, drop-offs, and light beams to guide the eye toward your subject. An interesting foreground (coral texture, sand, bubbles) draws the viewer in and naturally leads toward the subject in the middle ground.
Why are my underwater photos visually confusing?
The problem usually comes from a lack of contrast between your subject and the background. Change your angle to place the subject against a contrasting background color, or use the blue negative space to isolate it.
Can you crop underwater photos in post-production?
Yes, cropping in post-production is a legitimate tool. But it reduces your image resolution, which is a problem if you shoot with a smartphone or a GoPro whose resolution is already limited. It is better to build the framing at the time of the shot.
How to practice underwater composition without diving?
Practice on land with the same constraints: photograph 1,000 images focusing solely on composition. Do the recomposition exercise (20 photos of the same subject, 20 different framings). The automaticity you build transfers directly underwater.
To learn how to get the most out of your gear underwater, discover the AquaExposure training.
Underwater Photography Composition: The Rule of Thirds, Negative Space, and Leading Lines
Composition is what separates a good underwater photo from a memorable one. Applying the rule of thirds, using the negative space of blue as a backdrop, and following the natural lines of the reef transforms a simple documentary shot into an image that tells a story. These principles are the same as on land, but their execution changes dramatically underwater.
I have spent years shooting everything that moved underwater. The result: hundreds of photos of centered, well-exposed, technically correct fish. And perfectly boring. The day I started thinking about composition before thinking about settings, everything changed.
Why underwater composition is a separate subject
On the surface, you have time to circle your subject, find your angle, and come back the next day if the light is not good. Underwater, you might only have ten seconds with a moving subject, your body drifts, your brain manages five tasks simultaneously, and your frame changes with every kick.
Underwater composition is not a purely aesthetic luxury. It is a discipline that should become an automatic reflex, because you will never have time to consciously think about it when a turtle swims by.
This is exactly why practicing framing out of the water is so important: it builds the automatism you need so that the composition comes naturally when the cognitive load of the dive leaves you with no more mental capacity.
The Rule of Thirds Underwater: Same Principle, Different Execution
The rule of thirds, you know it. Divide your image into nine equal squares with two horizontal and two vertical lines. Place your subject on an intersection. This is the basis of composition since the Renaissance.
Underwater, the principle remains the same. But three factors change its application.
The subject moves in three dimensions
On the surface, your subject primarily moves on a horizontal plane. Underwater, it rises, descends, moves away, and comes closer. A fish swimming towards you moves from one intersection to another in a fraction of a second. This means you don't position your subject on the third: you anticipate where it will be when you take the shot.
This anticipation is developed. Observe your subject's path for a few seconds before framing. Fish follow patterns. Turtles have predictable paths. Sea slugs, on the other hand, give you plenty of time.
The seabed is not a fixed background
On the surface, the background is often static: a wall, a landscape, the sky. Underwater, the background changes depending on your shooting angle. Aim upwards: a uniform blue background. Aim horizontally: the reef in the background. Aim downwards: a sandy background.
This choice of background is a fundamental compositional decision. A fish against a blue background (shot from below) is a subject that is isolated, graphic, and readable. The same fish against a reef background is a subject in its environment, contextual, and narrative. Neither is better. But it must be a deliberate choice, not a matter of chance.
The swimming space
In terrestrial animal photography, the concept of "eye space" is important: you need to leave space in the direction the animal is looking. Underwater, the concept of "swimming space" applies. If your fish is swimming to the right, place it on the left third of the frame. It needs space in front of it so that the image "breathes".
It's a simple reflex to describe, but difficult to execute when you only have three seconds to frame. This is also the reason why the 1000-photo land practice method works: you build this reflex in the surface, in an environment without pressure.
Negative space: blue as a canvas
Negative space is the part of the image that does not contain your subject. On the surface, a large negative space can be a clear sky, a white wall, or a snow-covered expanse. Underwater, the natural negative space is the blue of the water.
And it's one of the most powerful assets of underwater photography.
Why Blue Works So Well
The blue of the water provides a uniform, non-distracting background that automatically highlights your subject. You don't need to search for a clean background: simply change your angle so that the background becomes blue. This is a luxury that nature photographers rarely have.
A small seahorse against a blue background becomes monumental. A shark against a blue background becomes graphic. A diver in silhouette against a blue background becomes a pure form.
How to create negative space underwater
The technique is simple in theory: position yourself lower than your subject and aim upwards. The reef disappears from the frame, replaced by the column of water above. The more your angle is oriented towards the surface, the more uniformly blue your seabed will be.
In practice, this requires sufficient buoyancy to keep you hovering at your subject's level without kicking (which scares away animals and stirs up the sediment). This is a good example of a skill where diving and photography come together: the quality of your composition depends directly on the quality of your stability in the water.
Negative space as a narrative tool
The negative space is not just a simple background. It is a storytelling tool. A small subject surrounded by a vast expanse of blue tells of solitude, immensity, and vulnerability. A subject that occupies almost the entire frame with very little negative space tells of proximity, intimacy, and presence.
This choice of ratio between subject and negative space is one of the most expressive decisions you can make underwater. And it costs nothing in terms of equipment: just a step forward or backward, a change of angle.
Leading the Eye: Using Leading Lines in Your Image
Leading lines are visual elements that guide the viewer's eye through the image, towards your subject or through the scene. On land, they are roads, fences, rows of trees. Underwater, you have your own natural lines.
Underwater escape lines
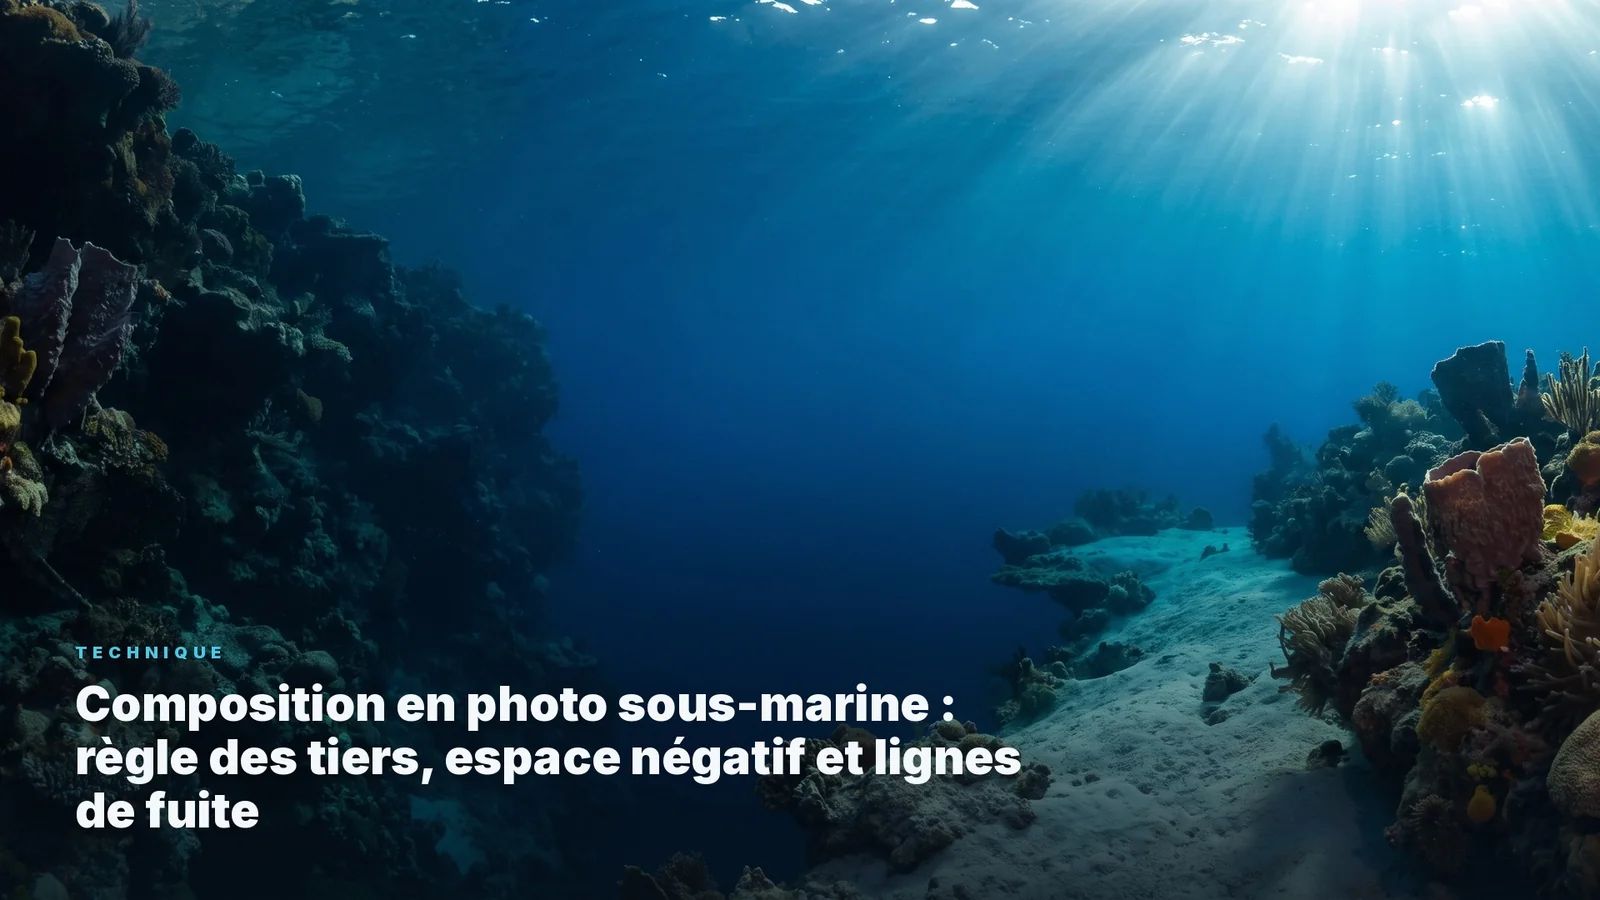
The reef creates natural horizontal lines. The drop-offs offer powerful vertical lines. Gorgonians and tube sponges create diagonal lines. The beam of light that penetrates the surface draws converging lines towards the bottom.
The best wide-angle underwater images use these lines to create depth in an environment where the aerial perspective (the atmospheric haze that gives landscapes depth) is replaced by the absorption of light by the water.
The Surface Line
Few underwater photographers think about it, but the surface of the water is an extraordinary compositional line. Viewed from below, it creates a natural mirror effect (the Snell effect) that reflects the seabed. This horizontal line can serve as the top edge of your frame, or become the subject itself.
The images of silhouettes and backlighting use this surface line as a light source and as a graphic element. This is a 100% natural light technique that produces some of the most striking images in the underwater repertoire.
Foreground, midground, background
Underwater, the temptation is to frame only your subject. But the most compelling images have three readable planes: a close-up (a piece of coral, bubbles, sand texture), a subject in the middle ground, and a background (the blue, another reef, the surface).
This layered construction creates depth, guides the eye, and tells a more complete story than a solitary portrait. In wide-angle photo in natural light, this three-plane composition is almost essential to produce an image that works.
The Golden Ratio and Spirals: Useful or Theoretical?
The golden ratio (Fibonacci's spiral, the proportion 1:1.618) is often cited as the ultimate rule of composition. Underwater, to be honest: I never think about it during a dive. No one calculates Fibonacci spirals with 50 bars of air and a school of barracudas passing by.
Conversely, the golden ratio can be found naturally in many marine organisms. The spiral of a nautilus, the arrangement of polyps on a coral, the pattern of a shell. If you photograph these subjects, you are applying the golden ratio without even thinking about it.
The rule of thirds remains the most practical and fastest tool for composing underwater. If you master the rule of thirds, you master 90% of the necessary composition.
The Subject-Background Relationship: The Trap of Visual Confusion
The most common problem in underwater photography is not improper exposure or blur. It is visual confusion: a subject that blends into the background, becoming unreadable.
Color Contrast
Look for a contrast between your subject and its background. An orange nudibranch on a blue background is instantly recognizable. The same orange nudibranch on an orange sponge is invisible. Change your angle to place the subject on a background of a contrasting color.
Light Contrast
Natural underwater light creates areas of light and shadow on the reef. Place your subject in the light against a dark background (or vice versa) to visually isolate it.
Sharpness Contrast
If your device allows it (adjustable aperture), a shallow depth of field blurs the background and isolates the subject. This is less easy with a smartphone or GoPro (which tend to focus on everything), but it is possible in macro with additional lenses.
Recreating the Same Scene: The Exercise That Changes Everything
Here is an exercise that I recommend to all my students. Find a static subject (a nudibranch, an anemone, a piece of coral that you like). Stay in front of it for five minutes. Take twenty photos of the same subject, changing only your composition.
Photo 1: Subject centered. Photo 2: Subject on the left third. Photo 3: Subject on the right third. Photo 4: Lots of negative space above. Photo 5: Subject very close, almost no negative space. Photo 6: Angle from below. Photo 7: Angle from above. Photo 8: Including a foreground.
When you come up and compare the twenty images, the difference is often spectacular. The same subject, the same settings, the same light, but radically different images. This is the tangible proof that composition is the most powerful lever in your photography.
What composition cannot fix
Composition makes a good situation excellent. It does not save a bad situation. If your subject is too far away (and therefore blue and blurry), no framing will correct the distance. If the light is flat (overcast sky, excessive depth), composition alone will not create contrast.
That's why composition works in tandem with two other fundamental elements: the subject distance (get closer, always) and the quality of the light (dive at the right times, at the right depths).
The AquaExposure course dedicates an entire module to underwater composition, with progressive exercises that build these skills step by step.
Frequently Asked Questions
Does the rule of thirds really work underwater?
Yes, the rule of thirds works underwater exactly the same as on land. The principle is universal. What changes is the execution speed: you need to place your subject on a third in a natural, instinctive way, because the time with a moving subject is measured in seconds.
How to create negative space in underwater photography?
Position yourself lower than your subject and aim upwards. The background then becomes the blue column of water above, creating a clean and uniform background. The higher your angle rises towards the surface, the more the blue negative space dominates the image.
Should the rule of thirds always be applied underwater?
No. The rule of thirds is a starting point, not an absolute law. Some images work perfectly with a centered subject (the symmetry of a fish facing the camera, the mandala of a jellyfish viewed from below). The important thing is that the choice is conscious, not accidental.
What is the best underwater shooting angle?
The angle from below (counter-buoyancy) is the most universally effective in underwater photography. It places the subject against a blue background, creates natural negative space, and gives the subject a sense of grandeur. However, the ideal angle depends on what you want to convey.
How to guide the viewer's eye in an underwater photograph?
Use the natural lines of the reef, brain corals, drop-offs, and beams of light to guide the eye towards your subject. An interesting foreground (coral texture, sand, bubbles) attracts the eye and naturally leads it towards the subject in the background.
Why are my underwater photos visually confusing?
The problem usually arises from a lack of contrast between your subject and the background. Change your angle to place the subject on a contrasting colored background, or use the blue negative space to isolate it. Visual confusion is the most common compositional flaw in underwater photography.
Can you crop your underwater photos in post-production?
Yes, cropping in post-production is a legitimate tool. However, it reduces the resolution of your image, which can be a problem if you are shooting with a smartphone or GoPro whose resolution is already limited. It is better to compose the shot during the capture.
How to practice underwater composition without diving?
Practice on land with the same constraints: photograph 1000 images focusing only on composition. Perform the exercise of recomposition (20 photos of the same subject, 20 different compositions). The automatism you build transfers directly to underwater.
Underwater photography composition: rule of thirds, negative space, and leading lines | AquaExposure