Can I use the built-in microphone on a GoPro underwater?
No. Underwater, the housing is sealed and the microphone only picks up parasitic noise (housing vibrations, water flow, regulator bubbles). The useful sound (wildlife, ambience) stays outside. A GoPro shoots great footage but captures no usable underwater sound.
What is a hydrophone and how much does it cost?
A hydrophone is a microphone designed to operate while submerged. It picks up vibrations in water and converts them to an audio signal. For amateur use, the Aquarian H2a runs about 175 euros. Pro models (Ambient, DPA) climb past 1000 euros. A DIY contact-mic solution can come in under 50 euros.
Can you hear fish underwater?
Yes. Many fish produce sounds (grunts, clicks, stridulations). Groupers, triggerfish, damselfish and parrotfish are particularly vocal. Snapping shrimp produce the loudest sounds. Without a hydrophone, you already hear some of these to the naked ear on a dive, but recording requires a dedicated sensor.
How do I add ambient sound in post-production?
Four typical layers: a continuous background bed (water hum, distant bubbles), punctual accents (clicks, animal sounds), discreet music, and strategic silence. The goal is not to fill the soundtrack but to support the emotion in the image. Silence is also a narrative tool.
Is it ethical to add sounds that were not actually present?
The debate exists. Common practice uses generic ambient sounds to reproduce what the human ear actually perceives underwater. Adding those is honest. Adding a whale call over footage with no whale is sound design as fiction. Adding grouper grunts over a grouper shot (even from another take) stays acceptable. The deception begins when sound fabricates an event that never happened.
Which software handles sound on a dive video?
DaVinci Resolve (Fairlight, free), Adobe Premiere Pro and Final Cut Pro handle the audio edit. For serious work, Reaper (60 euros) and Audacity (free) offer dedicated audio tools. A marine ambient sound library (Boom Library, Pro Sound Effects) completes the chain. For YouTube or Reels editing, DaVinci Resolve alone is more than enough.
Can underwater sound recording disturb marine wildlife?
Passive recording (a hydrophone that listens) disturbs nothing. But playing sound underwater (speakers, noisy scooters) can disturb cetaceans and certain fish. For recording, respect for wildlife comes through distance and no sudden movement, just like in photography.
How long should I record to get usable ambience?
At least 2 to 3 minutes of continuous recording to have a workable loop for editing. The longer the take, the more freedom you have to choose the cleanest passage. The ideal is to drop the hydrophone, let it run for the whole dive, and sort through it back at home.
To learn how to get the most out of your gear underwater, discover the AquaExposure training.
Most amateur underwater videos share one flaw: they are either silent or wrapped in a song lifted from Spotify. Ambient sound is almost always missing. That is a shame, because it is probably the strongest emotional lever you can add to a shot. An image without sound feels like a memory. An image with worked ambient sound feels like a dive.
I tested a hydrophone for the first time in 2023, on a Catalan site I know by heart (/blog/Cap de Cerbere). I wanted to film a grouper that always squats the same rocky chimney. What struck me back at the desk was not the footage. It was what I heard at the edit: continuous reef cracking, the sharp click of a pistol shrimp 5 metres away, and above all the grouper's grunts I had never suspected in the water. That day I realised I had been shooting underwater for 10 years without ever really listening.
Why your camera's microphone is useless
This is the first point to understand, and it is often misunderstood. A camera inside a sealed housing records no usable underwater sound. The housing acts as an airtight shell: it blocks water, but it blocks external acoustic waves too.
What the built-in microphone captures is internal vibration: button clicks, your hand rubbing the shell, the slap of your bubbles against the housing. At best, a muffled and useless noise. At worst, a parasite that ruins the raw audio track.
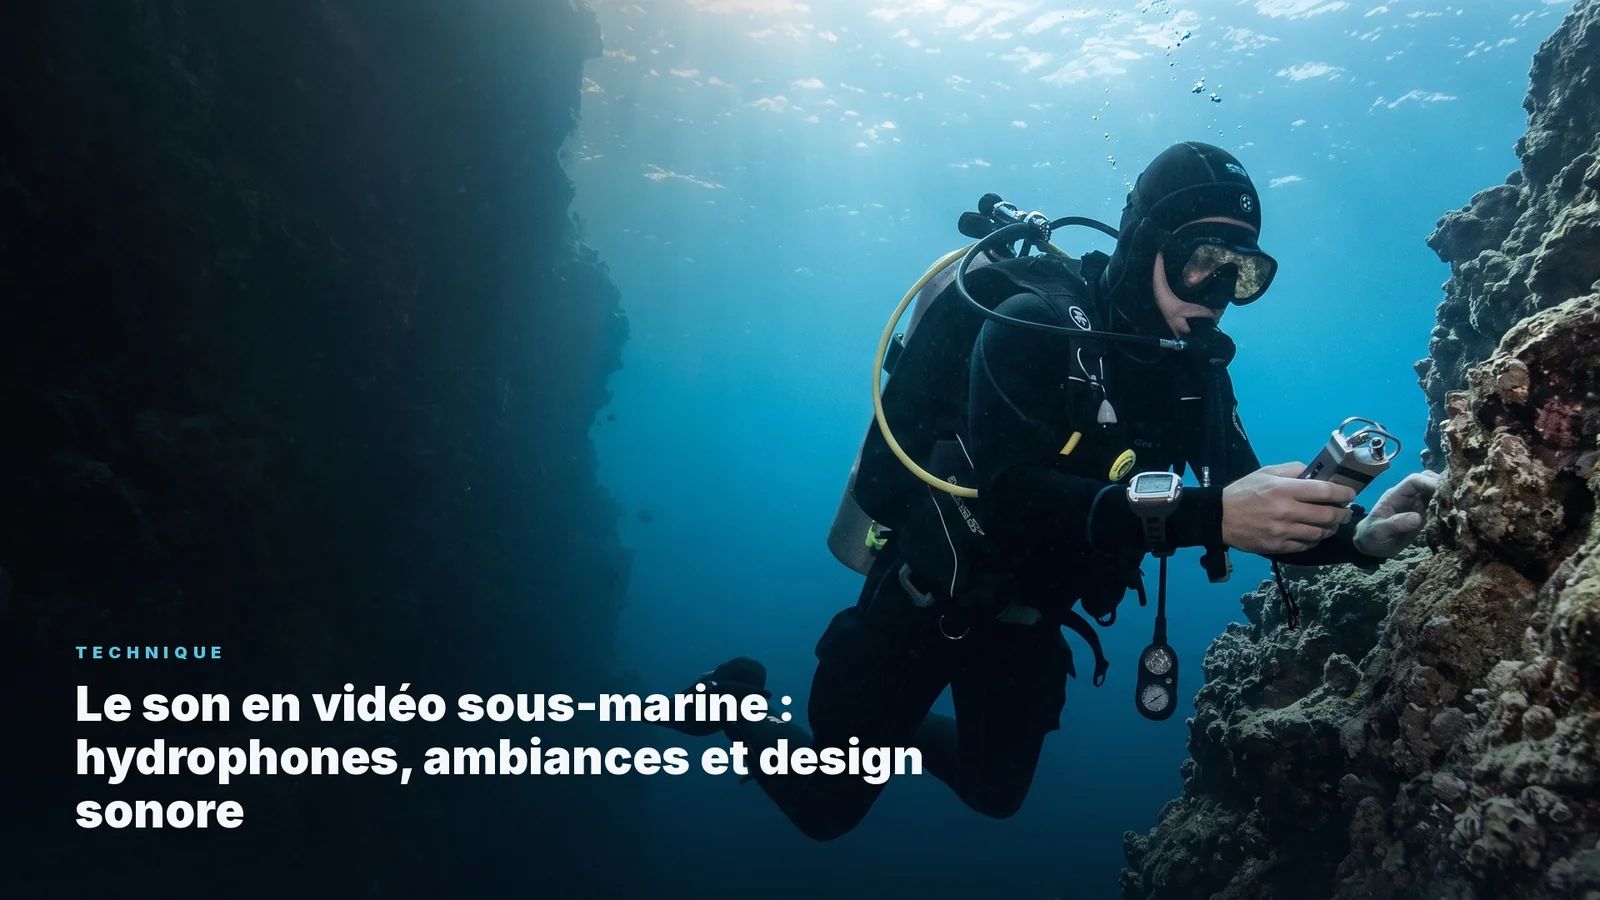
For those filming with a typical video setup, the answer is not inside the housing. It is next to the housing, in a sensor purpose-built for water: the hydrophone.
The hydrophone: a microphone that loves water
The principle
A hydrophone is a microphone designed to operate while submerged. It transforms pressure variations in water (acoustic waves) into an electrical signal, exactly as a regular mic does in air. The difference: its membrane and casing are built to handle pressure and salt.
Underwater, sound travels 4 times faster than in air and carries much further. A grouper grunting at 30 metres remains audible. A boat passing at the surface is heard hundreds of metres away. It is a rich acoustic universe, but inaccessible without a dedicated sensor.
Affordable models
For amateur or semi-pro use, three relevant options in 2026:
Aquarian H2a. The amateur market standard. Around 175 euros. 3.5 mm jack output, compatible with a portable recorder (Zoom H1, Tascam) or a hybrid camera. Tested in practice down to 80 metres. The reference for getting started without breaking the bank.
Ambient ASF-1MKII. Pro grade. Around 1200 euros. Clearly higher recording quality, wider dynamic range, negligible self-noise. Used in documentary production. Over budget for most, but the reference if you want to sell your sound recordings.
DIY solution. A piezo contact microphone (5 euros) slipped into a sealed capsule (film canister, bottle cap filled with mineral oil) can produce surprising results. Quality stays limited, self-noise is high, but the total cost drops under 50 euros. An excellent entry point to test if underwater recording really interests you.
How it connects
The hydrophone does not go inside the housing. It plugs into a portable recorder you keep in a waterproof pouch, or directly into a hybrid camera that accepts an external mic input (rare on dives, often impossible because of the housing).
The simplest method: a Zoom H1 recorder (90 euros) in an Aquapac waterproof pouch, connected to the hydrophone by a cable that passes through a waterproof gland. The recording runs continuously through the dive. You sync sound and image in the edit using a visual clap (two hands closing in front of the camera at the start of each take).
It is a technical setup. It demands preparation and rigour. But once mastered, it gives you access to a narrative dimension that 95% of divers never tap into.
Sound design: 4 layers to stack
The raw recording is the raw material. The work begins in post-production, where you rebuild a credible soundscape. Without diving into the technical details of a tool like DaVinci Resolve, the principle is this: you stack 4 layers.
Layer 1: the continuous bed
This is the general ambience. The muffled hum of water, distant bubbles, the crackle of shells grazing the reef. This layer loops under the whole sequence and creates the feeling of being submerged. Without it, the image floats in silence and loses all sensory credibility.
If you have not recorded that bed yourself, a library of royalty-free sounds (see our article on royalty-free music) provides workable marine ambiences.
Layer 2: punctual accents
These are the sounds triggered by a specific event. The grouper grunt when it appears in shot. The snap of a ray's jaw grazing. The click of bubbles escaping from the regulator. The rustle of a school changing direction.
These accents add relief. They turn a sequence of images into a narrative scene. A turtle shot is nice. A turtle shot with the sound of its fin stroke and the faint sound of its breathing becomes a moment.
Layer 3: the music
Quiet, sitting in the back. It supports emotion without dictating it. A classic mistake is to slap a loud track on top of the mix, which crushes all the ambient work. Music should fade as soon as an important ambient sound arrives. It adapts, not the other way around.
Layer 4: strategic silence
This is the most neglected layer and probably the most powerful. Cut all music for 3 to 5 seconds, leave only the bare marine bed, just before a strong subject appears. That pause creates anticipation and amplifies the emotion of what follows.
Underwater silence is never total (there is always a background, which is what makes it credible). That relative silence, that inhabited void, is the sonic signature of a real dive.
The ethics of added sound
The question comes up regularly, and it is legitimate. Is it honest to add sounds that were not present during the shoot?
My own position, after several years of practice, fits in three lines.
Generic ambient sounds (water, bubbles, marine background) are acceptable. They reproduce what the ear actually perceives on a dive. Adding them fools no one, because they match the real sensory experience.
Animal sounds captured at another moment are a grey zone. Adding a grouper grunt over a grouper shot, even if the grunt comes from another take, remains coherent. The grouper grunts in nature, and the viewer hears what the grouper would do if it were audible.
Sounds fabricated to create an event that did not happen are deception. Adding an orca call over a shot with no orca to suggest its presence. Adding animal breathing where nothing is there. Those are fiction choices, not documentary. If you make them, flag them.
Same logic as for the image: retouching is legitimate, fabricating a scene is another story. This doctrine is consistent with our standing position on ethical underwater photography: we adjust, we do not manufacture.
Three exercises to get started
Gear does not make the result. Sound practice requires time, just like visual practice.
First exercise: listen before recording. For 3 dives, film nothing. Focus on what you hear. The reef cracks, distant boat sounds, fish grunts (yes, you hear them to the naked ear). You will discover a sound world you had never noticed.
Second exercise: test the DIY. Before buying an Aquarian, build a hydrophone from a piezo and a sealed housing. The result will be mediocre but enough to understand the approach and identify your real needs before spending.
Third exercise: redo an existing video. Take one of your already edited videos and rework only the sound. Download some royalty-free marine ambiences, lay them under your edit, add a few punctual accents and 3 seconds of strategic silence. Compare before and after. The difference will convince you.
Sound is invisible. That is exactly why it transforms everything.
Going further
If you take your video storytelling seriously, sound becomes inseparable from the edit. A 90-second story without music or ambience is flat. The same story with a worked soundtrack holds the viewer to the last frame.
To prepare exports adapted to each platform (Reels, TikTok, YouTube), we have a dedicated guide on format and codec per social network. And if you are starting in video, the entry point remains our beginner's guide.
Want to learn underwater video end to end, image and sound, from the gear you already own? The underwater photo and video course includes a dedicated module on sound design and hydrophone recording, accessible to smartphones and action cameras.
AquaExposure earns no affiliate commission on the gear brands mentioned in this article. The models listed are the ones I use or have tested in real conditions.
Sound in underwater video: hydrophones, ambience and sound design | AquaExposure