Do you need a motorized stabilizer to film underwater?
No. A motorized stabilizer underwater is bulky, adds weight, complicates buoyancy and creates an additional point of failure. The electronic stabilization of modern cameras combined with good body technique produces comparable results in the vast majority of situations.
Why are my underwater videos shaky?
The main cause is not the camera but buoyancy. If you are rising or sinking, even slightly, every movement transfers to the camera. The second cause is breathing: each inhalation lifts your body and your framing. The third is posture, with arms too extended, amplifying micro-movements.
How should you hold your camera underwater for filming?
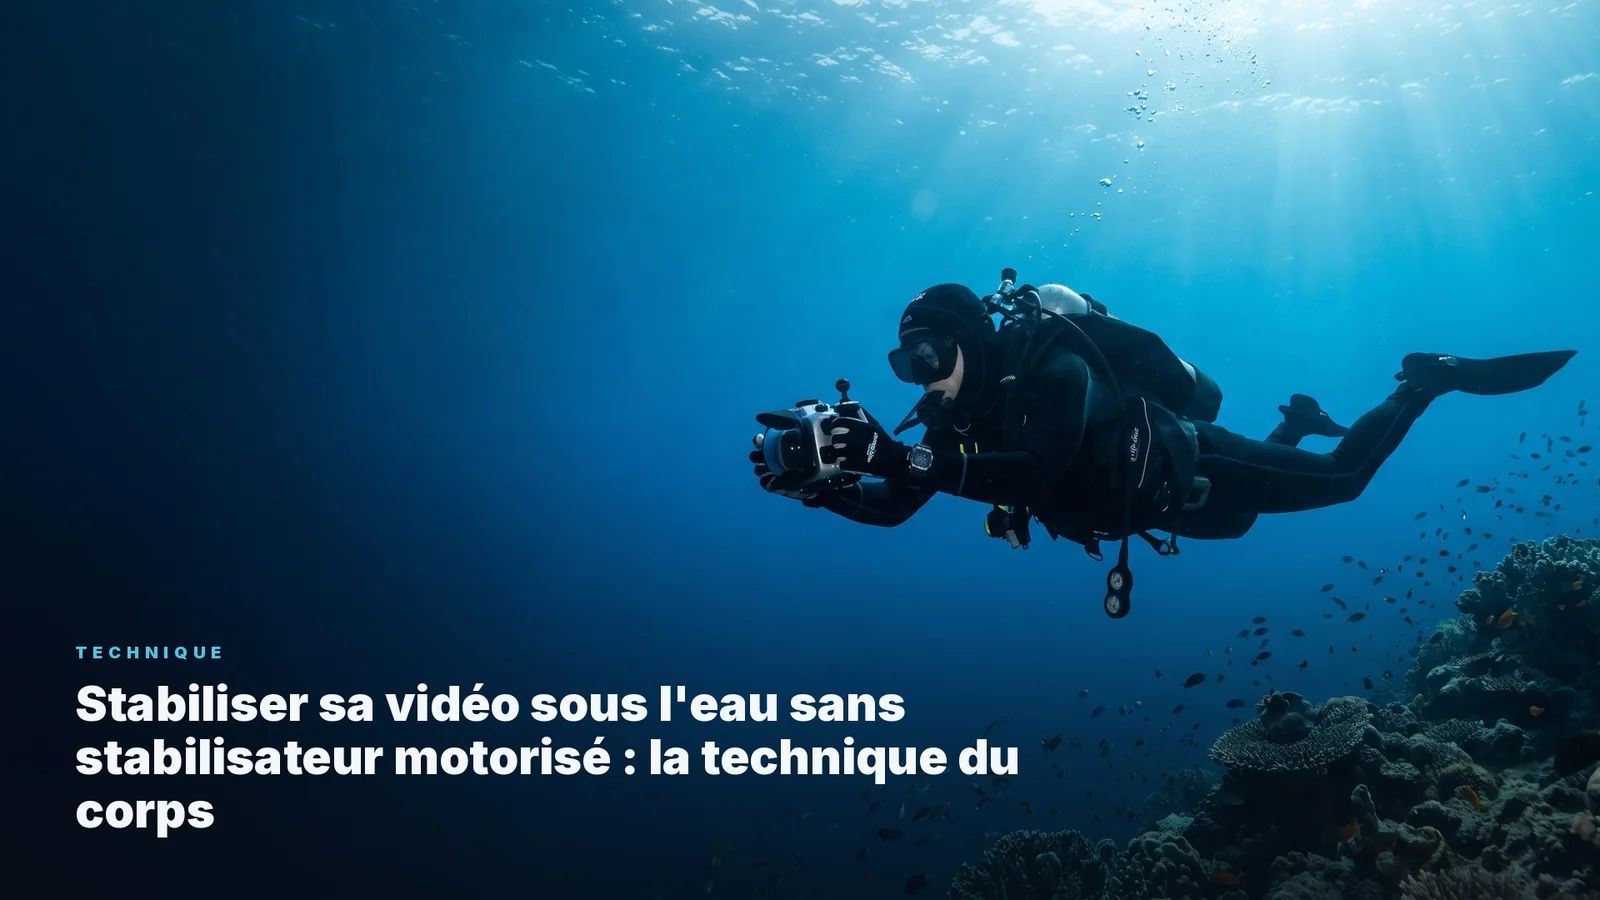
Elbows tucked against your body, camera at chest or chin height. Both hands on the housing or grip if possible. Your entire body becomes the tripod. The closer the camera is to your center of gravity, the more stable the image.
Is electronic stabilization enough for underwater video?
Electronic stabilization (HyperSmooth, RockSteady, etc.) compensates for micro-tremors. It does not compensate for buoyancy shifts, overly fast pans or sudden direction changes. Body stabilization and electronic stabilization complement each other. Neither is sufficient on its own.
How do you achieve a stable tracking shot underwater?
Kick with your ankles, not your knees. Keep your upper body still while your fins propel you forward. Move slowly, more slowly than you think necessary. And film clips of at least 10 seconds to have usable footage after reviewing.
Can you practice stabilization in a swimming pool?
Yes, and it is actually recommended. A pool offers controlled conditions (no current, perfect visibility, constant depth) that let you focus solely on technique. Film yourself filming if possible, so you can see your posture from the outside.
How long does it take to master underwater video stabilization?
Expect around twenty dives before the reflexes of neutral buoyancy and controlled breathing become second nature while filming. Progress is faster if you practice stabilization exercises in a pool between your ocean dives.
To learn how to get the most out of your gear underwater, discover the AquaExposure training.
Stabilization is what separates an amateur underwater video from a sequence that makes people want to dive. Not the gear, not the settings, not the color correction. Image stability. And that stability does not come from a motorized stabilizer or any accessory. It comes from your body. This guide details body stabilization techniques for producing smooth videos with any camera.
Why a motorized stabilizer is not the solution
A motorized stabilizer works well on the surface. Underwater, it creates more problems than it solves.
Bulk, first of all. An underwater motorized stabilizer adds 15 to 30 centimeters to your setup and 500 grams to 1 kilogram of weight. That means more buoyancy to compensate, more volume in your travel bag, and more complexity during pre-dive preparation.
Fragility, next. A stabilizer motor does not react well to sand, salt or pressure. Breakdowns on trips are common and repair is impossible.
Uselessness, finally. A motorized stabilizer corrects rotations (pitch, roll, yaw). It does not correct translation, meaning the fact that your entire body rises, sinks, or surges forward. Yet that is exactly the type of movement that ruins underwater videos. The motorized stabilizer treats the symptom, not the cause.
The cause is your body. And so is the solution.
The three pillars of body stabilization
1. Neutral buoyancy
This is the foundation. If you are not perfectly neutrally buoyant, every shot will contain vertical movement. Even half a meter of variation over a 10-second shot appears on screen as an uncontrolled crane movement.
Buoyancy for video is more demanding than for regular diving. During a dive, slight variation is normal and nobody notices. On video, every centimeter of vertical variation is recorded.
How to work on buoyancy for video:
Do the hover test. Descend to 5 meters, stabilize yourself without kicking, and stay still for 30 seconds. If you rise or sink more than 20 centimeters, your weighting or your breathing technique needs correction.
Practice the hover with your camera. The camera's weight changes your trim (your horizontal position). Do the hover with your full setup to get used to the new center of gravity.
Use your lungs as a fine-tuning buoyancy device. A deeper inhalation lifts you a few centimeters. A longer exhalation lowers you. This is the fine adjustment of buoyancy, and it is what allows you to hold a static shot without touching your BCD.
2. Controlled breathing
Each inhalation lifts your body. Each exhalation lowers it. This breathing cycle creates a regular vertical movement that translates into a slight "pumping" visible in the video.
The basic technique: film while exhaling slowly. Exhalation is the most stable moment in the breathing cycle because your body sinks gently and predictably. Inhalation, on the other hand, creates a more abrupt upward movement.
For critical shots (10 to 15 seconds maximum), you can briefly hold your breath at half-lung volume. Not in full apnea, not with full lungs. At half volume, the point where your buoyancy is most neutral. No more than 10 seconds, and never during ascent. Safety remains the absolute priority.
Box breathing is a useful exercise to develop control: inhale for 4 seconds, hold for 2 seconds, exhale for 4 seconds, hold for 2 seconds. Practice this exercise on land, then at the surface, then underwater. The goal is not to stop breathing but to make your breathing predictable and regular.
3. Posture
The filming posture underwater is different from the standard diving posture.
Elbows tucked in. Film with your elbows pressed against your body or braced against your torso. Every centimeter of extended arm between your body and the camera is a tremor amplifier. The image of a diver filming with arms fully extended in front of them is the number one mistake in underwater video.
Camera at chest height. Not above your head (unstable and tiring), not at the end of your arm (maximum amplification of movement). At chest or chin level, elbows braced, both hands on the grip or housing.
Horizontal body position. Perfect horizontal trim reduces hydrodynamic resistance and minimizes buoyancy corrections. If your head is up and feet down, every maintenance kick creates parasitic movement.
Legs still during static shots. When you are filming a static shot (a resting fish, a reef landscape, a cavern opening), stop kicking completely. Use only your breathing for micro-adjustments in position.
Underwater camera movements
The static shot
The hardest and the most useful. Hold yourself still in front of your subject and film 10 to 15 seconds without moving. The static shot is the foundation of editing. Without static shots, your video will be a chain of movements that tires the viewer.
Technique: stabilize yourself first (3 to 5 seconds of hover), then start recording. The first seconds of a clip are often unstable because of the motion of pressing the record button.
The pan
Slow horizontal rotation of the camera. Underwater, the pan must be extremely slow. Count 3 to 4 seconds for every 30 degrees of rotation. If you think you are going slowly enough, halve your speed again.
Technique: rotate with your entire torso, not with your arms. Your wrists stay fixed. The movement originates from your hips. The result: a smooth, even pan instead of a jerky movement.
The tracking shot (dolly)
Linear displacement along a reef, a wreck or a wall. This is the most cinematic shot and the most technically demanding.
Technique: kick with your ankles, not your knees. The fin movement should be small, regular, and happen behind you, far from the camera. Your upper body stays still while your lower body provides propulsion. Imagine you are on an invisible rail.
The ideal speed is slower than a comfortable swimming pace. If you are following a wall, move at a slow walking speed. If you are following an animal, match its speed (and if the animal speeds up, let it leave the frame rather than chasing it).
The tilt
Vertical rotation of the camera (bottom to top or top to bottom). Useful for revealing the size of a wall, a wreck or a megafauna pass.
Technique: same principle as the pan. Slow, regular movement with your torso. The upward tilt (from the bottom toward the surface) is the most natural and most visually pleasing because it follows the direction of light.
Progression exercises
These exercises are inspired by the 1000 photos method, adapted for video.
Exercise 1: the filmed hover (pool)
Descend to 2 to 3 meters. Stabilize yourself in front of a fixed object (a marker on the bottom, a lane line). Film a static shot for 30 seconds. Watch the result: does the object move within the frame? If so, your buoyancy or your breathing needs work.
Goal: a 30-second shot where the object stays in the same third of the image from start to finish.
Exercise 2: the wall tracking shot (pool)
Follow the pool wall while filming the tiles. The wall is a perfect grid for detecting parasitic movements. If the tile lines undulate in your video, your propulsion technique is creating jolts.
Goal: a 15-second tracking shot where the tile lines stay straight and parallel.
Exercise 3: the buddy follow (ocean)
Film your buddy during a real dive. Follow them at 2 meters distance, in a tracking shot, for 15 seconds. Your buddy is a mobile, unpredictable subject that forces you to adapt your speed and direction in real time. This is the exercise closest to real filming conditions.
Goal: a 15-second follow where your buddy stays framed and direction transitions are smooth.
Exercise 4: the safety stop pan
Use the safety stop (3 minutes at 5 meters, you might as well make the most of them) to practice slow pans. Rotate on yourself while filming the scenery. The safety stop is the ideal moment because you are already hovering and you have nothing else to do.
Goal: a full pan (360 degrees) in at least 60 seconds, or 6 seconds per 30 degrees.
What stabilization changes in the edit
A stable clip is easy to edit. A shaky clip cannot be edited at all.
Software stabilization in post-production (warp stabilizer in DaVinci Resolve or Premiere) can fix slight tremors. But it has limits: it creates edge artifacts (the image warps), it crops the frame (you lose 10 to 20% of the image), and it cannot do anything about a buoyancy shift.
Filming stable footage at the source will save you hours of editing and give you clips usable from the first frame to the last. It is the most rewarding technical investment you can make in underwater video.
Realistic progression
Be patient with yourself. Body stabilization requires muscular training (hovering without kicking tires the abdominals and back), body awareness (feeling a 5-centimeter movement in the water is not innate), and reflexes that build over dozens of dives.
Your first clips will be shaky. That is normal. Progress is measured by comparing your clips from last month to today's, not by comparing yourself to professionals who dive 200 days a year.
Framing underwater is learned the same way: through repetition and self-analysis. Film, watch, identify what shakes, correct on the next dive.
The AquaExposure training program includes guided stabilization exercises with objective progression criteria and personalized feedback on your clips.
Stabilizing Underwater Video Without a Motorized Stabilizer: Body Technique | AquaExposure