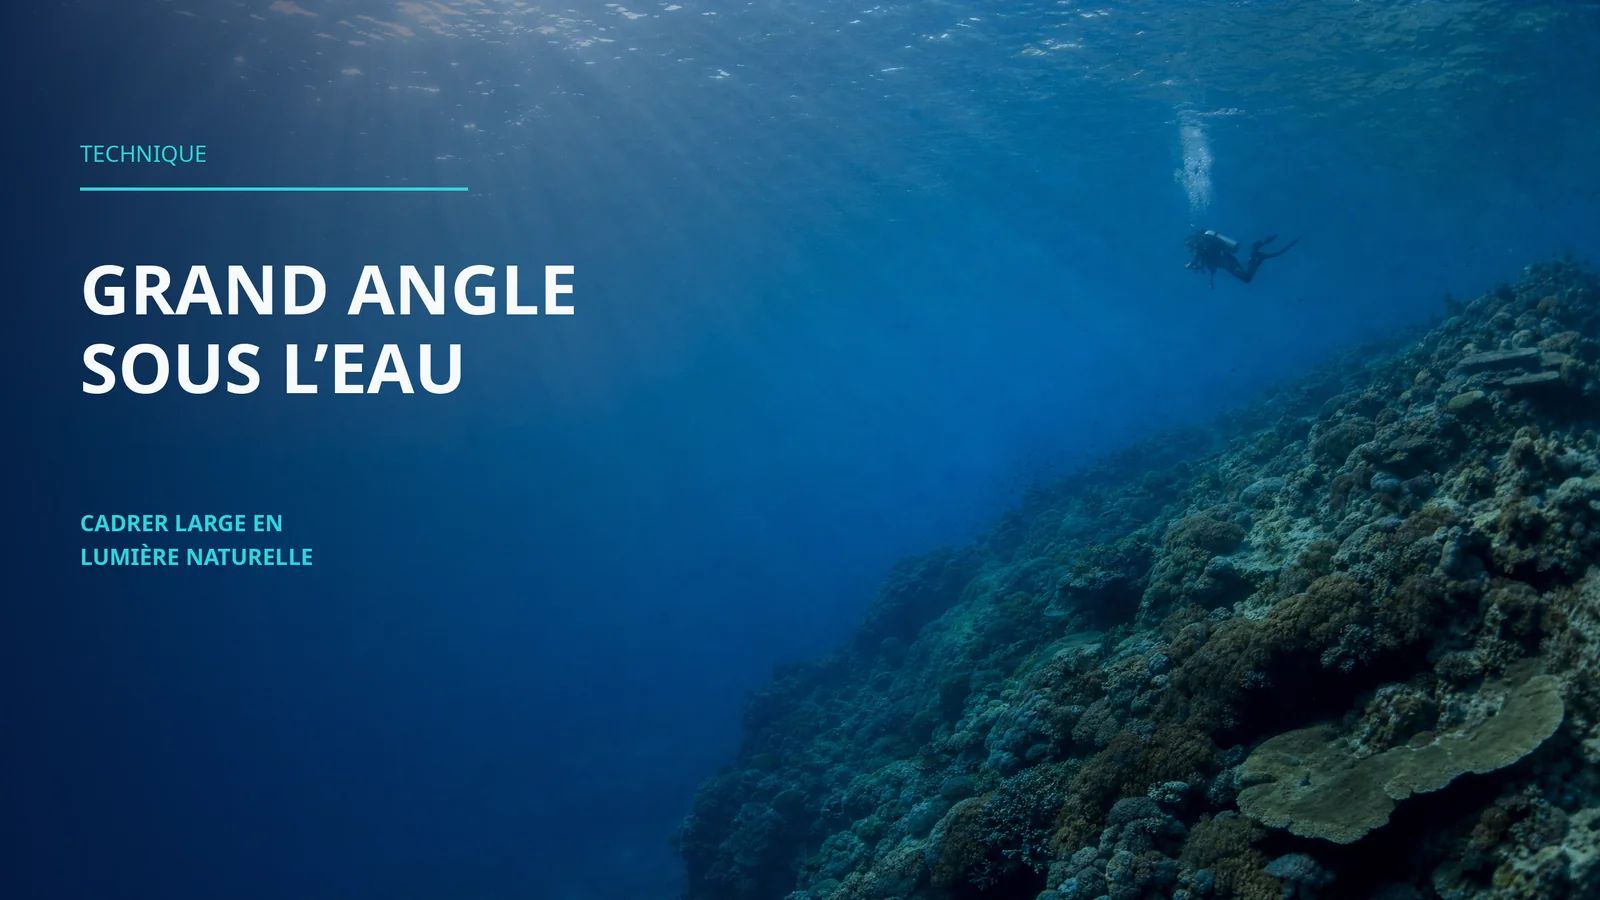
Wide-Angle Underwater Photography with Natural Light
Wide-angle underwater photography forces you to get close - and that proximity is your best friend in natural light. GoPro, dome port, smartphone: full technique guide.
Why is wide-angle the ideal lens for natural light underwater?
Wide-angle forces you to get closer to the subject, which reduces the water column traversed and preserves colours. Less water between the lens and the subject means less chromatic absorption.
What is the best wide-angle camera for beginners underwater?
The GoPro is the default wide-angle with a lens covering 120-149 degrees. The Linear mode removes barrel distortion, and it is ready to use immediately with no optical port needed.
How do you avoid wide-angle distortion in underwater photography?
Place the main subject in the centre of the frame to reduce barrel effect. Use Linear mode on action cameras. For dome ports, a short focusing distance and a medium aperture limit aberrations.
To learn how to get the most out of your gear underwater, discover the AquaExposure training.
Wide-angle and natural light is the combination that makes the most sense in the AquaExposure approach. Not because it's trendy. Because wide-angle forces you to get close to your subject, and that proximity reduces the water column between the camera and the subject, which preserves color. Less water to travel through means less chromatic absorption. That's physics.
A wide-angle shot 1 meter from a turtle produces richer colors than a telephoto shot 5 meters from the same turtle, in identical conditions. This simple rule explains why wide-angle and natural light are natural partners.
Why Wide-Angle is the Natural Light Lens
Underwater, light progressively loses its wavelengths with depth and with horizontal distance. Red disappears within a few meters. Orange follows. At 5 meters of horizontal distance between subject and camera, even at shallow depth, the image already lacks warmth.
The solution is simple: reduce the distance. Wide-angle lets you stay close to your subject while still fitting the whole scene into the frame. A coral reef with multiple subjects can fill a wide frame at just 50 cm from the nearest apex. A diver against a reef backdrop can be framed at 1-2 meters.
At that distance, colors are present. No flash needed to "recover" the reds. Natural light does the work.
Choosing Your Wide-Angle Lens by Gear Type
GoPro and Action Cameras: Native Wide-Angle
The GoPro is the default wide-angle option. Its lens covers approximately 120-149° depending on the mode. It's the most accessible starting point for underwater wide-angle photography.
Its main advantage: no dome port required, no distortion correction to manage, ready to use straight away. GoPro's "Linear" mode removes barrel distortion at the edges, giving a more natural result for architectural subjects (reefs, wrecks).
Its limit: fisheye distortion in Max mode can degrade nearby subjects. And at greater distances, wide-angle amplifies the sense of emptiness around a single subject.
Smartphone in a Dive Case
The main lens on modern smartphones covers approximately 85-90° of field of view, equivalent to a 24mm full-frame. That's a usable wide-angle underwater, especially for reef scenes and medium-sized subjects (turtle, moray eel in its hole, diver).
The ultra-wide camera (15-16mm equivalent) available on recent iPhones and some Android models is more interesting for large subjects but produces strong distortion on close subjects. Use it knowingly.
Some DiveVolk cases accept wet lenses (external clip-on lenses) that widen the field of view. A 0.67x lens on a 24mm gives the equivalent of a 16mm, covering wider scenes.
Note: AquaExposure earns no affiliate commission on any equipment mentioned in this article.
Waterproof Compact (Olympus TG-7)
The TG-7 has a lens equivalent to 25mm full-frame, f/2.0. It's less wide than a GoPro but delivers superior image quality (larger sensor, RAW available). Compatible with wet lenses (FCON-T02) that widen to the equivalent of 16mm.
For moderate wide-angle scenes (main subject with context), it performs very well. For large architectural scenes (wrecks, walls), the wet lens is recommended.
Mirrorless in a Housing with Dome Port
This is the traditional professional wide-angle underwater setup. A mirrorless body (Sony A6x00, OM System OM-5, Canon R50) with an ultra-wide lens (8-15mm fisheye, 10-18mm) in a housing with a 4-inch or 8-inch dome port.
The dome port is essential for ultra-wide lenses: it corrects the optical aberrations introduced by the water-air interface and allows focusing on close subjects despite the very wide field. A flat port with an ultra-wide lens underwater produces blurry edges that cannot be corrected in post.
For most photographers just starting out, smartphone or GoPro options produce excellent results at a fraction of the cost. The mirrorless-in-dome setup is an investment worth considering when your gear genuinely becomes a creative limit - not before.
The Optimal Distance for Wide-Angle in Natural Light
The Quarter Depth-of-Field Rule
In wide-angle underwater shooting, the ideal distance from the main subject sits between 0.5m and 1.5m for a sharp subject with a readable background.
Under 50 cm: strong distortion, subject deformed toward the edges, unintentional comic effect. Sometimes deliberate (close-up on a moray's head with a fisheye), but it has to be intentional.
Over 2m: chromatic absorption starts to kick in, the water column becomes visible (loss of contrast, bluish haze), and the subject shrinks to a small portion of the frame.
The 0.5-1.5m range is the sweet spot for natural light wide-angle work.
Getting Close as a Core Habit
"Get close, then get closer" is the wide-angle underwater mantra. What a diver considers a comfortable shooting distance is usually twice as far as it should be.
The practice: before pressing the shutter, ask yourself if you can move 30 cm closer. The answer is almost always yes. Those 30 cm make a visible difference in color and sharpness.
The difference between a flat wide-angle shot and a strong one is usually the foreground. Wide-angle exaggerates distances and creates strong perspective between foreground and background. Use that property.
Place an interesting subject 30-50 cm from the lens and build depth behind it: a reef, a diver, open blue water. The image instantly gains depth and a sense of three dimensions.
In natural light, that foreground is lit directly by ambient light. No flash needed to "light the foreground" if you're close enough (under 1m).
The Rule of Thirds Adapted for Wide-Angle
In wide-angle, the rule of thirds still applies but the proportions shift. The main subject can be small in the frame because the context (reef, blue water, divers) is part of the story. That's not a mistake - it's a narrative choice.
Wide-angle at shallow depth allows you to bring the surface into the frame. That surface line creates a strong graphic separation between two worlds and anchors the image geographically.
So-called "over-under" images (half in water, half above) push this technique to the extreme. They require a large dome (8 inches) to manage the air/water diopter and a specific technique. But an image with the surface visible at the top of the frame, shot from just a few centimeters deep, is already highly effective on its own.
Dome Port vs. Flat Port: The Technical Question
For compact-in-housing and mirrorless users, the choice of port is critical.
Flat port: suited to macro lenses and longer focal lengths. Underwater, it effectively "multiplies" the focal length by approximately 1.33x (the refractive index of water). A 50mm becomes a 66mm equivalent. A 15mm becomes 20mm. It reduces the angle of view.
Dome port: corrects this effect for wide-angle lenses. It creates a virtual image close to the lens, allowing focus on nearby subjects despite the very wide field. Essential any time you use a lens wider than 20mm underwater. A wide-angle lens behind a flat port produces blurry edges that are impossible to fix.
For action cameras and smartphones, these considerations don't apply: their optics are designed for their default port.
Practical Settings for Wide-Angle in Natural Light
Shutter Speed Priority
Subjects move. You move. Wide-angle amplifies micro-vibrations. Keep 1/200s as a minimum, 1/320s when light allows.
Aperture and Depth of Field
In wide-angle, depth of field is naturally large. Even at f/4, a subject at 1m and a background at 3m can both be sharp simultaneously. This is not a priority adjustment.
If you want to maximize sharpness across the entire frame (close subject plus distant background), stop down slightly (f/5.6-f/8). But don't close too far: diffraction degrades sharpness beyond f/11 on small sensors.
White Balance
In natural light, use manual white balance between 5500-7000K depending on depth and water type. At 0-5m in clear tropical water, 6000-7000K compensates for the blue cast. At 10-15m, 8000-9000K. If you shoot RAW (recommended), you can leave it on auto and correct in post-production.
The AquaExposure training program includes a dedicated module on framing and managing natural light with wide-angle. To progress methodically: Discover the training.
FAQ: Wide-Angle Underwater Photography in Natural Light
Can I shoot wide-angle underwater with a smartphone and no wet lens? Yes. The native wide-angle lens on a modern smartphone (24mm equivalent) is sufficient for most reef scenes and large subjects. The 0.67x wet lens is a bonus for very wide scenes but not a necessity when starting out.
GoPro or smartphone for getting started with wide-angle underwater? The GoPro is simpler: native wide-angle, no complex settings, very robust. The smartphone offers superior image quality (RAW, better sensor) but demands more control over settings. Start with whatever you already own.
Why are the edges of my wide-angle shots blurry? Several possible causes: ultra-wide lens behind a flat port (solution: switch to a dome), wet lens not properly aligned, shutter speed too slow. In automatic mode on a GoPro, this problem shouldn't appear when "Linear" mode is active.
Does wide-angle distort divers' bodies? Yes, if you're too close or if the subject is at the edge of the frame. A diver placed on the far left of a wide-angle frame will appear to "lean" outward. Solution: frame the human subject toward the center, or embrace the distortion as a stylistic choice. In fisheye, that distortion is deliberate and stylized.
What's the difference between wide-angle and fisheye underwater? Wide-angle (10-20mm) delivers strong perspective without exaggerated distortion. Fisheye (8-15mm) creates a visible circular distortion, particularly at the edges. Fisheye works well for close subjects (moray eel portrait, coral detail) but distorts geometric subjects (wrecks, divers). Non-fisheye wide-angle is more versatile.
Can you shoot macro with a wide-angle lens? Not really. Wide-angle lenses don't have the short minimum focusing distance that macro requires. To combine wide-angle and detail, use a positive diopter wet lens (+5 or +10) on your wide-angle: it temporarily converts the optics into a macro. "Flip" systems (SAGA, AOI) let you switch between the two mid-dive.
At what depth do colors disappear when shooting wide-angle? In natural light, red starts disappearing from around 5m depth and 3-4m of horizontal distance. Framing at 1m from your subject at 5m depth preserves most colors. Post-production correction (Lightroom, DaVinci Resolve) recovers a large portion of what remains. At greater depths (15-25m), post-production correction becomes essential even with a close-up approach.
Wide-Angle Underwater Photography with Natural Light | AquaExposure