What is the best camera to start freediving photography?
A smartphone in a housing. Seriously. An iPhone 13 or newer combined with a Nauticam or Peak Design housing (60-150 euros) offers the best learning curve. You already know your phone. The quality is surprising. And you do not lose 5,000 euros in gear discovering that underwater photography is not for you.
Do I really need a freediving certification to photograph?
Legally, no. Technically, yes. You can comfortably descend to 5-8m without certification just to explore. But if you want to photograph seriously at 15-20m, you should have official training. AIDA, IANTD, or our own AquaExposure program.
How deep can I go for freediving photography?
25 meters maximum if you are certified and trained. But honestly? The photographic gold lies between 5 and 15 meters. That is where you find the most natural light, the most curious animals, and where you have the most time.
The Revelation That Changed Everything: When Bubbles Become the Problem
I am still a bit embarrassed to admit this, but during my first three years of underwater photography, I completely missed the message. I had nice scuba gear, an overly heavy Nikon housing, a powerful flash that sent fish running from a hundred meters away. And the results? Empty images. Marine creatures fleeing as though I were some deep-sea monster come to devour them.
It was Guillaume Nery who made it click. The legendary French freediver, the one who filmed a modern version of Cousteau's concept of silent exploration, told me something I will never forget: "Bubbles are an underwater firecracker. No animal wants that next to its head."
I thought: "What, I am going to give up my tank to photograph with my breath?" I had doubts. Plenty of them. But I tried. And the difference was extraordinary.
While freediving, without the stressful bubbles, the fish came. The turtles looked me in the face. The corals did not have that withdrawal reflex. It was like going from photographing wildlife in a cage to photographing wildlife in the wild.
Today, at AquaExposure, we teach this to all our students: underwater photography while freediving is not an acrobatic challenge, it is the secret to authentic and ethical images.
Why Freediving Is Naturally More Ethical
Before diving into the technical details, let us talk about the scientific reality: why freediving truly changes the game.
The Bubble-Free Factor
Research in marine bioacoustics confirms what freedivers have known forever: bubbles create a constant noise of approximately 170 decibels underwater. To give you some perspective, that is the equivalent of a jet engine for fish. Their nervous system interprets it as an immediate threat.
While freediving, you descend in silence. No additional decibels. No disturbance. Your photographic subjects remain in their natural behavior, not in "emergency flight" mode.
Zero Impact on Fragile Ecosystems
While freediving, you do not bring a chemical battery, a compressor, or tanks. You bring just your body, lightweight. Zero disruptive air filtration. Zero sediment deposits from powerful fins. Zero residue from oil or compressed gas.
The Ideal Gear for Freediving Photography
This is where many people go wrong. They think: "I need heavy professional equipment!" No. It is the opposite.
Compact Camera or Smartphone: Your Best Friend
The key to freediving photography? Minimal is maximal.
For beginners, here is what I recommend:
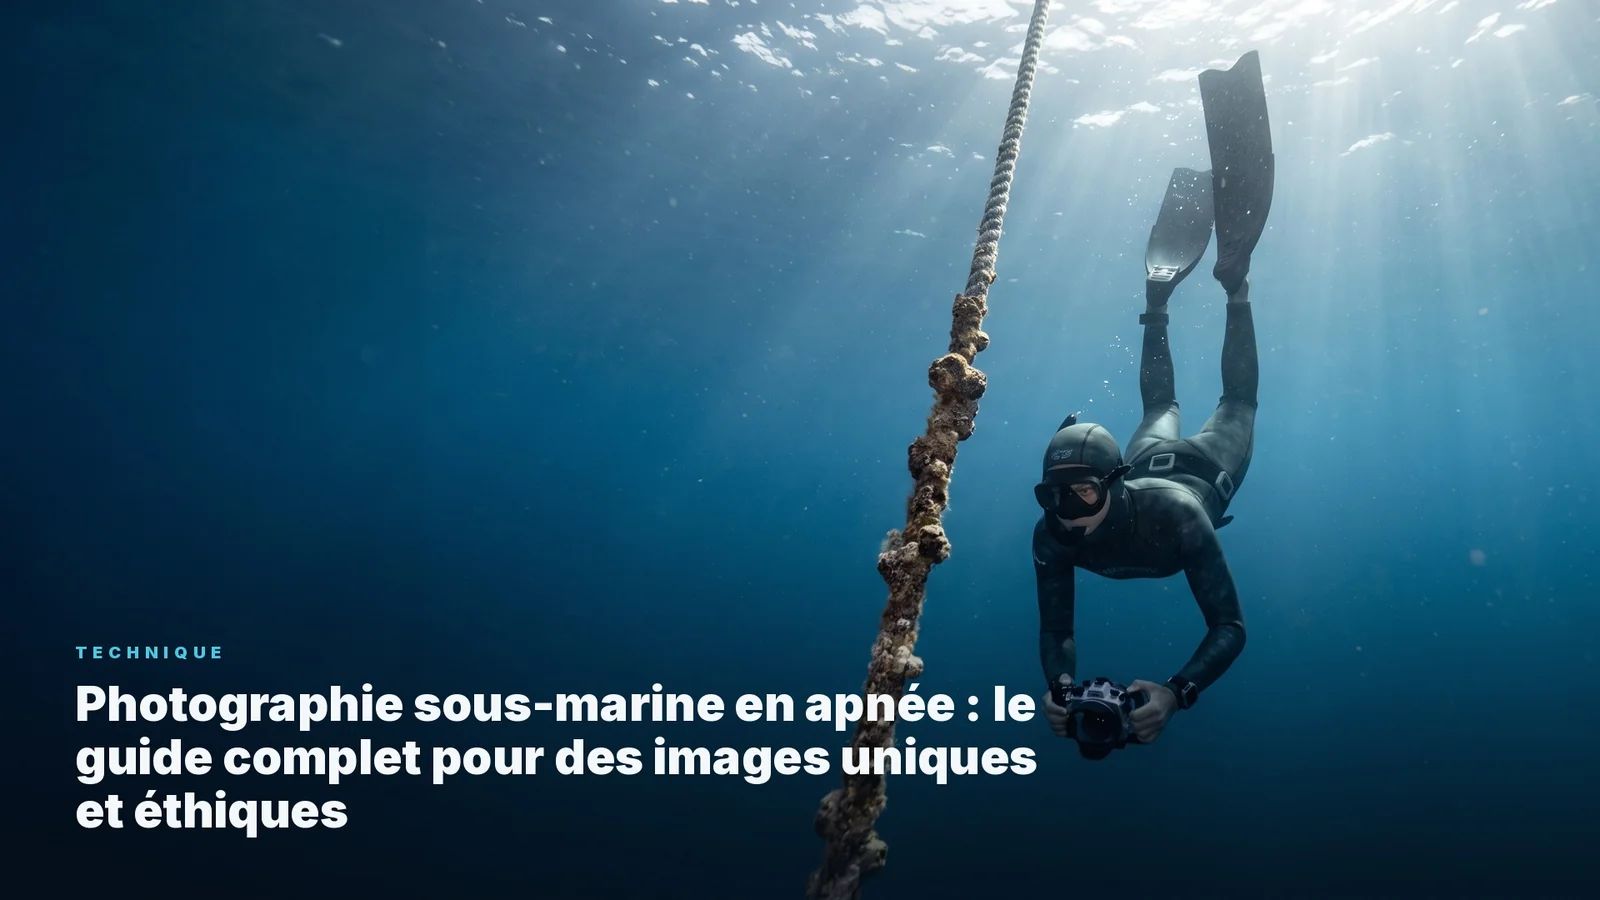
Option 1: Smartphone + Waterproof Housing - iPhone 15 Pro Max or Samsung Galaxy S24 Ultra in a Nauticam or Peak Design housing - Submerged weight: nearly neutral (balanced buoyancy) - Quality: excellent (modern sensors are incredible) - Budget: 60-150 euros for the housing - Advantage: you already know your phone, no learning curve
Option 2: Dedicated Compact Camera - Compact like the Sony ZV-1 II or Canon PowerShot V10 in a DPV housing - Total weight: 800g-1.2kg submerged (practically neutral) - Battery: excellent energy efficiency - Total budget: 1,500-2,500 euros - Advantage: ergonomics designed for video/photo, optical zoom
Option 3: Lightweight Mirrorless (Advanced) - Sony A6700 + 16-35mm f/4 lens in a Nauticam housing - Submerged weight: 2-2.5kg (slightly heavy, requires weight compensation) - Quality: professional - Budget: 5,000-7,000 euros - Advantage: total control, excellent APS-C sensor in low light - Caveat: this is for experienced freedivers only
Why Not Flash?
Let us be honest here: powerful underwater flashes are an ecological problem.
First, they scare animals. A flash is literally a lightning bolt. Imagine lightning in your living room. That is your natural reaction too.
Second, they create an artifact: an unnatural light that distorts the beauty of the moment.
While freediving, you photograph in natural light. It is more technically demanding (slower shutter speed, higher ISO). But it is honest. It is real.
Even at 20 meters depth, natural light exists. It is blue, it is soft, it shows true behaviors.
Essential Techniques
1. The Slow, Silent Descent
In scuba, you often descend quickly to conserve air. In freediving, the opposite is true: the more slowly you descend, the better you optimize your oxygen.
And incidentally, you do not frighten anything.
My personal technique: - Breathe in completely at the surface (no hyperventilation: dangerous) - Release air slowly through the nostrils while descending - Use a gentle spiral descent, never vertical - Approach subjects from the sides, never head-on - Aim for the eyes, not the whole body
This descent takes 30-45 seconds for 15 meters. It is slow. It is intentional.
2. The Tangential Approach
There is a rule I call "the predator's approach angle." Marine animals do not watch their sides with the same attention as their front and rear zones.
If you approach a moray eel head-on, it hides. If you approach from the side, staying at the same level, it accepts you.
Concrete technique: - Spot your subject from the surface - Descend 2-3 meters laterally - Approach on a descending diagonal (never vertically) - Keep your camera lowered until the last moment - Aim slightly upward to capture the environment
3. No Sudden Movements
This is obvious, but it needs stating: every gesture counts.
While freediving, you are already still in your breathing (no bubbles = no involuntary movement). Use that.
Use fins slowly, with large sweeping motions (rather than frantic ones). Your body should be a dancer, not a motorboat.
4. Oxygen Management for Photography
Here is the real difference between a beginner freediving photographer and an expert:
Beginner: Tries to photograph at maximum depth. Rushes toward subjects. Panics slightly.
Expert: Knows exactly how much time they have. Films in 4K video at 10-15 meters (comfort zone), extracts the best frames in post-production. Always returns safely.
My personal advice: never go deeper for a photo. If a turtle is at 25 meters and you are comfortable at 15 meters, stay at 15 meters. Another turtle will come. The ocean is eternal. You, on the other hand, need to breathe.
The Best Geographic Spots for Freediving Photography
At AquaExposure, we often talk about "ideal freediving photography zones." These are places where: 1. Visibility is good (15m+) 2. Animals are accustomed to humans 3. Depth is accessible (10-20m max) 4. Water is warm enough to focus on photography, not on hypothermia
1. The Galapagos Islands (Ecuador)
Here, marine creatures have had no instinct of fear for 300 years. A Galapagos turtle looks at you like a harmless curiosity, not a threat.
Here, I am completely serious. Photography is cool. Your life is cooler.
1. Never Hold Your Breath for a Shot
Never. Under any circumstances.
I will repeat: if you feel the urge to force yourself to stay one more second for "that perfect photo," you surface immediately.
This is not cowardice. It is intelligence. Cerebral hypoxia can strike without warning. You can black out underwater. I have seen it happen.
2. Mandatory Buddy System
You never go down alone. Period.
Your buddy stays 2-3 meters from you, slightly behind. They are not there to photograph (though it can happen). They are there to watch you, to spot signs of distress, and to come get you if needed.
I always surface with my buddy. Even if I still have plenty of air. It is like an unwritten contract.
3. Progressive Training
Do not start at 25 meters in freediving photography. Seriously.
Months 1-2: shallow water (3-8m), learning stability Months 3-4: moderate depth (8-15m), refining techniques Months 5+: deeper zones (15-20m) after certification
AquaExposure offers progressive modules for exactly this. You do not go further than you should.
4. Check Weather and Currents
No need to be a scientist: rough seas = a worse and more dangerous session.
Check the forecasts. Talk to local guides. If conditions are bad, they are bad.
FAQ
What is the best camera to start freediving photography?
A smartphone in a housing. Seriously. An iPhone 13 or newer combined with a Nauticam or Peak Design housing (60-150 euros) offers the best learning curve. You already know your phone. The quality is surprising. And you do not lose 5,000 euros in gear discovering that underwater photography is not for you.
Do I really need a freediving certification to photograph?
Legally, no. Technically, yes. You can comfortably descend to 5-8m without certification just to explore. But if you want to photograph seriously at 15-20m, you should have official training. AIDA, IANTD, or our own AquaExposure program. Not because the law requires it, but because you will understand your oxygen limits, distress signals, evacuation sequences, and ear equalization.
How deep can I go for freediving photography?
25 meters maximum if you are certified and trained. But honestly? The photographic gold lies between 5 and 15 meters. That is where you find the most natural light, the most curious animals, and where you have the most time. Too many freedivers are obsessed with "going deeper." For photography, it is not relevant. The beauty is up top.
Is freediving really better than scuba for photography?
For ethics and authenticity? Absolutely. For technical flexibility (time, depth, angle)? Scuba wins. But here is the thing: one beautiful freediving image is worth a thousand noisy scuba shots. Your subjects are relaxed. You are relaxed. The image breathes.
My advice: do both, but do not mix them. One freediving photo session, one scuba photo session. Not both at once.
How do I improve my lung capacity to stay longer?
With patience and progressive training, not chemistry. Swim 2-3 times per week (aerobic endurance). Practice yoga and deep breathing (no hyperventilation). Sleep 7-8 hours (crucial for capacity). Avoid alcohol and tobacco. Specific freediving training with progressive descents in the pool.
You can go from 45 seconds of comfort to 2-3 minutes in 6 months. That is normal. Never force it.
Do I need special insurance for freediving photography?
Yes. Your standard "vacation" insurance often does not cover "high-risk" activities like freediving. Especially if you use professional equipment. Check with specialized travel insurance, your local AIDA federation, or your dive school (they often have partnerships). Average cost: 15-30 euros per week of travel.