Can you really take good underwater photos with a smartphone?
Yes, provided you have a quality rigid housing and master the basics of colour correction. The sensors in current high-end smartphones (iPhone Pro, Samsung Ultra, Pixel Pro) produce images more than sufficient for the web and social media. The key is RAW and post-production, not megapixel count.
What budget should I plan for an underwater smartphone setup?
Between 350 and 500 euros for a quality housing (DiveVolk, Kraken Sports, SeaLife). That is the main investment. If you already have a recent smartphone with a good sensor, you do not need anything else. The total stays well below a compact-plus-dedicated-housing setup (900-1500 euros).
Are soft waterproof pouches enough for diving?
No. Soft pouches are fine for snorkelling at the surface, but not for diving. They cannot withstand pressure, the touchscreen remains erratic, and there are no physical controls. A rigid housing with dedicated buttons is essential the moment you put your head underwater seriously.
iPhone or Samsung for underwater photography?
Both work very well. iPhone has the advantage of the app ecosystem (ProRAW, ProRes, optimised Lightroom Mobile) and DiveVolk compatibility with touchscreen. Samsung has a more powerful optical zoom and a very complete Expert RAW mode. The choice depends on your existing ecosystem and priorities.
How do you correct the colours of photos taken with a smartphone underwater?
White balance at 5000K before shooting, flat profile if possible, then correction in post-production using Snapseed (free, mobile), Lightroom Mobile, or DaVinci Resolve for video. The smartphone advantage: you can edit directly on the device as soon as you are out of the water.
I am a true camera enthusiast. I love the output quality of a dedicated sensor, that depth in the colours, that sharpness in the details. For a long time, I was convinced that to do serious underwater photography, you needed a proper camera. Full stop.
And then professional reality caught up with me.
When you work as a diving instructor, stringing together trips, needing to produce quality photo and video content and publish it practically as you step out of the water, the constraints change. You need a tool that does photo and video, that stores a lot, that gives you easy access to all the options, and that lets you post quickly. Budget matters too.
So I switched to the smartphone. And it took me a while, quite a few dives and a handful of mistakes, to understand what makes the difference between a good and a bad phone underwater.
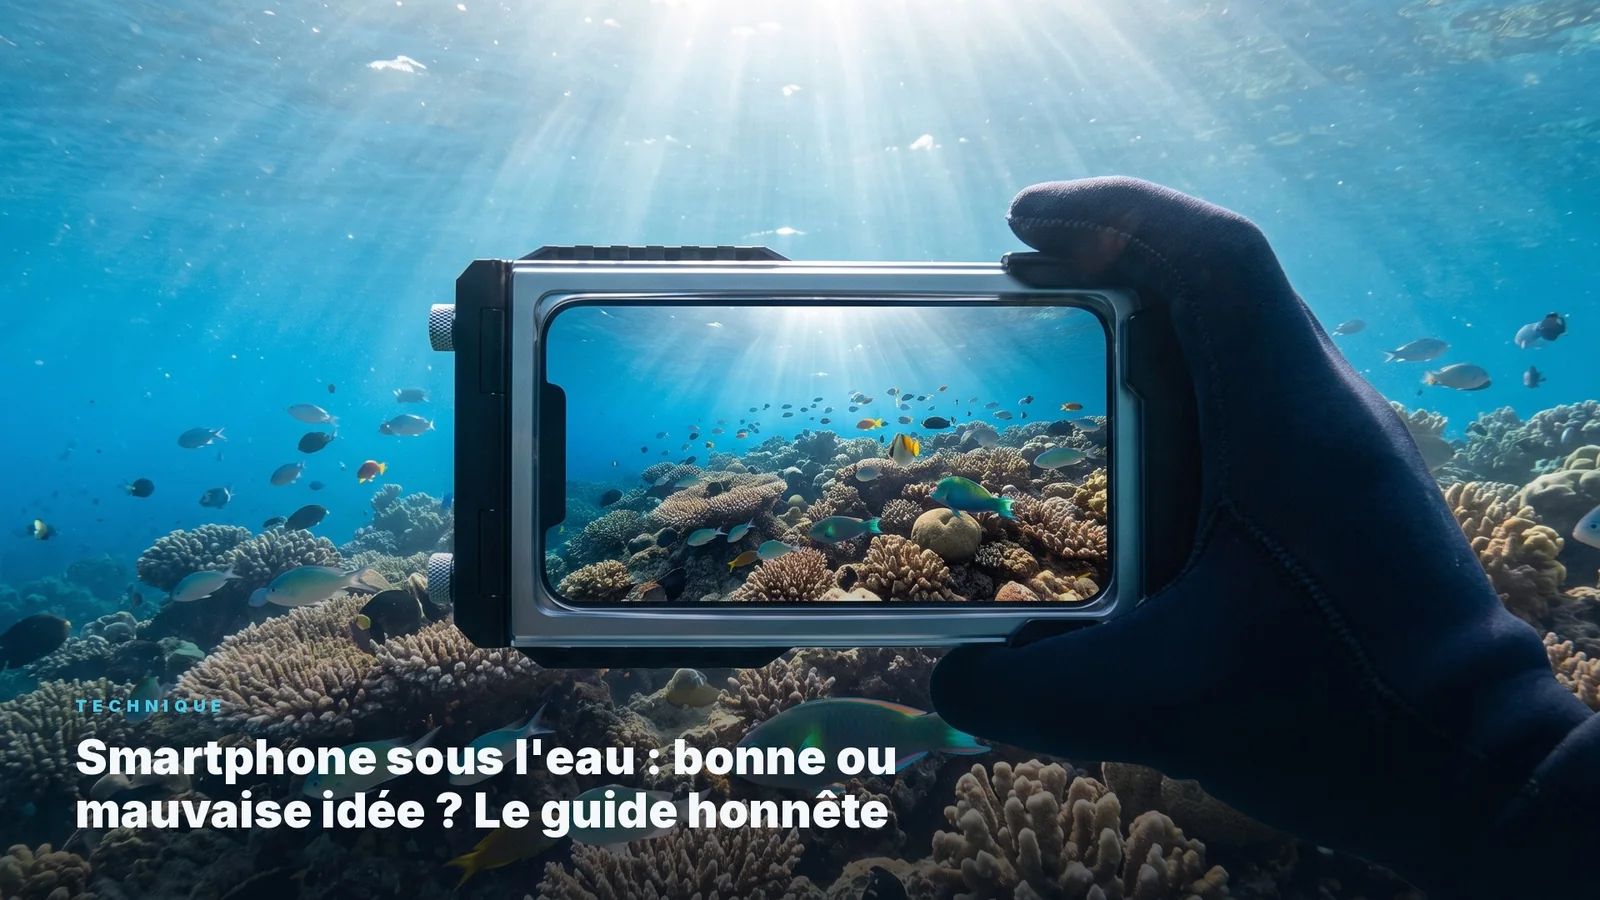
Today, I have completely replaced all my underwater photo and video equipment with an iPhone in a DiveVolk housing. And I am very happy with it.
Is it the right option for you too? The honest answer: yes, but not just any way.
Why water is your phone's enemy
Before talking gear, you need to understand what water does to your smartphone. Because if you dive without knowing this, you will be disappointed.
The touchscreen becomes unusable. Water is conductive. Your screen will zoom, switch modes, trigger randomly on its own. You cannot take photos underwater by touching your screen the way you do on the surface. That is why a housing with physical buttons is absolutely non-negotiable. Not a 20-euro soft pouch. A real rigid housing.
Colours disappear. From 5 metres depth, red has virtually gone. At 10 metres, orange fades away. Your clownfish photo will come out blue and dull. The solution is not a red filter (I explain why in a dedicated article), it is manual white balance and post-production.
Light drops fast. The deeper you go, the darker it gets. Your smartphone's small sensor will increase sensitivity (ISO), creating a noisy, grainy image. That is why choosing the right smartphone matters so much: a quality main sensor makes all the difference in low light.
The housing: not an option, an obligation
Forget soft plastic pouches. That is Russian roulette with your 1,000-euro phone. For diving, you need a rigid housing designed for your phone model.
These housings work in two ways. Either by Bluetooth connection (the housing has its own buttons that communicate with a dedicated app on your phone), or by mechanical buttons (levers that press directly on the volume buttons to trigger). Both systems work. Bluetooth offers more control, mechanical buttons are more mechanically reliable.
Most include a vacuum pump system: you remove the air from the housing before diving, and a green indicator confirms that the seal is perfect. It is an immense psychological safety net, and I strongly recommend it.
The main brands to know:
DiveVolk (SeaLink, SeaTouch 4 Max, 200-400 euros): my personal choice. Their special gel lets you use the touchscreen down to 60 metres. It is unique on the market and completely changes the experience. You keep full control of your phone underwater.
Kraken Sports (KRH08, KRH07, 300-500 euros): very robust, vacuum system included, compatible with many models. The reference in terms of toughness.
SeaLife (SportDiver, around 350 euros): recognised brand, simple app, good ergonomics. A solid choice for getting started.
ProShot (ProShotCase, around 150 euros): more affordable option, decent for snorkelling and first shallow dives.
Which smartphone to choose for diving?
Not all phones are equal underwater. Here is what truly matters:
Main sensor quality. This is the one that will do 99% of the work. Forget megapixel counts, look at sensor size and image processing quality. A good main sensor in low light is what will make the difference between a usable photo and digital noise.
RAW shooting capability. Essential. On iPhone, that is ProRAW format. On Android, it is Pro mode or Expert RAW. RAW gives you a raw file with all the sensor's information, allowing you to correct colours in post-production with far more latitude. Without RAW, you depend on your phone's automatic processing, and underwater, that processing is rarely adapted.
Battery life. The housing app and the lit screen consume a lot. Plan to leave with a full charge and consider airplane mode to save power.
Storage. In 4K with ProRAW or ProRes, files are heavy. 256 GB minimum if you plan to film seriously.
In practice, here is what I see in the field:
The iPhone 15/16 Pro offers excellent video quality (ProRes), a very flexible ProRAW format, and the richest editing app ecosystem. Watch for overheating in 4K video inside a sealed housing (no ventilation).
The Samsung Galaxy S24/S25 Ultra has a very complete Expert RAW mode, a powerful optical zoom (useful for skittish subjects you cannot approach), and performs very well in low light. Colours are sometimes slightly oversaturated by the image processing.
The Google Pixel 8/9 Pro has exceptional image processing, very accurate white balance, and Magic Eraser is handy for removing suspended particles. Fewer manual controls than Samsung, and the accessory ecosystem is less developed.
My path: from compact to smartphone
I will be honest about my own trajectory, because I think it can help those who are hesitating.
I started with a proper compact camera in a housing. I loved the image quality. A dedicated sensor produces files of a richness I deeply appreciate, and that difference genuinely exists, especially for prints and advanced post-production.
But in my professional daily life, I needed a tool that combined photo and video without changing gear, that let me access all options easily, that stored enough to shoot in high quality all day, and above all that let me deliver content practically as I stepped out of the water.
The smartphone ticked all those boxes. And when I discovered the DiveVolk with its functional underwater touchscreen system, that resolved the last barrier I had: control.
Today, my iPhone in its DiveVolk has completely replaced my old setup. For my use, it is the best compromise between quality, flexibility and efficiency.
For those who want to understand in detail how to choose based on their profile and budget, everything is explained step by step in Module 2 of the AquaExposure training, which is free and accessible on the site. I truly invite you to take a look, because every situation is different and the module covers all scenarios.
The settings that change everything
Once you have your smartphone and housing, technique makes the difference. The same principles as for any underwater camera apply:
White balance at 5000K. Do not leave your phone on auto. AWB is unstable underwater. Set WB to 5000K via your housing app or a manual photo app (Lightroom Mobile, ProCamera, Halide on iPhone). It is the most reliable starting point.
Shoot in flat profile if possible. On iPhone, ProRes in Flat or Log. On Samsung, Pro video mode with a neutral profile. The image will look grey on screen, and that is normal. The beauty is hidden in that grey file, because it contains far more exploitable information for editing.
Get close. The golden rule: 50 to 80 cm from the subject for non-living subjects. Minimum 2 metres for wildlife (always respect the comfort bubble). The closer you are, the less water absorbs colours between you and your subject.
Dive between 10am and 2pm. Natural light is your best ally underwater. No need for a torch or artificial lighting in the vast majority of situations. Good timing and a good angle with the sun will give you more than any lighting accessory.
Verdict: good or bad idea?
It is an excellent idea if you are a beginner to intermediate diver, if your main goal is sharing photos and videos on social media or with friends and family, if you are prepared to invest in a good housing (300-400 euros), and if you accept spending a little time in post-production to recover true colours.
It is a bad idea if you think you can take beautiful photos with a 20-euro soft pouch, if you want to photograph very small subjects (macro) or very distant ones (limited optical zoom), if you have zero interest in editing your images, or if you are aiming for professional quality for large-format prints.
The smartphone is a fantastic gateway. It will teach you the basics of composition, light management and post-production. And when you feel its limits, you will know exactly why and what to move to next.
Which housing to choose based on your phone and budget?
This is the question I get most often after "does the smartphone actually work underwater?". The answer depends on your phone model and intended use.
For an iPhone (14, 15, 16, all versions), the DiveVolk SeaTouch 4 Max (around 350 euros) is my top choice. Its conductive gel keeps the touchscreen functional down to 60 metres, giving you full control over all settings from the dedicated app. It is unique on the market. The waterproofing is certified and the vacuum pump system gives a clear visual signal when the seal is perfectly closed.
For a Samsung Galaxy (S22, S23, S24, S25, Ultra series included), Kraken Sports housings are the reference for robustness. Compatibility is broad, the vacuum system is included, and mechanical buttons are precise even with gloves. Expect between 300 and 500 euros depending on the model.
For a Google Pixel or other Android brands, the SeaLife SportDiver (around 350 euros) offers good broad compatibility, a simple app and proven reliability. Less advanced control than DiveVolk, but sufficient for the vast majority of uses.
If you are just starting out and want to test without investing too much, the ProShot Case (around 150 euros) is decent for snorkelling and shallow dives (down to 10 metres). It does not include a vacuum system, making it less reassuring for regular deep dives.
One thing you should never do: use a soft plastic case for diving. These cases are fine for the beach and pool at the surface. Underwater, they cannot withstand pressure, the touchscreen becomes completely erratic, and the risk of seal failure is real. For diving, a rigid housing with dedicated buttons is non-negotiable.
Summary: - iPhone + regular diving: DiveVolk SeaTouch 4 Max (350 euros) - Samsung + robustness priority: Kraken Sports KRH08 (350-500 euros) - Google Pixel or other Android: SeaLife SportDiver (350 euros) - First snorkelling test, tight budget: ProShot Case (150 euros)
Investing in a good housing is the most important purchase in your entire smartphone underwater setup. Not the accessory you choose last.
FAQ
Can you really take good underwater photos with a smartphone?
Yes, provided you have a quality rigid housing and master the basics of colour correction. The sensors in current high-end smartphones (iPhone Pro, Samsung Ultra, Pixel Pro) produce images more than sufficient for the web and social media. The key is RAW and post-production, not megapixel count.
What budget should I plan for an underwater smartphone setup?
Between 350 and 500 euros for a quality housing (DiveVolk, Kraken Sports, SeaLife). That is the main investment. If you already have a recent smartphone with a good sensor, you do not need anything else. The total stays well below a compact-plus-dedicated-housing setup (900-1500 euros).
Are soft waterproof pouches enough for diving?
No. Soft pouches are fine for snorkelling at the surface, but not for diving. They cannot withstand pressure, the touchscreen remains erratic, and there are no physical controls. A rigid housing with dedicated buttons is essential the moment you put your head underwater seriously.
iPhone or Samsung for underwater photography?
Both work very well. iPhone has the advantage of the app ecosystem (ProRAW, ProRes, optimised Lightroom Mobile) and DiveVolk compatibility with touchscreen. Samsung has a more powerful optical zoom and a very complete Expert RAW mode. The choice depends on your existing ecosystem and priorities (video vs photo, zoom vs wide angle). Module 2 of the AquaExposure training details the choice step by step, and it is free.
How do you correct the colours of photos taken with a smartphone underwater?
The method is the same as for any camera: white balance at 5000K before shooting, flat profile if possible, then correction in post-production using Snapseed (free, mobile), Lightroom Mobile, or DaVinci Resolve for video. The smartphone advantage is that you can edit directly on the device as soon as you are out of the water.
Want to know which setup matches your level and budget? Module 2 of the AquaExposure training is free and covers everything: device choice, housing choice, settings, and first techniques. No jargon, just what works for you.