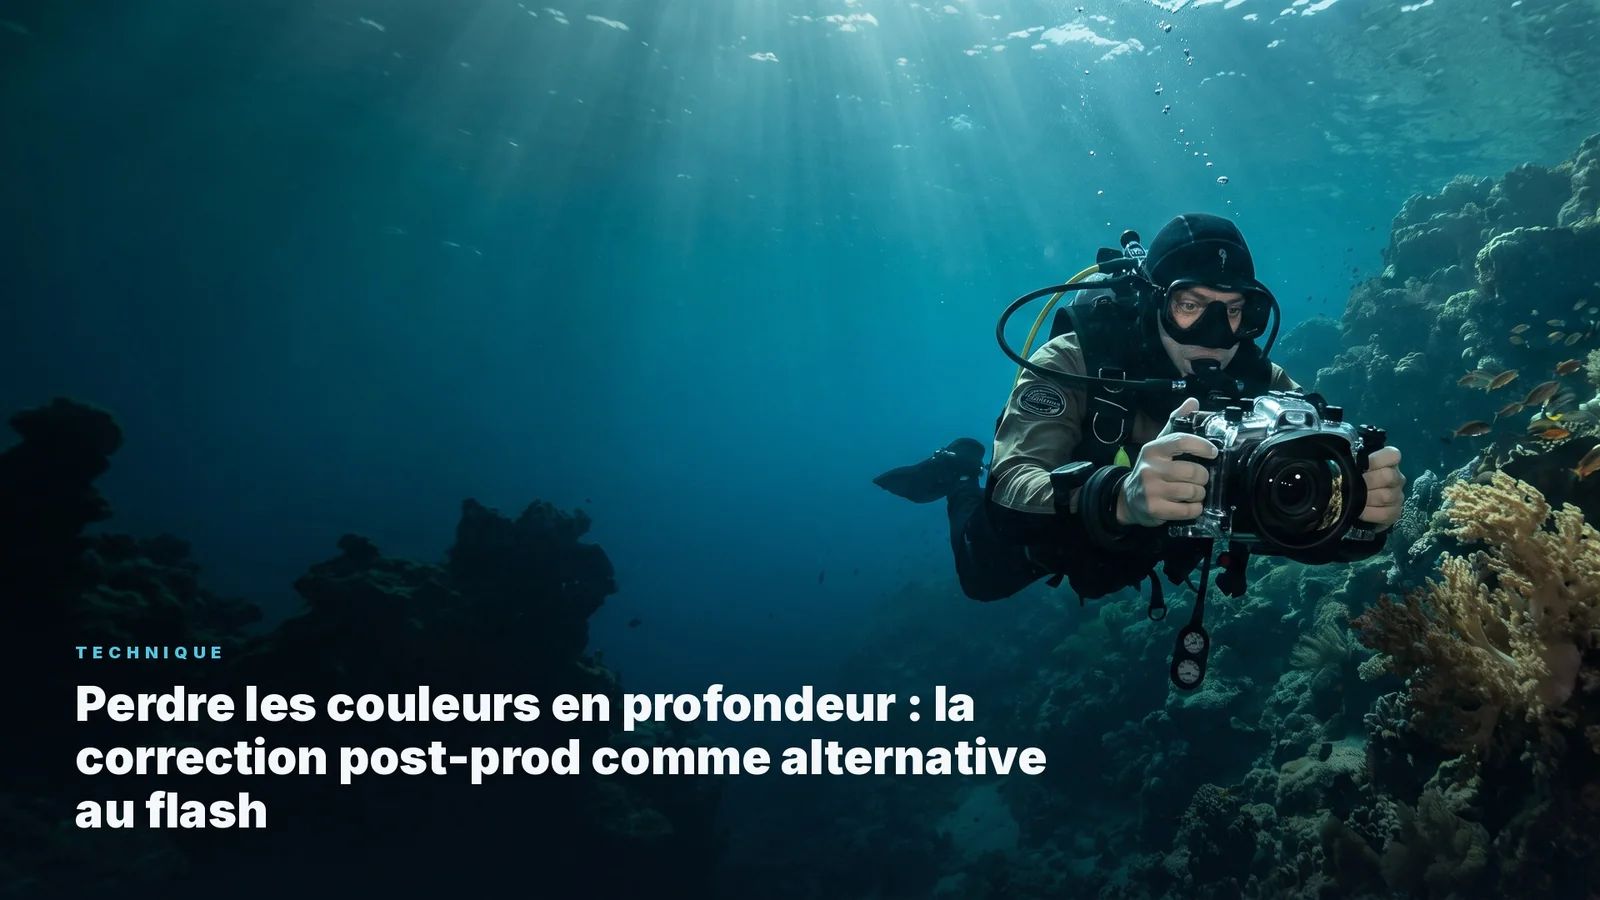
It is not a white balance or gear problem. Water absorbs wavelengths progressively: red disappears around 5m, orange around 10m, yellow around 20m. It is physics.
How do you correct underwater photo colours in Lightroom?
Work depth by depth: white balance on a neutral area, then boost the red channel in curves, reduce blue in shadows, and adjust saturation. RAW files offer far more latitude than JPEG.
Is a red filter better than post-production correction?
No. A red filter partially compensates at the time of capture, but its effectiveness varies with depth and turbidity. Post-production correction offers more control and flexibility, as long as you shoot in RAW.
When you pull up your first photo taken at 20 meters, the reaction is almost always the same: "my white balance was off" or "my gear is bad." Neither is true. What you're seeing is physics.
Color loss at depth is a property of water, not a camera error. Water absorbs light wavelengths selectively as depth increases: red is the first casualty, followed by orange, then yellow. Post-production correction (Lightroom, Capture One, DaVinci Resolve) can recover a large part of that information if the right conditions are met. The data is inside the RAW file. You just need to know how to pull it out.
The Physics of Chromatic Absorption by Depth
Seawater is a natural optical filter. Water molecules and suspended particles selectively absorb certain light frequencies. Below are approximate thresholds in clear tropical seawater (thresholds shorten by 30-50% in green or murky water):
Depth
What disappears
What remains
0-3m
Nothing significant
Full spectrum
5m
Red strongly reduced
Orange, yellow, blue, green
10m
Red absent, orange reduced
Yellow, blue, green
15m
Red and orange absent
Green, blue, cyan
20m
Red, orange, yellow reduced
Green, blue, cyan
30m
Everything except blue/green
Blue-green monochrome
In green water (Mediterranean, northern Europe), these thresholds shorten by 30 to 50%. Red can start disappearing as shallow as 3 meters in turbid conditions.
Horizontal distance matters as much as depth. A subject 3 meters from the lens at 15 meters depth has lost as much red as a subject 1 meter from the lens at 25 meters. What determines absorption is the total path light travels through water.
This is why getting close - the "get close, then closer" rule - is your best defense against color loss, before you even open Lightroom.
The Flat RAW Profile: The Non-Negotiable Starting Point
No serious post-production correction is possible without a RAW file. A JPEG shot at depth has already undergone irreversible processing that compresses color information. What isn't there cannot be recovered.
The picture style profile to use: Flat (Canon), Natural (Nikon/Sony), or the lowest contrast and saturation profile your camera offers. This "deflated" profile preserves maximum highlight detail and allows recovery of nearly extinguished channels (like red at 20 meters).
A RAW file shot with a Flat RAW profile looks washed-out and low-contrast. That's correct. It's raw data, not a finished result. Correction will bring it back to life.
On smartphones, RAW mode is available in the native Camera app (iPhone: enable RAW formats in settings) or in dedicated apps (Halide, Lightroom Mobile). On compact housings, RAW mode is generally in the image quality settings.
The corrections below are starting points for each depth range, not absolutes. Water clarity, time of dive, and surface weather all shift the balance.
5 Meters
Red is present but weakened. Correction is light.
White balance: +500 to +700K above auto (targeting 6000-6500K). Red channel in HSL: saturation +10 to +20, luminance +5. Shift hue toward orange if diver skin is pulling green.
10 Meters
Red has nearly disappeared. Correction becomes substantial.
White balance: 7000-8000K. Red HSL channel: saturation +30 to +50, luminance +10. Orange channel: saturation +15 to +25. Dehaze: +15 to +20.
15-20 Meters
This is the range where the gap between a well-managed Flat RAW file and a standard JPEG becomes dramatic.
White balance: 9000-10000K. Red HSL channel: saturation +50 to +70, luminance +15. Orange channel: saturation +30 to +50. Yellow channel: saturation +10. Dehaze: +20 to +30. Check: the red channel histogram should shift right after correction.
Know this limit: if the red channel is literally empty in the RAW (histogram pinned left, all zeros), no correction can invent information that does not exist. Post-processing recovers what is underexposed or compressed - it does not create red from nothing.
25-30 Meters
At these depths, even a solid RAW is hard to save when horizontal distance exceeds 1 to 1.5 meters.
The strategy shifts: instead of aiming for realistic color (impossible), aim for artistic consistency. A deliberate cold blue-green treatment with blacks pushed for contrast produces images with their own visual identity.
Alternatively, black and white at these depths sidesteps the color problem entirely and puts texture and light center stage.
DaVinci Resolve for Deep-Water Video
Video at depth follows the same physics as photography, with one additional constraint: temporal consistency (color must stay stable frame to frame).
Lightroom does not handle video. DaVinci Resolve (free) is the reference tool for underwater video color correction. The article DaVinci Resolve for underwater video and the article on underwater LUTs cover that workflow in detail.
What Post-Processing Cannot Recover
Two situations are beyond what post-production can fix, even with an excellent RAW file.
Excessive horizontal distance. Beyond 2 meters between lens and subject, even in clear tropical water at 10 meters depth, red information loss is too great for a credible correction. This is a physical limit, not a software problem.
High digital noise. When ISO climbs (800+) and red channel correction amplifies dark channels, color noise explodes. Noisy red and orange channels after correction produce a grainy, unpleasant image. The solution is denoising (DxO PureRAW, Topaz DeNoise AI) before color correction.
The AquaExposure training includes post-production modules specific to each water type and depth, with practice RAW files included: Discover the training.
FAQ
Is it better to use a red filter or correct in post-processing? Post-processing correction is superior in almost every case. A red filter is a one-size-fits-all solution that under-corrects at shallow depth and over-corrects at greater depth. Post-production adapts to each image individually. A red filter only makes sense for real-time video (monitor, live streaming) where you cannot correct afterward.
Can you correct colors from a JPEG taken at depth? Partially. A JPEG holds less information than a RAW, but Lightroom can still correct white balance and push the red channel. The result will be less clean (more color noise, less latitude) but often acceptable for social media.
Does a strobe at 20 meters really solve the color problem? For subjects within strobe range (1 to 1.5 meters maximum), yes, a strobe restores color. Beyond that, no. And a strobe creates backscatter on everything between the strobe head and the subject, which at depth makes the image harder to read. Post-processing is more effective for subjects beyond 1 meter.
Is color correction "cheating"? No. Correcting white balance to compensate for water's chromatic absorption is restoring the actual colors of the scene - the colors your eye would see if you lit the scene with white light. It follows the same principle as correcting the orange cast from an incandescent lamp. The ethically questionable manipulation is adding or removing subjects (via generative AI), not correcting light.
Which denoising app do you recommend before color correction? DxO PureRAW or Topaz DeNoise AI both deliver strong results on underwater RAW files. These tools process noise before conversion, giving a cleaner base for chromatic correction. AquaExposure earns no affiliate commission on the software mentioned in this article.
Underwater Color Loss by Depth: Post-Processing Correction Workflow | AquaExposure