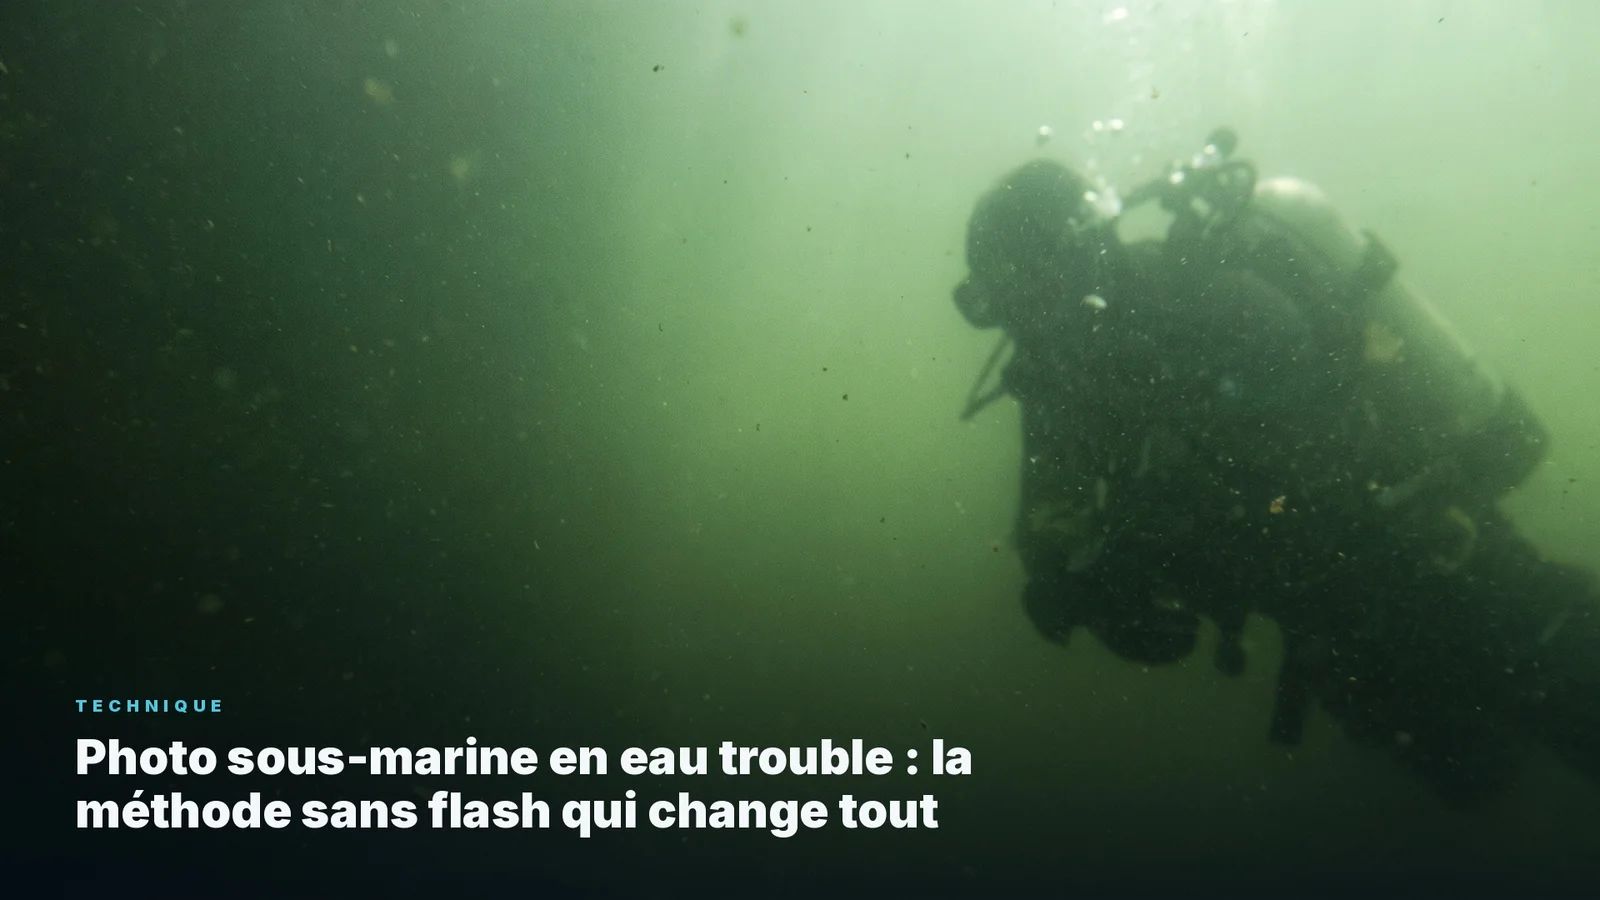
Underwater Photography in Low Visibility: The No-Flash Method
In green water, current or low visibility, flash makes it worse. The AquaExposure natural light method turns difficult conditions into a photo advantage.
Flash illuminates the particles suspended between the lens and the subject, creating backscatter (a cloud of white dots). In murky water, particles are everywhere. It is like turning on your headlights in fog.
How do you photograph underwater in the Mediterranean with green water?
Get closer to the subject, within 50 cm. Use the green cast as atmosphere rather than fighting it. Frame tightly to reduce the visible water column. Natural light from above illuminates the subject without frontal reflection.
Can you take good underwater photos in Belgium?
Yes. Low visibility forces a discipline of tight framing and proximity that automatically produces better compositions. Belgian lakes offer interesting subjects (pike, perch, vegetation) in diffused natural light.
To learn how to get the most out of your gear underwater, discover the AquaExposure training.
Underwater Photography When Conditions Are Bad: Green Water, Current, Low Visibility
Most underwater photography tutorials were written from tropical islands on sunny days. 30-metre visibility, crystal-blue water, sun directly overhead. A beautiful setting. Not the reality most divers work in.
In murky water, the fundamental rule fits in one sentence: get close to your subject and leave the flash in the bag. Less water between the lens and the subject means less colour absorption and, above all, zero backscatter on suspended particles. Natural light, in these conditions, produces better results than flash does in clear water.
Why Natural Light Wins Specifically in Murky Water
Backscatter - that cloud of white dots that ruins an image - is caused by the flash illuminating suspended particles between the lens and the subject.
In clear water, particles are rare. In green water or murky water, they are everywhere. Firing a flash in that context is like turning on full-beam headlights in fog: the photons bounce off every floating micro-organism and come straight back to the sensor.
Natural light does not trigger this effect. It comes from above, travels through the water column at an angle, and lights the subject from overhead. No frontal bounce. No white cloud.
Murky water also forces a useful discipline: you cannot afford to photograph from a distance. That constraint automatically produces better compositions, because framing becomes tighter and the subject fills more of the image.
Green Water (Mediterranean, Belgium): Read the Colour Cast and Use It
Green water has its own physics. Phytoplankton and suspended organic matter absorb red differently from tropical water, and the colour cast shifts toward grey-green rather than blue-cyan.
Two classic mistakes in the Mediterranean: over-correcting toward red (result: pink-violet tones that look like nothing in nature), and using a white balance preset designed for blue water (under-correction, persistent green cast).
The Right White Balance
In green water, set white balance between 5500 and 6000K. That is cooler than for tropical water (where you push to 7000-8000K). If you shoot RAW, leave it on auto and adjust in post: you will have far more latitude.
The 80 cm Rule
When visibility drops below 5 metres, do not photograph any subject more than 80 cm from the lens. This rule is not arbitrary: at 80 cm in water with 3-metre visibility, colours are still present. At 1.5 metres, the veil begins.
Backlight Works Better in Diffuse Water
In water with suspended particles, light diffuses naturally. That diffusion creates a halo around light sources and makes backlit silhouettes even more graphic than in clear water. Use that effect rather than fighting it.
Low Visibility (Under 3 Metres): The Art of Restrictive Framing
Below 3 metres of visibility, forget wide-angle shots of reef and diver. The frame is small, the background disappears quickly into blur and colour cast.
Simple Background as First Priority
Look for the most uniform background available: smooth rock, sand, wall. A complex background (coral, algae, vegetation) merges with the subject and loses all readability in low visibility.
Macro as a Strategic Choice
Small subjects have a decisive advantage in murky water: they do not flee, you are already 20-30 cm from them, and the distance is so short that chromatic absorption practically disappears. A shrimp, a nudibranch, a small octopus tucked into a crevice: these are your best subjects on low-visibility days.
Spot AF, Not Multi-Zone
In murky water, a multi-zone autofocus will lock onto suspended particles instead of your subject. Switch to spot AF (single central zone) or manual focus if your compact allows it. This is a setting you prepare before the dive, not underwater.
Current is perceived as an obstacle. It is also a source of stationary subjects, and a free means of locomotion if you learn to use it.
Subjects That Hold Position in Current
Groupers, scorpionfish, sea fans and large territorial fish position themselves facing the current and stay nearly motionless. They are your best allies on high-flow days: you approach from behind (in their blind spot), you set your position, and they hold still.
Body Stabilisation
Resting lightly against a rock or wall (without touching the living growth) gives you an anchor point and reduces micro-vibrations. If you have no anchor, shooting posture is everything: elbows close to the body, legs slightly apart to widen your base, controlled breathing.
In moderate current (you move forward without effort), hold 1/320s minimum. In strong current (you are struggling to stay in place), go to 1/500s.
Drift Photography
In high-current channels (passes, straits), do not fight it. Let yourself be carried and anticipate subjects coming into your field of view. Shoot in burst mode when a subject enters the frame, and select the keepers after the dive.
Beyond 20 metres, natural light has already lost red (gone by 5-7m), orange (by 10-12m) and is starting to lose yellow (by 18-20m). The raw image looks like a study in shades of green and blue.
It is recoverable. Not entirely, not always, but enough to produce images that are consistent with what the scene actually looked like.
The prerequisite: shoot RAW. A JPEG at depth is almost unworkable. RAW retains all the information in the red and orange channels, even when the histogram looks empty on the right.
The Lightroom workflow: boost the red channel (HSL, hue toward orange, saturation +40 to +60), push temperature toward 8000-9000K, recover highlights in the background if needed. This process is covered in detail in the article natural light underwater.
Flash at these depths is not a solution: its effective range is 1 to 2 metres at most, it creates backscatter on everything between the flash head and the subject, and it affects animal behaviour. Post-processing is more effective, less intrusive, and costs nothing.
Settings by Condition: The AquaExposure Reference Table
Condition
ISO
Shutter
Aperture
White Balance
Green water 0-5m
400
1/200s
f/4
5500-6000K
Low visibility (< 3m)
800
1/160s
f/3.5
Auto + RAW
Moderate current
400
1/320s
f/4
to match water
Strong current
400-800
1/500s
f/4
to match water
Depth 15-20m
800
1/160s
f/2.8
8000K
Depth > 20m
800-1600
1/160s
f/2.8
9000K + RAW
These settings are starting points, not absolutes. Water quality, sun angle and subject type all shift the balance.
To start working with natural light from the surface, the article snorkelling underwater photography covers the fundamentals in conditions where light is most favourable.
The AquaExposure training includes complete modules on difficult conditions, with practical exercises in the pool and in open water. That is where you build the reflexes you cannot develop alone: Discover the training.
FAQ
Is it possible to take good photos with only 2 metres of visibility? Yes, provided you radically adapt your strategy. At 2 metres of visibility, landscape photography is impossible. Macro and tight portrait work (single subject, simple background, distance under 50 cm) remain very effective.
Does flash actually help in murky water? No, it makes the problem worse. Flash illuminates the suspended particles between the lens and the subject, creating backscatter (white dots) that covers the image. The murkier the water, the denser the backscatter. This is precisely the situation where natural light is most clearly superior.
What post-processing works for green water photos? White balance between 5500 and 6000K as a starting point. A moderate boost to the red channel in HSL (saturation +20 to +40, no more - beyond that the image shifts toward magenta). Haze reduction (Dehaze +15 to +25 in Lightroom). The result should stay consistent with the reality of green water, not simulate a tropical sea.
Do difficult conditions damage gear? No more than normal conditions, if maintenance is done properly (rinse in fresh water after every dive, grease the O-rings). The only real threat to a housing is fine sand working into the seals when entering through beach surf.
How do you find photo subjects when you cannot see far? By reducing the search area. Do not cover the zone - stay 15 minutes in one spot and look at it with increasing attention. Macro life (nudibranchs, shrimps, small fish) appears progressively when you remain still.
Is Belgium a useful place to learn underwater photography? Very useful, precisely because the conditions are difficult. Regularly reduced visibility (3-8 metres), cold water (10-15°C) and current at certain sites demand rigorous technique. Photographers who learned in Belgium adapt easily to any destination.
Underwater Photography in Low Visibility: The No-Flash Method | AquaExposure