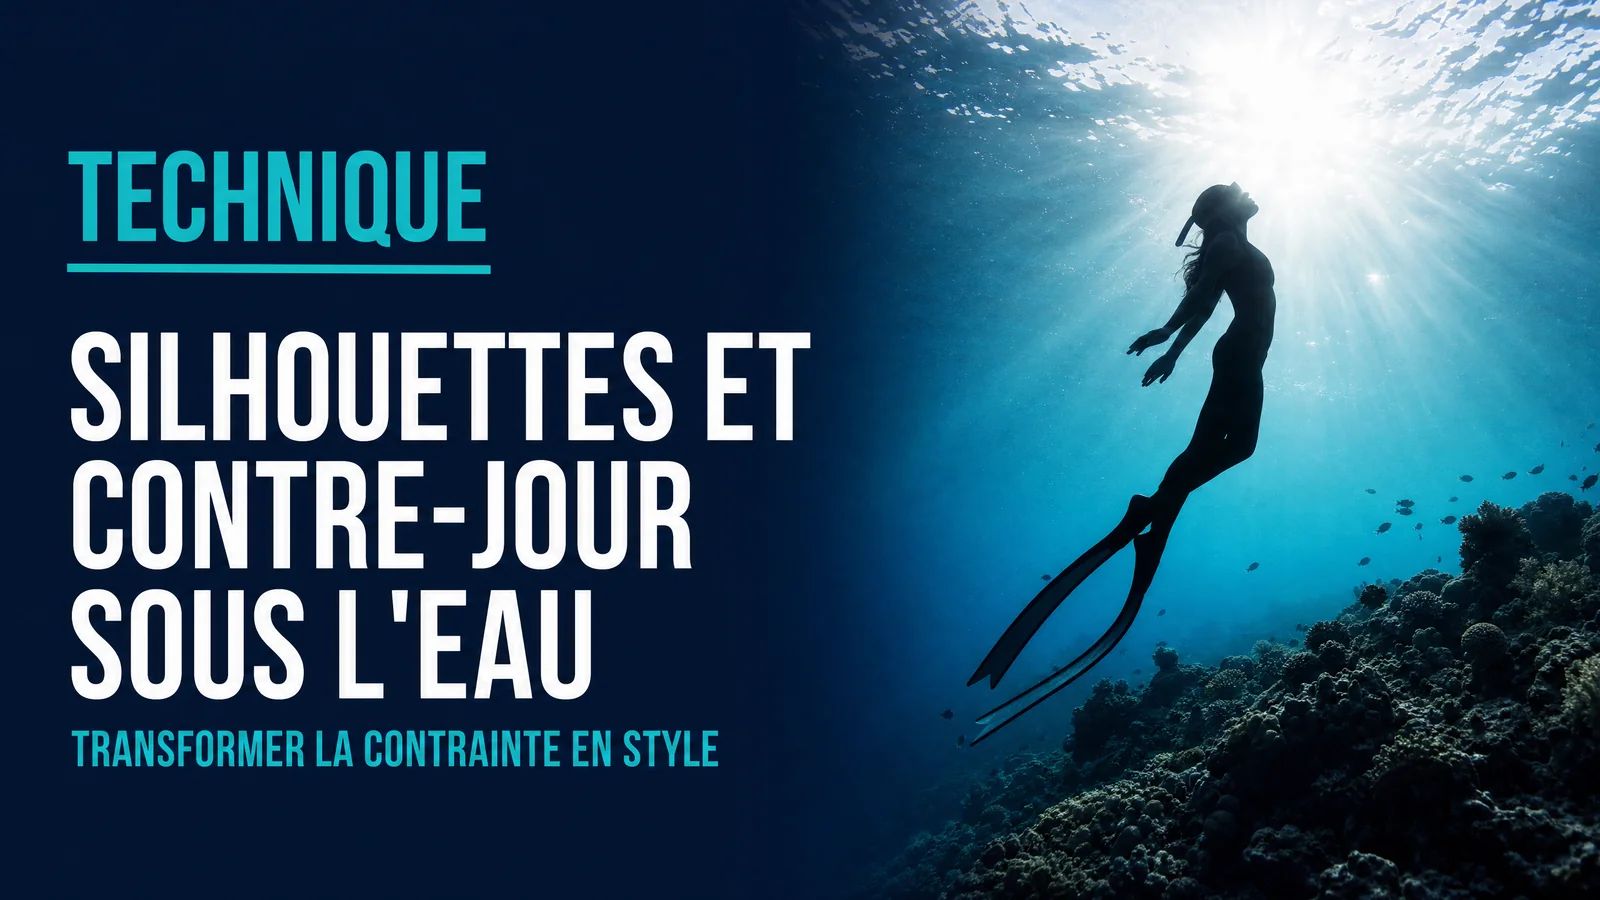
How do you create an underwater silhouette intentionally?
Expose for the brightest area in the frame (the surface). In auto mode, use exposure compensation at +1 or +2 EV. The subject goes black, the surface exposes in blue or turquoise.
Which subjects work best as underwater silhouettes?
Recognisable shapes: manta ray (triangle), turtle (rounded shell), diver (silhouette with tank). The brain identifies these forms instantly even without detail.
Do you need flash for underwater silhouettes?
No. The technique is 100% natural light. No flash, no accessories. Just the water surface as a light source and precise positioning between the subject and the surface.
To learn how to get the most out of your gear underwater, discover the AquaExposure training.
The underwater silhouette is the shot you get when you "blow" the exposure. Except you didn't blow it. You exposed for the bright surface, and the subject went black against blue. That's not a failure -- it's a tool. Here's how to use it deliberately to create images that actually hold attention.
This technique is 100% natural light. No flash, no accessories. Just the water's surface as a light source and precise positioning.
Why the silhouette works underwater
The silhouette works because the brain runs on shape recognition. We instantly identify familiar forms without any detail: a manta ray from its triangle, a sea turtle from its rounded shell and flippers, a diver from the tank on their back.
Underwater, the silhouette has an extra advantage: it eliminates every color and light problem in one move. No blue cast, no washed-out colors at depth, no white balance to manage. The image becomes graphic and timeless.
It also works well for subjects you can't approach head-on (a wary animal) or can only see from below (rays gliding above you, sharks cruising near the surface).
Three natural situations for silhouettes
Situation 1: Subject between you and the surface
This is the classic setup. You're below, the subject is between you and the bright surface above. Your camera's auto exposure tries to balance the whole scene -- the result is a subject that's neither truly black nor truly detailed, on a background that's neither white nor properly blue.
To get a real silhouette: expose for the brightest area in the frame (the surface behind the subject). In auto mode, use exposure compensation (+1 or +2 EV). On a smartphone, long-press on the bright area to lock exposure there. The subject goes black, the surface exposes correctly in blue or turquoise.
Situation 2: Backlight from the surface
Snorkeling or shooting from shallow depth, looking down with the sun behind you. A sandy or light-colored coral bottom is lit from above. Animals passing between you and the bottom become silhouettes.
This works especially well with schooling fish (anthias, fusiliers) moving in groups: the mass of bodies creates constantly changing organic shapes.
Situation 3: Light beams as a backdrop
At shallow depth, sunbeams penetrating the surface create columns of light in the water. A diver, a dolphin, or a whale shark crossing those columns creates a partial silhouette effect -- more nuanced than a full silhouette, where the subject's volume is suggested by lateral light.
For this situation, position yourself facing the sun, slightly below the subject. Wait for the moment the subject crosses the beams. The window is short (a few seconds), so anticipate and shoot in burst mode.
Exposure technique, step by step
Step 1: Identify the light source
Before shooting, read where the light is coming from. In the middle of the day (10am-2pm solar time), the sun is high and light comes straight from above. Morning and late afternoon, the angle is more raking -- different and often more interesting.
Step 2: Position yourself in a low angle
Drop slightly below the subject. Even 50 cm of depth difference is enough to profile the subject against the surface. The lower you are, the more the bright surface fills the frame.
Step 3: Expose for the light, not the subject
This is the key adjustment. Method varies by gear:
Smartphone: press and hold on the bright area of the frame (the surface behind the subject). Exposure locks there. The subject darkens.
GoPro / Insta360 in auto: results depend on the scene. Apply +1 or +2 EV compensation if available.
Compact (Olympus TG-7): switch to M (manual) mode or use AEL (auto-exposure lock). Meter the bright surface, lock it, reframe, shoot.
Step 4: Choose your shutter speed
The water's surface is bright but moving. A shutter that's too slow gives a blurry, muddy background. Stay at 1/250s minimum. In tropical midday sun, 1/500s gives cleaner, sharper rays.
A slower shutter (1/60-1/100s) can be used deliberately to blur the surface slightly, creating a more uniform background that makes the sharp silhouette pop even more.
Step 5: Check the subject's shape before you shoot
A silhouette works only if the shape is immediately readable. Before pressing the shutter, ask yourself: is the form of this subject clear in this frame? A sea turtle shot head-on (round shell, face pointing at you) is less readable than a side or three-quarter view (oval shell, flippers visible). A ray seen from above is less readable than from below or the side.
If the shape isn't clear, change your angle. The silhouette is unforgiving: if the shape doesn't communicate instantly, the image doesn't work.
Composition rules specific to silhouettes
Simplify the background
The background of a silhouette needs to be uniform so the shape stands out. A deep, even blue works better than a complex coral backdrop that blends into the subject's edges.
The water's surface is ideal: naturally uniform and bright. If you're shooting toward the bottom, find a zone of pale sand or smooth rock.
Apply the rule of thirds
The rule of thirds applies fully to silhouettes. Don't center the subject unless you're going for deliberate symmetry. A subject placed on a third of the frame with a large area of open blue creates a more dynamic, readable image.
Negative space (the blue around the subject) is an active part of the image, not a void. The best underwater silhouettes breathe. They don't fill the frame.
A manta ray swimming: its wings create dynamic lines. A diver descending toward the bottom: the body forms a diagonal. Use those lines to guide the eye through the image.
Light beams are themselves natural leading lines running from the surface down into the depths. Place your subject at the intersection of those rays to create a convergence effect.
The most effective subjects for silhouettes
Manta rays: their wingspan and triangular shape are instantly recognizable. Seen from below, open wings form a perfect graphic shape. Best locations: the Maldives, Komodo, Nusa Penida.
Sea turtles: the oval shell and elongated flippers are distinctive. A turtle rising to breathe at the surface creates a powerful, symbolic image. They follow repeated paths -- patience pays.
Reef sharks: the arched back, asymmetric tail, dorsal fin -- no other animal has that silhouette. Especially effective with multiple sharks in the same frame, shapes crossing and overlapping.
Schooling fish: a school of fusiliers or trevally seen from below against a bright surface creates constantly shifting abstract patterns. Shoot in burst and select the most balanced shapes.
Divers: a diver's silhouette -- tank, fins, rising bubbles -- is an iconic image. Works as a scale reference in wide scenes (wrecks, reefs) or as the main subject inside light beams.
Silhouettes from the surface: snorkeling
This technique is particularly accessible for snorkelers. The bright surface is right there, low angles come naturally from below, and surface subjects (turtles breathing, whale sharks, dolphins) are ideal silhouette material.
The AquaExposure training includes a full module on composition and natural light management. If you'd rather build your skills with a structure than figure it out alone: Discover the training.
FAQ: Underwater silhouettes and backlight
Can a failed silhouette be rescued in post-production? Partially. If you shot in RAW, you can lift shadows and recover texture in the background. But a deliberately created silhouette is better: the subject is sharper, the background cleaner, and you chose the angle and shape intentionally.
My camera in auto mode keeps overexposing my silhouettes. What do I do? Your camera is trying to "fix" the scene by lighting the subject. On a smartphone, lock exposure on the bright area. On a GoPro, lower the EV setting to -1. On a compact, switch to semi-manual (shutter priority) and raise the shutter speed until the subject darkens enough.
Can you create a silhouette at night? Yes, with an artificial light source behind the subject (another diver's torch pointed at the bottom, or a video light). But that's outside natural light territory and requires coordination with other divers. Night diving photography is covered separately in the article on night dive photography.
What depth is ideal for silhouettes? Between 2 and 10 meters. Below 10m, the surface loses relative brightness and the contrast between silhouette and background drops. At the surface (snorkeling), silhouettes are possible but the angle of view is limited.
How do you photograph a fast-moving dolphin as a silhouette? High shutter speed (1/500s minimum) and burst mode. Dolphins are unpredictable but have repetitive surface behavior. Position yourself slightly below and ahead of their trajectory. Fire in bursts of 5-10 frames. A dolphin mid-leap against a bright surface is one of the strongest images you can bring back from the water.
Do silhouettes work with a basic waterproof compact? Yes. The silhouette is one of the most accessible techniques with entry-level gear, because it eliminates every color and light problem at once. A basic compact with exposure compensation is all you need.
How do I avoid "fuzzy" edges on the subject in a silhouette? This comes from shutter speed that's too slow (motion blur) or a focusing issue. Fix: 1/250s minimum, and focus on the edge of the subject -- not on the background. If your camera allows you to separate focus and exposure (back-button focus), use that option.
Underwater Silhouettes: Turn Backlight Into a Style | AquaExposure