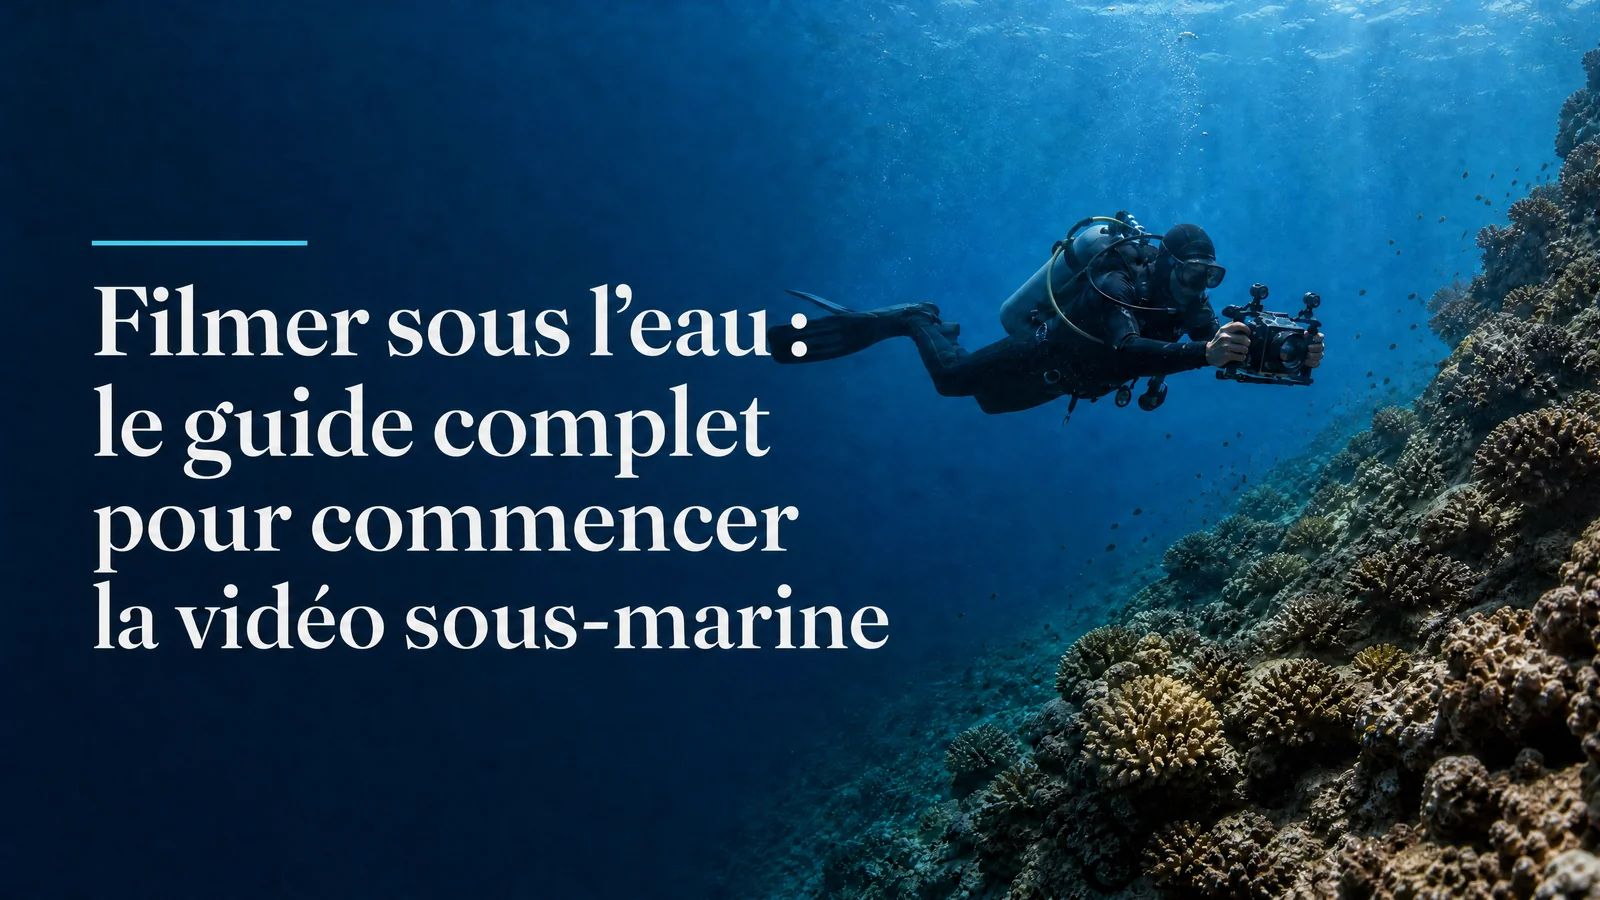
Filming Underwater: The Complete Beginner's Guide to Underwater Video
How to film underwater when you're starting out: settings, gear, stabilisation and video workflow. A practical AquaExposure guide for transitioning from photography to video.
What is the main difference between filming and photographing underwater?
Photography captures a single moment. Video captures movement over time. Underwater, that changes everything: stabilisation becomes critical, your settings must stay constant throughout an entire sequence, and storytelling replaces the single-frame composition. The photographer hunts for THE moment. The videographer builds A sequence.
What framerate should I choose for underwater video?
24 fps for a natural, cinematic look. 30 fps for a smooth, all-purpose result. 60 fps if you plan to slow down your footage in post-production. Start with 30 fps if you're a beginner. It's the most versatile option.
Should I film in 4K underwater?
4K gives you useful room to crop in post-production, which is valuable underwater where framing is often approximate. But 1080p is perfectly fine for social media and uses less storage. Choose based on your memory card capacity and your intended output.
Can I film underwater with a smartphone?
Yes, with the right waterproof housing. Recent smartphones shoot 4K and offer effective electronic stabilisation. The Divevolk housing is a solid and affordable option. It's an excellent entry point for underwater video without a heavy investment.
What is the Flat profile in underwater video?
The Flat (or Log) profile produces a deliberately dull, desaturated image, but one that retains the maximum amount of information in the shadows and highlights. In post-production, you can recover the colours absorbed by the water with far more latitude than with a standard profile.
How much footage do I need for a 30-second clip?
Plan for a ratio of at least 10 to 1. For a 30-second edited clip, shoot at least 5 minutes of raw footage. Underwater, many sequences will be unusable due to camera shake, missed focus, or poor framing. That's normal.
Do I need lighting to film underwater?
In natural light between 0 and 15 metres, no. Sunlight is enough for most situations in clear water. Beyond 15 metres or in dark conditions, a small video torch can help, but it's optional for beginners. Colour correction in post-production makes up for a lot.
What is the most common mistake in underwater video?
Moving too fast. The beginner's reflex is to spin around, chase every fish, and change direction every three seconds. The result is unusable footage. The number one rule of underwater video is slowness.
To learn how to get the most out of your gear underwater, discover the AquaExposure training.
Filming underwater requires a radically different approach from underwater photography. Video means thinking in sequences rather than single images, keeping your body stable for seconds at a time, and mastering settings that stay constant throughout the entire clip. This guide covers the fundamentals for transitioning from underwater photography to video, from choosing the right settings to your post-production workflow.
Photographer and videographer: two different skill sets underwater
If you already know how to photograph underwater, you have a head start. You know your gear, you can manage your buoyancy, and you know how to approach a subject without scaring it off. All of that carries over to video.
What changes is your relationship with time.
In photography, you wait for THE moment. You press the shutter once, twice, ten times, but each image stands on its own. In video, you build a sequence. Every second has to hold up, and a half-second of camera shake can ruin ten seconds of footage. Photography forgives micro-movements. Video amplifies them.
The other major difference is storytelling. A photograph tells a story in a single instant. A video tells a story over time. Before you even put your head underwater, you need at least a rough idea of what you want to capture: a turtle encounter, exploring a wall, sunlight breaking through the surface above a reef.
Basic settings to get started
Resolution and framerate
Start simple. Here are the three combinations that cover 90% of situations:
4K at 30 fps is the most versatile default choice. The 4K resolution gives you room to crop in post-production (which is valuable underwater, where framing is rarely perfect on the first try). 30 fps delivers a smooth, natural result.
1080p at 60 fps is useful if you know you'll be slowing down your footage. Slow motion at 50% from a 60 fps clip produces a smooth, elegant result, perfect for animal encounters. The file size is also lighter, which matters when you have a 64 GB card for a week of diving.
4K at 24 fps is the classic "cinema" look. The slight natural motion blur of 24 fps gives an organic feel. If you're editing mini-documentaries or aiming for YouTube, this is the setting to adopt once you're comfortable.
Don't change framerate during a dive. Choose before you jump in and keep the same setting for the entire session. Editing will be much simpler.
The Flat profile: your best ally
If your camera offers it (GoPro, DJI, Insta360, most mirrorless cameras), shoot in a Flat or Log profile. The image comes out of the camera looking dull, grey, and desaturated. That's normal and intentional.
The Flat profile preserves the maximum amount of information in shadows and highlights. Underwater, where colour loss is the central problem, this extra latitude makes the difference between a successful colour correction and an unrecoverable file.
If you're used to correcting your colours in DaVinci Resolve or Lightroom, the Flat profile is the foundation. If you're completely new to post-production, start with the Standard profile and switch to Flat once you're comfortable with colour correction.
White balance
In video, white balance has an even more noticeable impact than in photography, because it affects every second of the clip.
Two options:
Manual white balance (around 5000-5500K for tropical water, 4500K for the Mediterranean) gives a consistent result from one sequence to the next. This is the recommended approach if you're shooting in Flat and correcting in post.
Auto white balance can work in Standard profile if you don't plan to edit. But be careful: auto WB can "pump" (shift colour mid-clip) when you move from a bright subject to a dark background. It's visible and unpleasant to watch.
Gear to get started
You don't need specialised equipment to start filming underwater. If you already have a photography setup, it can shoot video too.
Level 1: smartphone in a housing or GoPro
The most accessible entry point. A recent smartphone in a Divevolk housing shoots 4K with decent electronic stabilisation. The GoPro Mission 1 is built for action video and fits in the palm of your hand.
Advantages: lightweight, versatile, no complex settings. Limitations: small sensor (noise at depth), not all models have a Log profile, fixed wide-angle lens.
Level 2: advanced action camera
The Insta360 X5 and DJI Osmo Action 6 offer Flat profiles, a better sensor, and creative options (360, variable aspect ratio). This is the sweet spot for most divers who want to produce quality content without breaking the bank.
Level 3: mirrorless camera in a housing
For those who want full control. A Sony A6x00, an Olympus OM-5, or a Canon R50 in a dedicated housing offers: interchangeable lenses, S-Log profile, full manual control, and 10-bit recording. Cost and bulk increase significantly, but so does image quality.
The criterion for moving to the next level isn't your budget. It's your skill. As long as you can't stabilise your body and hold a steady 10-second shot without shaking, a better camera won't change anything.
Stabilisation: your body before your gear
This is the most important topic in underwater video, and the most underestimated. A dedicated article covers body stabilisation technique, but here are the principles.
A motorised stabilizer underwater is bulky, fragile, and often pointless if your buoyancy is good. Real stabilisation comes from your body:
Neutral buoyancy. If you're ascending or descending while filming, the clip is unusable. This is the absolute foundation. If your buoyancy isn't dialled in, work on it before you start filming.
Arms close to your body. Film with your elbows tucked in, the camera close to your chest. The more your arms are extended, the more every movement gets amplified. The image of an outstretched arm filming ahead is a classic hallmark of bad underwater video.
Slow movements. Divide by three the speed at which you think you should move. If you're doing a pan, mentally count "one Mississippi, two Mississippi" for each degree of rotation. Slowness underwater isn't a flaw. It's a style.
Controlled breathing. Every inhale lifts your body and your camera. Film while exhaling gently, or briefly hold your breath on critical static shots (no more than 5 to 10 seconds, safety first).
The AquaExposure video-first workflow
Before the dive
Set up your settings before jumping in. In video, every second spent navigating menus underwater is a wasted second of dive time and a task loading risk.
Pre-dive video checklist: - Resolution and framerate chosen (and verified) - Colour profile set (Flat or Standard) - White balance locked - Electronic stabilisation enabled - Memory card formatted (not just cleared) - Battery charged to 100% - Housing sealed, O-ring checked
During the dive
Shoot clips of 10 to 15 seconds. That feels long underwater, and it's tempting to cut after 3 seconds. Resist. In editing, the first 2 and last 2 seconds of a clip are often unusable (finger pressing the button, repositioning movement). A 10-second clip gives you 6 usable seconds.
Vary your shots. Don't film everything in wide angle. Alternate between: - Wide shot: the scene, the atmosphere, the light - Medium shot: the subject in its environment - Close-up: a detail, a behaviour, a texture - Tracking shot: a slow travelling along the reef
This variety will make your edit infinitely richer.
After the dive
Import your footage as soon as possible. Name the files by dive (date, site, depth). Do a quick first pass: mark usable sequences, delete the obvious failures. The longer you wait, the more painful the sorting becomes.
Colour correction follows the same principles as in photography. If you shot in Flat, apply a basic LUT or correct manually in DaVinci Resolve. The advantage of video: a correction applies to the entire clip at once.
Classic beginner mistakes
Filming too short. Two-second clips are unusable in editing. Force yourself to hold each shot for at least 10 seconds.
Moving too fast. The rapid pan that sweeps across the entire reef in 3 seconds is the bane of underwater video. Nobody can follow it, and the result is nauseating.
Chasing every fish. The photographer's reflex is to pivot and follow a passing subject. In video, let the subject enter and exit the frame. It's more cinematic and much more stable.
Forgetting safety. Filming is absorbing. More so than photography, because every second matters and cutting the shot "breaks" the moment. That's exactly the task loading trap. Check your air and depth between every sequence, not between every dive.
Neglecting sound. Your camera's microphone inside a housing captures the noise of your bubbles and plastic vibrations. That audio is unusable. Plan to replace the soundtrack in post-production with royalty-free music or ambient sounds.
From photography to video: what stays the same
The good news is that your underwater photographer instincts remain valid.
The ethical approach doesn't change. Don't harass a subject for 30 more seconds of footage. A 5-second clip of a relaxed animal is worth more than 30 seconds of one fleeing.
Composition doesn't change. The rule of thirds, negative space, and leading lines work in video just as they do in photography. The only difference: you need to maintain the composition throughout the entire shot, not just at the instant you press the shutter.
Natural light remains your ally. The AquaExposure approach (no flash, working with sunlight) translates perfectly to video. Sunbeams piercing through the surface create spectacular sequences without any lighting equipment.
Next step
Underwater video is a world of its own. This guide lays the foundations. To go further, explore the gear guide by level and the body stabilisation technique that will transform your shaky clips into smooth sequences.
The AquaExposure course includes a video module covering these techniques with hands-on exercises, from your first sequence to the final edit.
Filming Underwater: The Complete Beginner's Guide to Underwater Video | AquaExposure