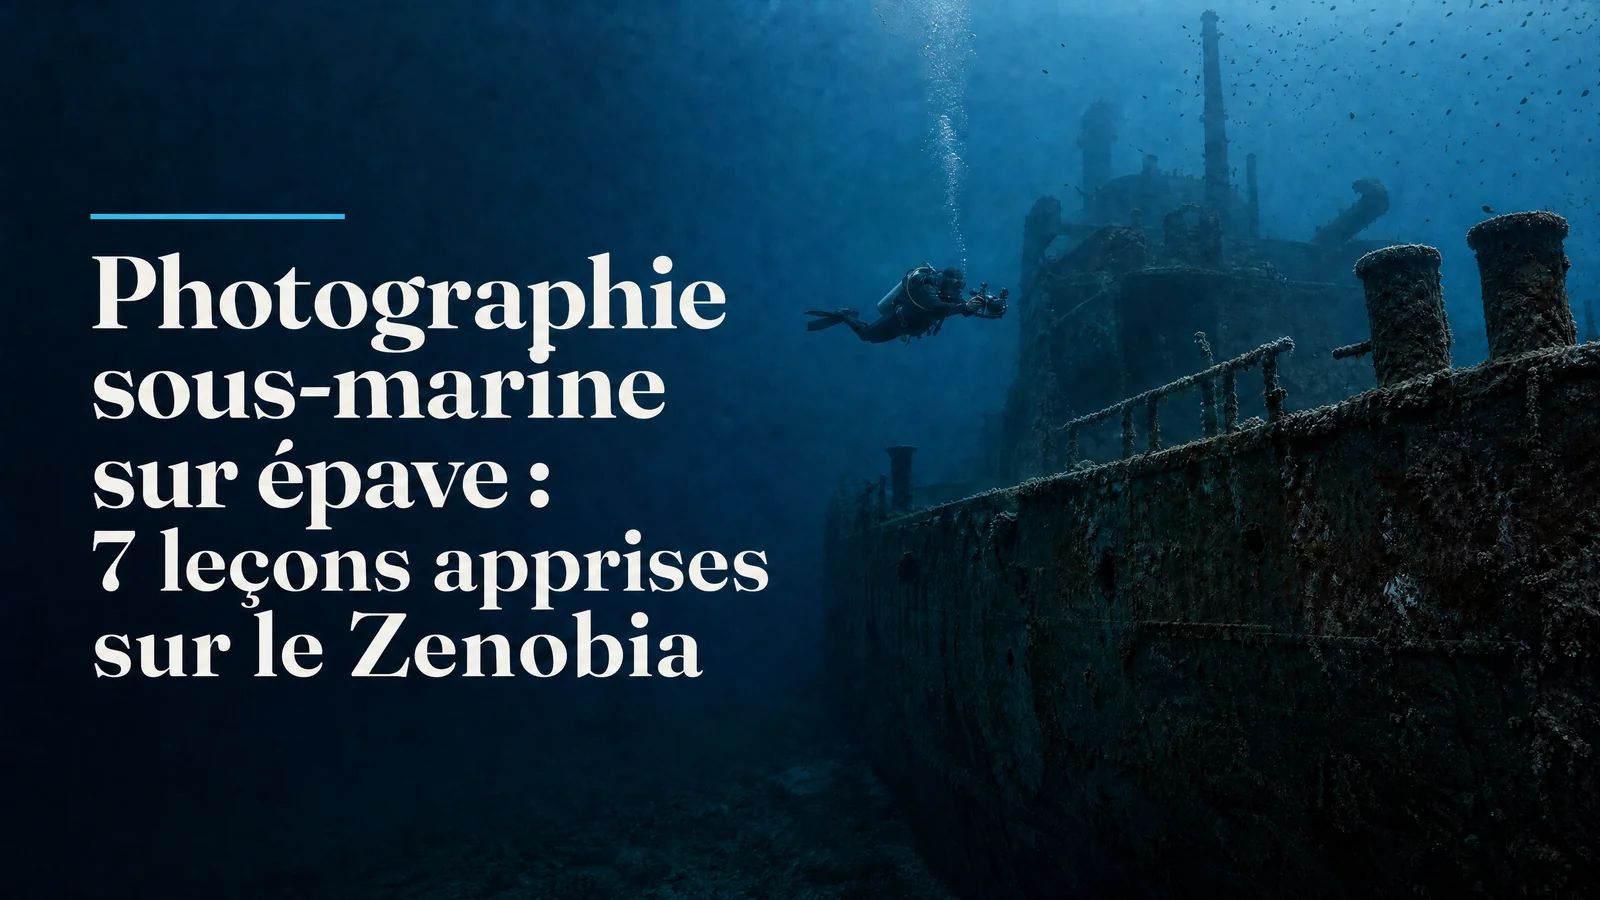
Wreck Underwater Photography: 7 Lessons Learned on the Zenobia
The Zenobia is one of the world's most photographed wrecks, and one of the hardest to photograph well. 7 lessons learned diving there with Viking Divers.
To learn how to get the most out of your gear underwater, discover the AquaExposure training.
Wreck Underwater Photography: 7 Lessons Learned on the Zenobia
There's a mistake almost every underwater photographer makes on their first dive of a large wreck.
They bring their strobe.
This isn't a criticism. It's what logic suggests. You've learned to work with flash, you have a good strobe, you know how to use it. Why leave it behind?
Because the Zenobia teaches you, very quickly, that artificial light has no business confronting a 172-metre wreck.
Since working with Viking Divers in Cyprus and having the chance to dive the Zenobia multiple times, I've formalised seven lessons about wreck photography that I wish I'd known far earlier.
Lesson 1: Switching Off the Strobe Is the First Decision
A wreck like the Zenobia is 172 metres long, 28 metres wide, and rests between 16 and 42 metres deep.
A standard strobe covers, at best, 2 to 3 metres of effective distance. Beyond that, power drops exponentially and you get a black background with an overexposed foreground: the classic of failed underwater photography.
What makes the Zenobia so exceptional for photography is precisely what most divers underestimate: the quality of Mediterranean natural light.
Visibility regularly reaches 25 to 30 metres. The water is clear, light penetrates cleanly, and the blue-green tones of the eastern Mediterranean create a natural palette that needs no artificial correction to be beautiful.
In practice: switch off the strobe, go manual or aperture priority, and learn to read ambient light. It's a mental shift as much as a technical one, and the Zenobia is one of the best "teachers" for this transition.
Lesson 2: Wide-Angle Is Not Optional
For photographing large underwater structures, there are fundamentally two approaches.
The first is to move far enough back to fit the structure in frame with a standard lens. The problem: distance consumes clarity, and the Zenobia's 25 metres of visibility evaporate quickly if you use them all for backing away.
The second approach (the right one) is to get close and use an extreme wide-angle to compensate.
A 10-17mm fisheye or a 10-20mm rectilinear allows you to sit one or two metres from a truck and capture it entirely in frame, with barracudas in the background appearing to float in infinity. That's what wide-angle does best on large structures: it creates a sense of depth and space that the human eye, limited by its natural field of vision, doesn't perceive the same way.
In practice: 10-17mm fisheye for creative frames with assumed distortion. 10-20mm rectilinear for more architectural compositions. Both work extremely well on the Zenobia depending on the desired result.
Lesson 3: The Trucks Are Your Best Subjects (and the Most Underrated)
When people think "Zenobia photography," they typically think of the massive propellers, the bow, the deck. These are excellent subjects, and they appear on every postcard.
What few photographers fully explore is the truck hold.
The trucks and trailers still secured inside the wreck, at 36-42 metres, are subjects of extraordinary visual and narrative richness. The idea of these vehicles motionless since 1980, still chained, covered in marine life. There's something there that transcends the photographic subject itself.
In black and white, with careful ambient light exposure in the low-light interior, these scenes produce mineral, almost geological images that belong in the grand tradition of wreck photography.
In practice: plan a dedicated dive to the holds, with your guide, focused solely on this subject. Don't try to "cover" the whole wreck in the same dive as the truck hold. You'll miss both.
Lesson 4: Managing Bottom Time Like a Resource
The Zenobia is a wreck that consumes minutes.
The average depth of a full exploratory dive sits between 25 and 35 metres, which, at normal consumption, leaves between 35 and 50 minutes depending on the profile. That's not a lot of time against 172 metres of wreck.
The classic photographer-diver mistake: spending too long composing a frame early in the dive and finding yourself with 10 minutes left and half the subject unexplored.
In practice: plan your priority zones with your guide before entering the water. Decide before the dive whether you're doing the propellers, the superstructure or the holds, not all three. A dive dedicated to one sector of the wreck always produces better photographic results than a generalist dive.
Lesson 5: A Guide Who Knows the Wreck Multiplies Your Photo Options
There's a fundamental difference between diving a wreck without a guide and diving it with someone who knows it by heart.
This difference isn't only about safety (though that alone is reason enough). It's about photography.
The Viking Divers team knows the Zenobia at a level of detail that most surface guides can't match: the angles where light enters best at what time of day, the sections where barracudas gather in tight schools late morning, the frames that consistently produce strong images and those that disappoint.
Diving with them means having a photo director alongside your safety guide.
In practice: during the pre-dive briefing, tell your guide what kinds of images you're after (wide panoramics, macro, marine life, structures). Viking Divers' guides adapt the route accordingly.
Lesson 6: Black and White Transforms Wrecks
This is a lesson that took me time to internalise, because I worked in colour by default for a long time.
Black and white wreck photography isn't a default choice or a post-processing rescue. It's a creative decision that suits certain types of underwater subjects particularly well.
Wrecks are, by nature, industrial structures whose formal complexity (the volumes, the lines, the metallic textures) benefits enormously from having colour information removed. Rust tones, algae greens, metal greys: in colour, these tones compete. In black and white, they organise themselves, and form reclaims priority.
On the Zenobia specifically, the propellers, funnels, hull frames and hold structures produce black and white images of a graphic power that their colour counterparts don't achieve.
In practice: don't convert to black and white blindly. Shoot RAW+JPEG, evaluate the conversion in post, keep both. But for low-light zones with high metal density, black and white deserves to be your first instinct.
Lesson 7: Patience Is Your Best Lens
This last lesson applies to all underwater photography, but the Zenobia illustrates it with particular clarity.
Marine life on this wreck is very, very present, and very wary of divers who arrive noisily, stirring up water, agitating around the structures.
What I've learned to do, and what Viking Divers teaches their groups: settle. Stop moving, stabilise against a structure or in neutral buoyancy, let your bubbles dissipate, and observe. After two or three minutes of stillness, the fish forget your presence, or more precisely, they accept it.
That's when groupers emerge from their cavities to look at you. When barracudas pass within frame range. When moray eels advance their heads from their holes.
This isn't magic. It's applied patience.
In practice: reserve at least one Zenobia dive purely for observation. Don't press the shutter for the first ten minutes. You'll be surprised what presents itself spontaneously once you've stopped hunting.
Summary: The 7 Lessons
1Switch off the strobe: Mediterranean ambient light is your best tool
2Use wide-angle: fisheye 10-17mm or rectilinear 10-20mm
3Photograph the trucks: underrated subjects, extraordinary in black and white
4Manage your time: one zone per dive, not a generalist approach
5Dive with a guide who knows the wreck: it multiplies your photographic options
6Convert to black and white for metal structures: form gains from it
7Be patient: wait for life to come to you, not the reverse
FAQ - Wreck Underwater Photography
#
What lens should I use to photograph a large wreck like the Zenobia?
A 10-17mm fisheye or 10-20mm rectilinear are the preferred choices for large structures. These lenses allow you to position yourself 1-2 metres from the subject while capturing wide frames. For close details and marine life on the wreck, a 28-60mm can complement your kit.
#
Should I use strobe/flash for wreck photography?
For large wrecks like the Zenobia, strobes are not recommended for wide-angle shots. The structure is far too large to light effectively. Mediterranean ambient light is generally sufficient down to 25-30m. Strobes remain useful for close-range details (macro, small marine life on structure).
#
What is the best time of day to photograph the Zenobia?
Natural light is optimal between 9am and 11:30am, when the sun is high enough to penetrate the water without creating excessive surface halo. Avoid mid-afternoon summer dives for photography.
#
Is it difficult to photograph inside the wreck (the truck hold)?
The truck hold is a semi-penetration zone requiring perfect buoyancy control to avoid stirring up sediment in front of your lens. Light is low: work at higher ISO, maximum aperture, or use a dive torch as a secondary light source. A guide familiar with these sections is essential.
#
Can I do photography on the Zenobia without being an experienced diver?
The outer sections and superstructure (16-24m) offer excellent photographic opportunities accessible to Advanced Open Water divers. Penetration zones (holds, interiors) require more experience and a wreck specialisation is recommended. Viking Divers adapt the route to the photographer-diver's level.
The Wreck as School
There's something particular about learning to photograph on a site like the Zenobia.
The sea doesn't simplify things for you. It imposes constraints: depth, time, changing light, marine life that comes and goes according to its own rules. And that's precisely why the images you bring back have a value that studio images or controlled environments will never have.