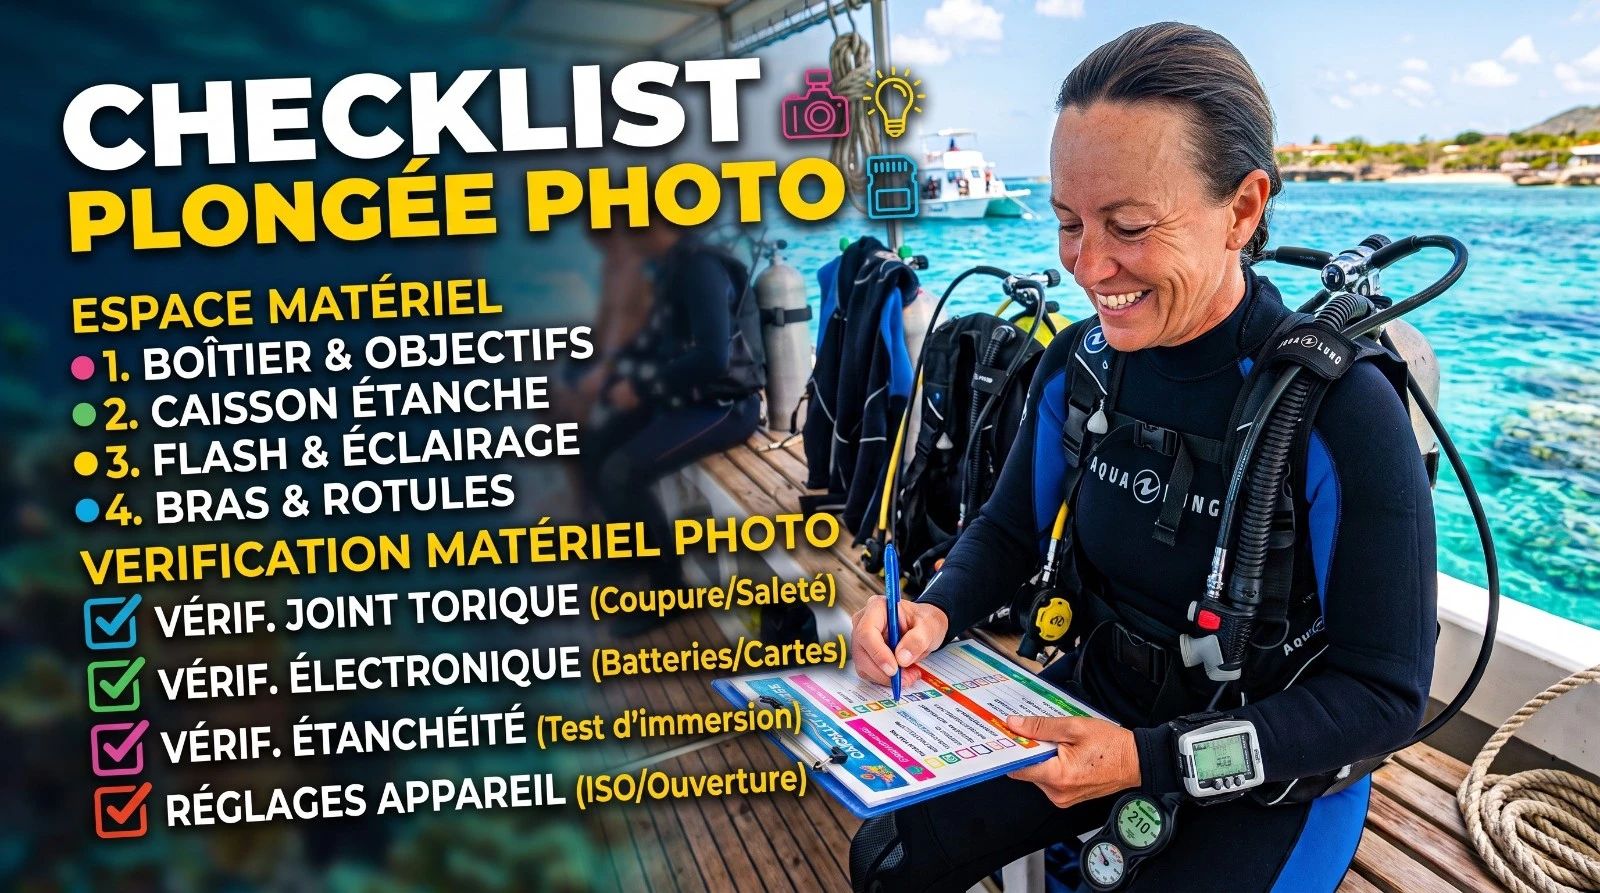
Pre-Dive Checklist for Underwater Photographers: 10 Minutes That Change Everything
The complete pre-dive checklist for underwater photographers: gear, housing seal, safety, camera settings, and buddy briefing. Nothing forgotten in 10 minutes.
Between 8 and 12 minutes for a complete check under normal conditions. This time decreases with habit but should never drop below 5 minutes. A rushed partial check is worth less than a short thorough one. The goal is not speed: it is not missing anything.
Should I check the housing seal before every dive?
Yes, even if you dived yesterday with the same housing. O-rings shift, debris can lodge in the seal groove, and pressure conditions vary. A visual check of the O-ring and a lock test take 2 minutes. A flood underwater can cost you the camera and the dive.
What if I realize mid-dive that I forgot a setting?
Stay calm. If it is a camera setting, adjust underwater without rushing. If it is a safety parameter (less air than the planned minimum, buddy not briefed on signals), ascend following normal procedures. The checklist exists to prevent this. When it is skipped, accept the consequences calmly and learn from it.
Should the checklist change depending on the type of dive?
The core stays the same, but specific dives add items. Night dive: check lights and backup light sticks. Drift dive: check SMB and communication with the guide. Macro dive: check wet lens and minimum focus distance.
Digital or paper checklist?
The medium matters less than using it consistently. A memorized checklist works for very experienced photographers, but with the risk of skipping items on autopilot. A physical support (dive slate, waterproof notebook, phone app before water entry) reduces that risk significantly.
What is a photographer buddy briefing and why does it matter?
A 2-minute exchange before water entry to align expectations. Who photographs what, which signals you will use for photography in addition to standard signals, what the alert signal is, how to manage waiting when one diver is shooting and the other is watching. Without this briefing, buddy pairs are often in tension underwater without understanding why.
Should camera settings be checked before or after gear up?
After gearing up, but before entering the water. Recommended order: full dive equipment, buddy check (ABCDE), then camera settings and housing closure. Closing the housing last reduces waiting time with seals under pressure and the risk of condensation from handling optics.
To learn how to get the most out of your gear underwater, discover the AquaExposure training.
A complete pre-dive checklist for a photographer-diver takes 10 minutes. It covers dive equipment, housing seal, camera settings, and buddy briefing. Those 10 minutes prevent most avoidable mistakes and reduce cognitive load underwater by converting decisions into automatisms.
Why a checklist actually makes a difference
The human brain readily skips steps in familiar routines. That is a cognitive economy mechanism, and it is useful in most contexts. In underwater photography, it is dangerous.
I have seen an experienced photographer descend with a full memory card because they had checked it the evening before and did not think to check again. I have seen a housing flood at 12 meters because an O-ring was seated incorrectly in the rush of departure. I have seen night dives start with half-charged torch batteries.
These mistakes do not happen to reckless beginners. They happen most often to photographers who dive frequently, trust their routine, and skip steps because they "already know."
A written or verbalized checklist solves this. It externalizes the verification to a medium that makes no assumptions.
Block 1: Dive equipment (5 minutes)
This block follows the standard ABCDE buddy check, adapted for photography.
A - Air: tank pressure, valve fully open, normal breathing at the surface, no unusual taste at the mouthpiece.
B - BCD: inflation and deflation from both mechanisms (direct system and oral), buckles secured, pockets empty or properly closed.
C - Camera and housing (photographer-specific): see Block 2.
D - Detachable items: primary and backup second stages, BCD inflator, octopus positioned and accessible.
E - Entry and exits: planned entry point, exit location identified, return signal agreed with the guide.
Weight check is not in the standard acronym but belongs here: weights present, quick-release accessible and functional.
Block 2: Housing and camera gear (3 minutes)
This is the block photographers in a hurry skip most often. And the most expensive one to have skipped.
Battery: charge level confirmed, not "I charged it last night." Depending on your battery and typical consumption, an 80% charge may not last two dives.
Memory card: available space for the planned dive, card formatted or cleared of unsaved files.
O-ring: remove the O-ring from its groove, run a finger around the full circumference to detect foreign material, check for visible deformation or nicks, reseat and apply a trace of silicone grease if your housing requires it.
Housing closure: close progressively, confirming the O-ring seats in the groove all the way around before locking. No forcing. If something resists, start over from the beginning.
Ports and domes: no fingerprints on optics (targeted condensation), no chips or microcracks visible.
Controls: test each externally accessible button, verify the exposure dial turns freely and in the correct direction.
Condensation and silica gel: if your housing contains a silica gel packet, check it has not been saturated. When in doubt about condensation risk, delay closing the housing until the last possible moment.
Block 3: Camera settings (2 minutes)
This block converts photo decisions into pre-sets, reducing cognitive load underwater.
Shooting mode: RAW or JPEG depending on the dive, metering mode (spot, matrix, center-weighted according to your habits).
Base parameters: starting ISO based on expected light, minimum shutter speed to freeze moving subjects. These settings are provisional but having a starting point reduces adjustment time underwater.
Focus mode: continuous autofocus for moving subjects, single for macro. If your housing lets you select the focus area externally, confirm it is in the right position.
White balance: if shooting JPEG, preset white balance for the expected depth. If shooting RAW, auto is fine.
Video settings: if you are also filming, check codec, resolution, and frame rate. These settings are difficult to change underwater if your housing does not give menu access.
Block 4: Photographer buddy briefing (2 minutes)
The standard buddy briefing is not enough when one diver is photographing. It needs a photography-specific supplement.
Zone and subjects: exactly where you are going, what subjects you are targeting, at what depth you expect to find them.
Photography-specific signals: agree on at least two signals that do not exist in the standard code. "I found a subject, stay back" and "I need you right now." The first lets the photographer move toward a subject temporarily without the buddy worrying. The second is the unambiguous alert signal. For the full framework of photographer buddy signals, see the dedicated article on buddy communication for underwater photographers.
Buddy role: be explicit. "While I am shooting, your role is to monitor the environment and signal me if anything changes." This is a task division, not a demotion.
Time and return: agreed return time, return signal in current conditions, air reference for the return.
Veto rule: remind yourselves that either diver's return signal overrides everything, without discussion underwater.
What the checklist does not replace
A pre-dive checklist reduces errors. It does not eliminate them.
It does not replace training. A photographer who cannot read their dive computer correctly will not be saved by a checklist. It does not replace in-water situational awareness: checking before the dive does not excuse you from checking during it.
And it does not replace judgment. If a check reveals a problem (damaged O-ring, insufficient battery, buddy not available for briefing), the right decision is to fix the problem before diving, not to proceed and hope for the best.
Task loading begins before water entry. A thorough preparation is the first step to controlling it.
Making the checklist stick
For a checklist to work, it must be executed in the same order every dive. Not because the order is sacred, but because a consistent execution routine reduces the risk of skipping steps.
The ideal: a checklist printed on a dive slate or in an app available before water entry. For beginners, read it aloud with your buddy. For experienced photographers, run through it silently, checking each point mentally.
If you want to develop structured safety habits as an underwater photographer, AquaExposure underwater photography training covers the full picture from preparation through exit.
AquaExposure earns no affiliate commission on gear mentioned in its articles. Recommendations are based solely on field experience.
Pre-Dive Checklist for Underwater Photographers: 10 Minutes That Change Everything | AquaExposure