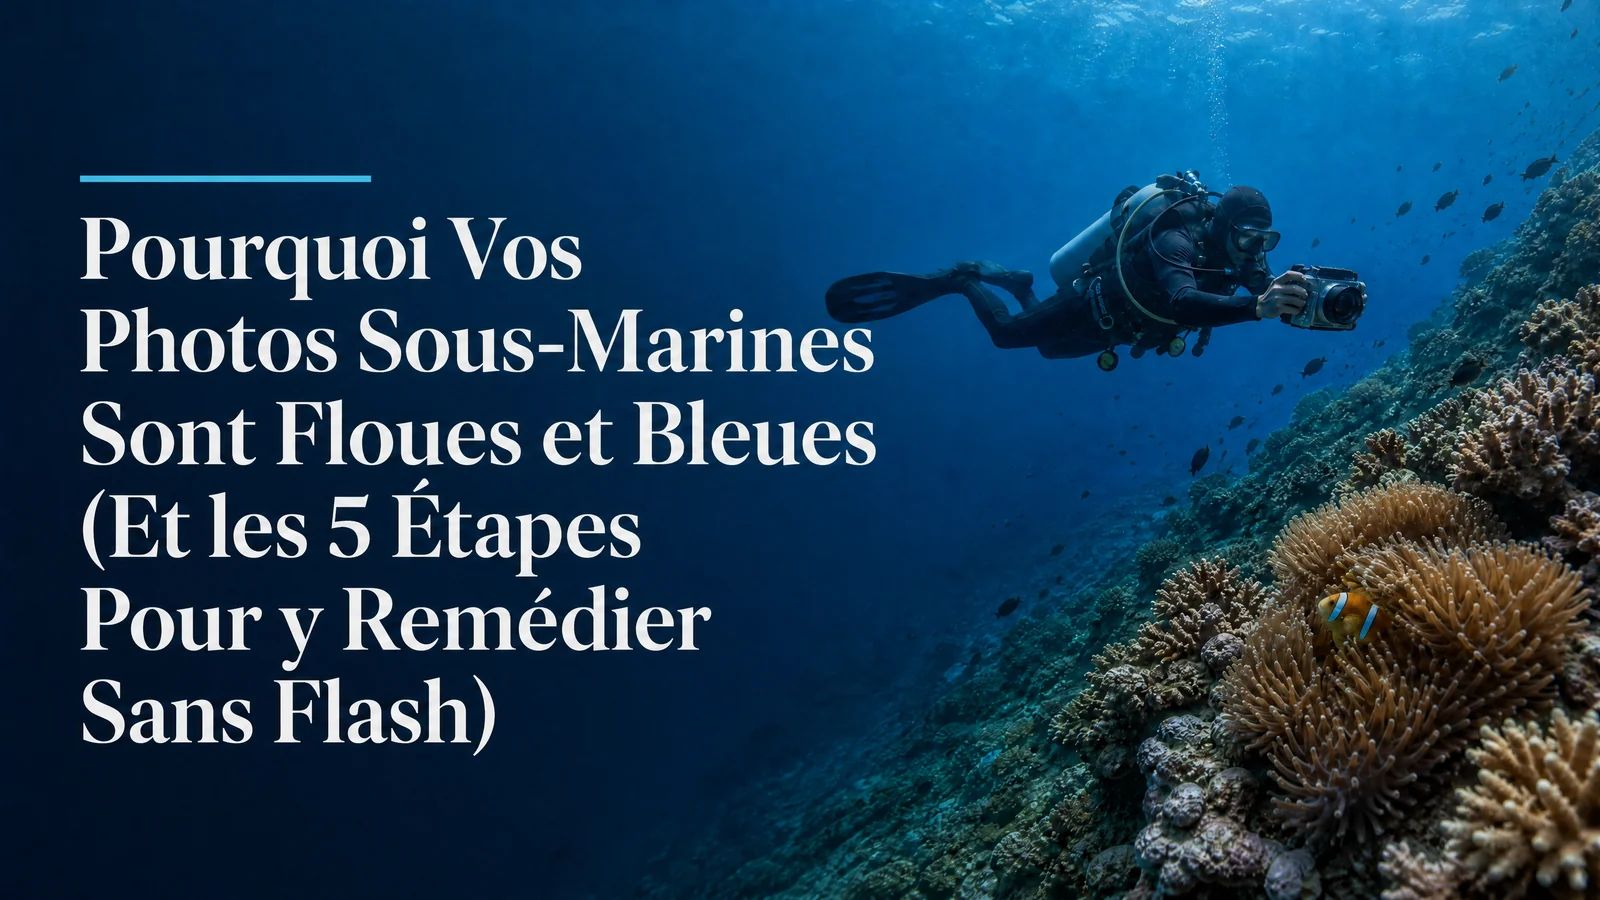
Water absorbs warm wavelengths (red, orange) progressively with depth. At 5 metres, red is gone. At 15 metres, orange follows. The solution: correct the white balance manually at your working depth, or apply a colour correction in post-production.
How do I avoid blur on underwater photos without flash?
Underwater blur has three main causes: backscatter from suspended particles, too much distance to the subject, and micro-movements from swell. To fix it: get within 30-50 cm of your subject, stabilise your elbows against your torso, and exhale slowly before pressing the shutter.
My first hundred underwater photos were a disaster. Blue. Everywhere. A gradient from cobalt blue to dark blue, punctuated by greyish shadows that could have been anything. Fish? Rock? Hallucination from nitrogen narcosis? Impossible to tell.
My first five hundred were identical. Blue. Blue. Blue.
In five hundred photos, not a single one I wouldn't have been ashamed to show someone. Not a single one that looked, even remotely, like what I had actually seen during the dive.
Your underwater photos are blue because water absorbs warm colours from the first few metres down. They're blurry because you're too far from your subject and you're moving.
That's it. That's the answer. Now that I've given it to you, you can close this article and test it yourself. Or you can stay five minutes and I'll explain why it's true, and more importantly how you go from "five hundred blue and blurry photos" to "photos that make you proud".
The physics that kills your colour
When I was a diving instructor in the Maldives, I witnessed the same scene three times a day. A diver would surface from the reef, euphoric. They had seen a whale shark, a hawksbill turtle, an octopus changing colour in twenty different shapes. They would open their gallery.
And their face would fall.
Everything was blue. Not "depressing blue". Not "blue because visibility was bad". Blue because refractive water absorbs wavelengths in a regular progression according to depth.
At 5 metres, red disappears. At 10 metres, orange follows. At 15 metres, only blue-green remains. At 25 metres, nothing but blue survives. This is Jerlov's physics (1976), which maps precisely how light waves pass through seawater, or rather, how they don't.
Your brain knows this. Your eyes, when you dive, the colours thanks to your visual cortex compensating automatically. It's an optical illusion as old as vision itself. That's why you see the clownfish in orange and white during the dive.
see
Your camera, on the other hand, records the raw physical reality. And that reality is blue and grey.
Laurent Ballesta, the French underwater photographer who explored the deepest zones ever visited on scuba, summed it up in one phrase: the mastery of underwater light isn't about adding light, it's about working with what's there. No heroic flash. No two-thousand-euro video light. Just understanding that you're photographing in a world where colour evaporates metre by metre.
And the blur? Three enemies striking simultaneously:
Backscatter - those millions of micro-particles in suspension (plankton, sediment, organic debris) that turn your image into an optical snowstorm. The further you are from your subject, the more water sits between it and you, the more particles cross the optical path, the blurrier it gets.
Distance - underwater, if your subject doesn't occupy at least 60% of the frame, you're mostly photographing water, not an animal. Blurry, degraded, uninteresting water.
Micro-swell tremors - a few centimetres of imperceptible body movement, caused by your unconscious fin kicks or simply by surge. Underwater, a few centimetres is the difference between a sharp image and a bin full of pixels.
The secret isn't getting closer - it's letting the animal come to you
David Doubilet, one of the most published underwater photographers in the world, has a famous maxim: "Get closer." And for years, everyone took it literally. Including me.
In the Maldives, I used to tell my students: "Get closer." And they would charge at the turtles. And the turtles would leave. And the students were frustrated. And so was I.
I had it completely backwards.
What Doubilet meant was not "charge at the animal". It's "reduce the water column between you and your subject". And the best way to reduce that distance is not to chase the animal - it's to position yourself where it's going to pass and wait for it to come to you.
This is exactly what we teach at AquaExposure with the Scenography of Disappearance:
1Observe the animal's circuit - most species follow predictable trajectories
2Position yourself on its path - on a tangential trajectory, never in a frontal approach
3Become motionless - a patient rock with a mask
4Let the animal decide - if it comes, you have your image. If it doesn't, respect its decision
At the Maldives cleaning stations, mantas follow circuits. When I understood that, I stopped chasing them. I would settle on the sand, on their return trajectory. And they would pass 50 centimetres from my mask. Of their own choice.
Proximity is a result. Not an action. You don't get closer to the animal - you create the conditions for the animal to get closer to you. And when it does, the distance is minimal, the water column is reduced, and the backscatter disappears.
That's why your reef photos are sharp but your animal photos are blurry - you're chasing animals instead of letting them come.
The 5 steps that take you from "blue and blurry" to "usable"
These five adjustments are what I would have paid someone to tell me on the boat before my first photo dive. This isn't textbook theory. It's field-tested, proven over hundreds of dives in the Maldives, the Red Sea, the Mediterranean, and yes, even in the grey-black waters of Belgium where visibility is 1.5 metres and you can barely see your own hands.
Step 1: Reduce the water column (your subject should fill 60% of the frame)
Your subject should occupy at least 60% of the image. If you need to crop it in post-production or zoom in digitally, there was too much water between you and it.
How do you get there without charging at the animal? Two methods:
For fixed subjects (reef, corals, nudibranchs) - position yourself at 30-50 cm. These subjects don't move. You have all the time in the world.
For animals - use the Scenography of Disappearance. Position yourself on the animal's path, stay still, and let it come. In the Maldives, my best turtle photos were never the ones where I finned towards them. They were the ones where I settled on their usual route (the path between feeding area and resting area) and where they passed 50 cm from me without even changing direction.
And if the animal doesn't come close enough? Film in 4K video and extract the best frame. That's the method we teach at AquaExposure: instead of machine-gunning 200 photos hoping for a miracle, you film a stable video sequence and extract the perfect moment in post-production. Less stress for the animal, less stress for you, better result.
Step 2: Manual white balance (the invisible setting that changes everything)
Your camera in auto mode is calibrated for terrestrial sunlight. Underwater, terrestrial sunlight doesn't exist. Your camera searches for colours that don't exist, compensates however it can, and produces (drumroll) blue.
Switch to manual white balance. Take a reference white: an underwater slate, the back of your hand (palm open), a dive slate. Position it facing the sun, fill the frame with it, and calibrate.
It takes 30 seconds.
The first time I did this (really did it, not just read an article on Reddit) I was at 12 metres, same spot, same reef. I pulled out my slate. I pressed the calibration button. And my camera screen transformed.
The reef went from "depressing blue soup" to "explosion of colours".
The soft purple corals. The dark red sea fans. The orange clownfish. As if someone had suddenly turned the lights on in a dark room where I'd had my eyes shut forever.
30 seconds. That was all.
That's the moment I understood I didn't need better equipment, a more expensive flash, a three-thousand-euro training course. I needed someone to explain how underwater light worked. Not as abstract theory. As "here, do this, look at the result".
Step 3: Work with the sun (free, and better than any flash)
Between 10am and 2pm, sunlight penetrates the water in clean oblique beams. It's spectacular. It's free. And it works with every camera, even GoPros.
Position yourself with the sun at your back or slightly to the side. Your subject will be naturally lit from behind, with golden edges. This is what's called underwater backlighting, and it's the reason why the most beautiful underwater photos are taken at noon, not at 7am.
In the Maldives, there was a saying among photo instructors: "If you dive at 7am, you get solitude. If you dive at 11am, you get light. You can't have both."
Both had their advantages. But for a beginner? The light between 10am and 2pm is unbeatable.
No need for flash. No need for a 500-euro video light. No need for an external battery weighing 2 kilos. Just the sun, the water, and the right angle.
Sylvia Earle, oceanographer, explorer, author of over a hundred scientific publications, has a concept: what we see underwater depends on how light enters it. It's simple, it's true, and it's the foundation of every successful underwater photo.
No unnecessary movements. Elbows against your torso. Exhale slowly before pressing the shutter. When freediving, use your neutral buoyancy to become a statue.
The divers who took the best photos were never the most agitated, the most energetic, the most exploratory. They were the calmest. The ones who could stay in the same spot for 5 minutes without finning. The ones who breathed slowly, who thought through their movements.
Physical stability (the real ability to stay motionless underwater) is more important than any high-end optical stabiliser.
I know photographers with 8,000-euro housings who produce blurry photos because they can't stop moving. And I know people with a simple GoPro who take crystal-clear images because they know how to stay still.
Step 5: Conscious shooting (one photo at the right moment > 200 bursts)
Burst mode is not your friend.
It drains your battery. It makes mechanical noise that animals perceive. And it gives you a false sense of security. "Out of 200 photos, surely one will be sharp."
I've heard that sentence hundreds of times. On boats, in hotel rooms, in Facebook groups for divers. And the answer is almost always: no. Zero will be sharp. And 200 blurry ones will clutter your hard drive for two years before you delete them all at once.
Observe. Anticipate the animal's movement. Wait for framing, light, and behaviour to converge. And press the shutter once.
My most productive days in the Maldives were the ones where I took fewer than 20 photos in a 50-minute dive. 20 photos. 15 were usable. Compared to the beginner next to me who took 300 photos, of which zero were usable.
Patience always beats burst mode. Always.
Why NOT flash? (The AquaExposure philosophy)
I know what you're thinking. "If I add light with flash, the colours will come back, the photos will be less blurry, it's logical."
Terrestrial logic. Not underwater logic.
Here's what happens when you fire a flash underwater:
Backscatter gets dramatically worse. Instead of photographing your subject, you're mostly photographing the millions of micro-particles between the flash and the subject. It's like trying to see through a snowstorm by adding more snow.
You hurt the animals. An underwater flash is 10 times more violent than a surface flash. Fish have eyes sensitive to ultraviolet light. A violent flash is a police spotlight in a dark car park at midnight.
You drain your batteries faster. Yes, really. The electrolytes in seawater consume your battery more rapidly when you're powering an underwater flash.
You're just photographing more blue, but illuminated. It's neon blue instead of dark blue. It's worse, in a way.
Laurent Ballesta never uses flash. He works with natural light. Neither does Sylvia Earle. National Geographic photographers on recreational dives very rarely use flashes.
Why? Because true mastery of underwater photography is not "how to add light". It's "how to work with the light that's there".
The 5 steps above? Zero euros in additional equipment. Zero extra batteries. Zero flash. Just understanding the physics and a bit of practice.
The holiday diver test (the real proof this isn't technical)
Want to know if a technique is genuinely accessible to anyone? Find the occasional diver.
I'm not joking. It's a legitimate test.
I have a friend who dives once or twice a year during holidays. He's not passionate about it. He has no specialised training. He'd never touched a camera in his life before last year.
Two years ago, he told me: "I just saw an amazing market, I'd love to bring back some nice photos."
I showed him the 5 steps above. No full training course. Just 30 minutes of explanation before his dive.
He went down to 15 metres with a Canon EOS M50 (a mid-range camera, not even high-end). He came back with 40 photos.
38 were sharp. 30 had correct colours. 15 were genuinely good.
If a casual diver can do that, with no photographic experience, no regular practice, then it's not about the equipment. It's about the interface between the brain and understanding.
That's all AquaExposure does: replace intuitive understanding (which takes three years of repeated mistakes) with explicit understanding (which takes three weeks of conscious practice).
The science behind it, for those who like numbers
The law of extinction coefficient attenuation (also called the Beer-Lambert law applied to water) describes how light attenuates exponentially as a function of depth and turbidity.
At 5 metres depth in clear water (Type I, Jerlov index): 50% of the red spectrum is lost
At 10 metres: 70% of the red spectrum is lost and the first orange photons go
At 15 metres: practically only green and blue remain
At 25 metres: only blue survives
Backscatter follows the Rayleigh scattering formula: scattering intensity varies inversely with the square of the wavelength. This means short wavelengths (blue, violet) are scattered 100 times more efficiently than long wavelengths (red, orange).
Practical result: if you're at 15 metres and your subject is 30 centimetres in front of you, the water between you and the subject absorbs or scatters the majority of warm wavelengths. Your sensor records what remains: blue and green.
Your camera doesn't lie. It tells you exactly what the spectrum did.
The 6 questions everyone asks me
1. "Why are my underwater photos blue?"
Because water absorbs warm wavelengths (red, orange) according to depth. It's optical physics, not an equipment problem. Your brain compensates during the dive - your sensor records the raw reality.
2. "How do I fix blur on my underwater photos without flash?"
Three actions: (1) Reduce the water column between you and the subject by positioning yourself on the animal's path rather than chasing it. (2) Increase the shutter speed (1/200th minimum). (3) Stabilise yourself completely before pressing the shutter. Bonus tip: film in 4K video and extract the sharpest frame - it's more reliable than 200 burst photos.
3. "What white balance should I use underwater?"
Manual white balance, calibrated at your working depth with a white slate or reference white. Auto never works. Manual Kelvin (4500-5500K) can work as a fallback, but calibration is always better.
4. "Do I really need a red filter?"
No. A red filter in shallow water (less than 5 metres) can help, but it's not a magic solution. Manual white balance plus natural light does better. Red filters are a hack, not a solution.
5. "What's the best depth for underwater photography with natural light?"
Between 5 and 15 metres, in clear water, with a high sun (10am-2pm). Below 5 metres, it's overexposed. Beyond 20 metres, even with good light, colours are too reduced. 10-12 metres is optimal.
6. "Can I fix a blue/grey photo in post-production?"
Yes, partially. DaVinci Resolve, Lightroom, or Capture One can correct a blue cast. But correcting means adding colours that never existed in the raw file. It's faking. A good raw photo beats a "corrected" photo that looks like an Instagram filter.
What's missing after the 5 steps
The 5 steps above will transform 90% of your photos. From blue-blurry to "decent". That's already huge.
But there's still:
Composition underwater, which isn't the same as on the surface (subjects move, backgrounds aren't stable, there's a constant verticality that doesn't exist on land)
The Scenography of Disappearance, for approaching animals without disturbing them
Colour correction in post-production, in 15 minutes maximum
Managing raking light and backlighting
Intelligent editing, which separates the 3 acceptable photos from the 300 throwaway ones
Neptune AI, our tool that automatically applies the colour correction I learned to do manually over 3 years
That's everything the AquaExposure training offers. 10 modules. From the most basic (why your photo is blue) to the most advanced (how to compose an underwater sequence story).
With Kai, our manta ray mascot. I named her Kai because "kai" means "sea" in Hawaiian. And because mantas taught me more about patience, grace, and true beauty than any theoretical course ever could.
Pricing (straight, no detours)
Free - module previews. You test. You see if the approach speaks to you.
29.90 euros/month - full access. All modules, all versions.
290 euros/year — same full access, billed once a year.
480 euros lifetime - everything, forever. Including Neptune AI and upcoming modules.
A single dive in the Maldives costs between 80 and 130 euros. For the price of two dives where you mess up all your settings, you get a year of training that transforms every dive after that.
My commitment
If after two weeks of active use your photos haven't improved, send them to me. Personally.
I've diagnosed thousands of failed underwater photos in my career. I know exactly what's wrong. I know how to fix it.
Because every dive with a camera should be a moment of joy. And the moment you open your gallery on the boat? That should be a moment of pride, not the one where your face falls as you discover everything is blue and blurry.
Your next 500 photos deserve better than my first 500.
Access the training
Why Your Underwater Photos Are Blurry and Blue (And the 5 Steps to Fix Them Without Flash) | AquaExposure
Because blue is beautiful in the water. Just not when it's all you can see.
FAQ
Why are all my underwater photos blue?
Water absorbs red wavelengths from 3 metres deep, orange at 5 metres, yellow at 10 metres. It's not a gear problem: it's water physics. The correction is done by setting white balance to 5000K before the dive and editing in post-production with DaVinci Resolve or Lightroom.
Why are my underwater photos blurry even with a good camera?
Underwater blur has four main causes: a shutter speed that's too slow (going below 1/125s blurs everything that moves), unstable buoyancy that transmits body vibrations to the camera, autofocus losing the subject against busy backgrounds, and too much distance between you and the subject (suspended plankton degrades sharpness). Rule: 1/125s minimum, get closer, stabilise your buoyancy.
Can you fix blue underwater photos in post-production?
Yes, provided you shot with a Flat profile (or RAW for stills). This profile preserves colour information even when colours look absent on screen. DaVinci Resolve (free) and Lightroom can recover absent reds and oranges down to 8-10 metres with a natural result. Beyond 12-15 metres, the correction is more limited because the information no longer exists in the file.
Should you use flash to avoid blue photos?
No. Flash corrects colours on very close subjects but stresses the retinas of many marine species and alters their behaviour. The AquaExposure method works exclusively with natural light: white balance at 5000K, Flat profile, diving between 10am and 2pm, and correction in post-production. The result is equivalent to flash without any impact on wildlife.
Want a practical summary to take on your next dive? The free AquaExposure guide "The 7 Essential Underwater Photography Settings" is available as a downloadable PDF. White balance, exposure, focus, distance, angles, pre-water checklist and natural light: the basics you can apply on your very next outing, with no equipment purchase. Download the guide for free